
Eberron: Rising From the Last War Preview
Eberron: Rising From the Last War is a campaign sourcebook set in the D&D world of Eberron.
I previewed it on Twitter here:
You can explore the swashbuckling pulp noir of Eberron: Rising From the Last War when it launches November 19, 2019.
Dungeons & Dragons vs. Rick and Morty Preview
Dungeons & Dragons vs. Rick and Morty is a box set that “[blends] the world of Dungeons & Dragons with the mad narcissistic genius of Rick Sanchez’s power-gaming sensibilities, and it includes everything a Dungeon Master needs to channel their inner mad scientist and run a rickrolling adventure for up to 5 players, levels 1 to 3.”
I previewed it on Twitter here:
You can experience “Rickth Edition D&D” when Dungeons & Dragons vs. Rick and Morty releases everywhere on November 19, 2019.
Baldur’s Gate: Descent into Avernus Dice & Miscellany Preview
Baldur’s Gate: Descent into Avernus Dice & Miscellany is a set of premium dice and game aids packaged in a dice box/tray.
I previewed it on Twitter here:
You can get your hands on these dice (perfect for rolling on the “Flesh Warping” table) when the Baldur’s Gate: Descent into Avernus Dice & Miscellany releases September 17, 2019.
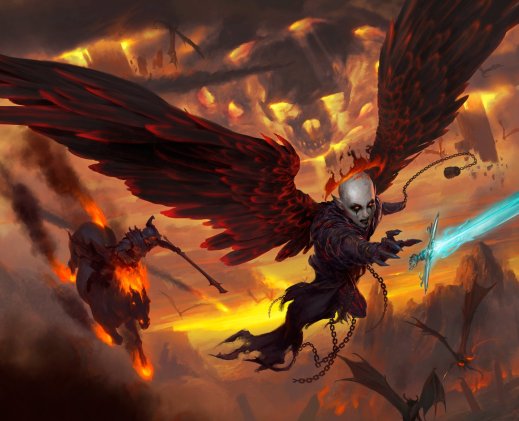
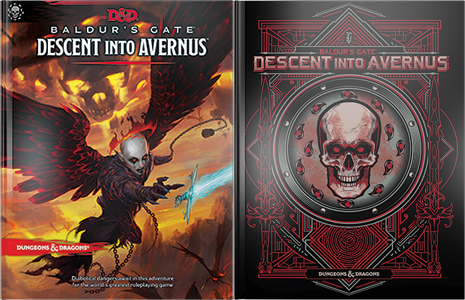
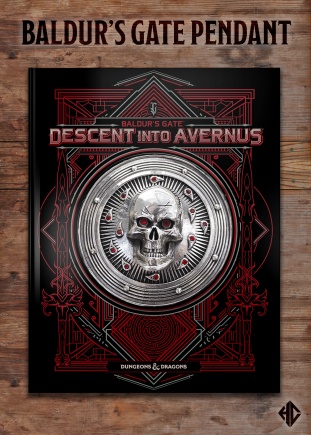
Baldur’s Gate: Descent into Avernus Preview
Baldur’s Gate: Descent into Avernus is an adventure that “takes players from levels 1 to 13 as they journey through Baldur’s Gate and into Avernus, the first layer of the Nine Hells.”
I previewed it on Twitter here:
You can descend into hell when it launches September 17, 2019.
Look Inside: D&D Essentials Kit
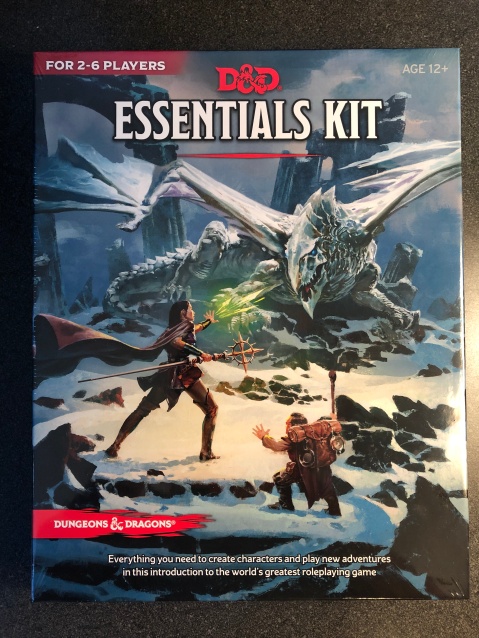
This gallery contains 27 photos.
The D&D Essentials Kit is available now (exclusive to Target until September 3rd, 2019). Let’s take a look inside, shall we? Disclaimer: Wizards of the Coast provided me a review copy of this product. Opinions expressed are my own. And last but not least, the Essentials Kit comes with a code to unlock the Dragon of […]
D&D Live 2019: The Descent – Product Announcement Highlights
“The Descent“, Wizards of the Coast’s 2019 live D&D event, has come and gone. Here are some highlights of products announced during the event.
Baldur’s Gate: Descent into Avernus (September 17, 2019)
- Next published adventure, 256 pages, for characters level 1 to 13.
- Standard cover (art by Tyler Jacobson) and Alternate cover (art by Hydro74). Alternate cover only available in hobby stores.
- This adventure is written with new DMs in mind–“user-friendly”.
- Starts in Baldur’s Gate, a murder-hobo’s paradise, Faerûn’s”Gotham City”. The city is morally bankrupt.
- There are crimes and mysteries to solve in Baldur’s Gate.
- The city of Baldur’s Gate gets fleshed out a bit, and the designers wanted it to feel gritty.
- The gazetteer chapter tells you what its like there and what its like to be from there (offers new background options).
- “Dark Secrets” play a part in the adventure–your party can choose something terrible that happened in the group’s past.
- A sinister plot will draw players down into Avernus, the first layer of Hell.
- Avernus is “a plane of wreckage”.
- Described as “D&D meets Mad Max Fury road with a bit of Dante’s Inferno”.
- Temptation and bargains play a part when dealing with Devils. Infernal Contracts: a way to get assistance, items, gold, power, levels, at the cost of potentially losing your soul.
- Adventurers may witness the Blood War–the eternal conflict between demons and devils–firsthand.
- Different mechanics in Avernus: resting is hard, death saving throws may not work, demonic ichor is strange and sometimes useful.
- The warlords of Avernus: creatures that eek out a living and control gangs travelling in fleets of infernal war machines (“massive death machines”)
- Infernal War Machines have vehicle and customization rules so you can live out your Fury Road fantasies. They are powered by souls.
- The ruler of Avernus is Zariel, a fallen angel previously mentioned in Mordenkainen’s Tome of Foes.
- Arkhan the Cruel, a character created by Joe Manganiello, appears in Avernus. He has a dual-flaming-scimitar-wielding Minotaur bodyguard, Torgar Steelfist, and a “kick-ass tortle priest-of-death” named Krull.
- Avernus is itself a sandbox that you can pick and choose from to make as long or as short a part of the adventure, or use in your own stories.
- Contains a foldout map of Avernus by Jared Blando.
- Written by Chris Perkins. Adam Lee lead design. Contributions from Ari Levitch, Dan Dillon, Kate Welch, Bill Benham, Hannah Rose, Jim Zub, Lysa Chen, M.T. Black, James Haeck, and others.
- Wide release September 17, 2019.
[Baldur’s Gate: Descent into Avernus Product page]
[D&D Live Announcement (Video)]
[D&D Beyond Baldur’s Gate: Descent into Avernus Interviews (Video Playlist)]
More Details on the story of Descent into Avernus (potential spoilers):
Baldur’s Gate: Descent into Avernus Dice & Miscellany (September 17, 2019)
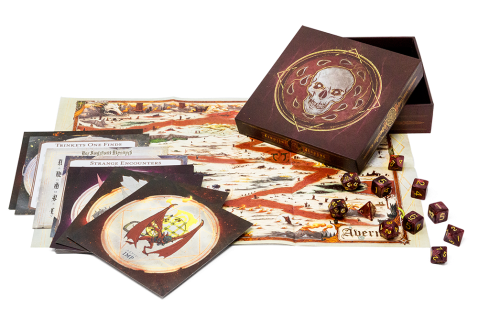
- “Brimstone” (deep red) dice with gold lettering. Eleven dice. Standard set, with two d20s (for advantage/disadvantage) and four d6s (for character creation).
- Tin doubles as two felt-lined dice trays.
- Twenty cards with random encounter tables and story content for devils and demons of the Blood War, images of demons and devils (art by Max Dunbar), the infernal text cipher.
- Foldout map of Avernus.
- Size comparison chart for demons and devils.
- Wide release September 17, 2019.
[Baldur’s Gate: Descent into Avernus – Dice and Miscellany Product Page]
[D&D Live Announcement (Video)]
D&D Essentials Kit (June 24 / September 3, 2019)
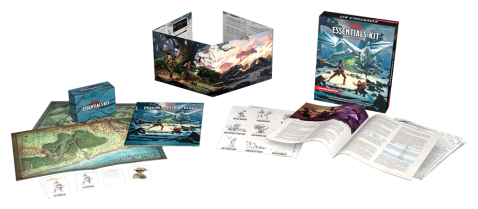
- New introductory product, a follow up to the Starter Set.
- Starter adventure for new DM’s called “Dragon of Icespire Peak” (for levels 1-6), set in same region as Phandalin.
- The adventure is a collection of quests, along with a roaming dragon threat.
- Can be mixed with “Lost Mine of Phandelver”, can follow it, or whatever. “Same playground, more toys.”
- Includes poster map of Phandalin and the adventure region.
- Comes with 81 cards (printed on perforated sheets): magic items, conditions, quests, combat cheat-sheet, sidekicks with illustrations, and a tuckbox.
- Rules include a 1-on-1 variant (one DM, one player).
- Rules include character creation up to level 6 (classes include Fighter, Cleric, Wizard, Rogue, and Bard).
- Rules includes a streamline version of sidekicks first seen in Unearthed Arcana article.
- DM screen (new art, inside content same as existing screen, made of thinner stock).
- Set of cherry-lozenge-red dice (two d20s and four d6s).
- Will include a D&D Beyond promo code to unlock “Dragon of Icespire Peak” free as well as a 50% coupon for the Player’s Handbook.
- Will also include a series of QR codes for additional Phandelver adventures released on D&D Beyond.
- Written/designed by Chris Perkins and Jeremy Crawford.
- Available at Target on June 24 and September 3, 2019 everywhere.
[D&D Essential’s Kit Product Page]
[D&D Live Announcement (Video)]
Eberron Hardcover

At the end of the event, D&D Director Nathan Stewart teased the following: “Hardcover Eberron, that’s happening”.
Dungeons & Dragons vs. Rick and Morty: Tabletop Roleplaying Adventure (November 19, 2019)

- Boxed set.
- New adventure for characters levels 1-3.
- “What if Rick was your Dungeon Master”.
- Rulebook heavily revised/annotated by Rick.
- Set of dice.
- DM screen (art by Troy Little).
- Written/lead by Kate Welch. Contributions from Jim Zub, Adam Lee, Ari Levitch, Ryan Hartman.
- Wide release November 19, 2019.
[Dungeons & Dragons vs. Rick and Morty Product Page]
[D&D Live Announcement (Video)]
D&D Partner Product Announcements
Beadle & Grimm’s D&D Platinum Edition Descent into Avernus (October 2019)

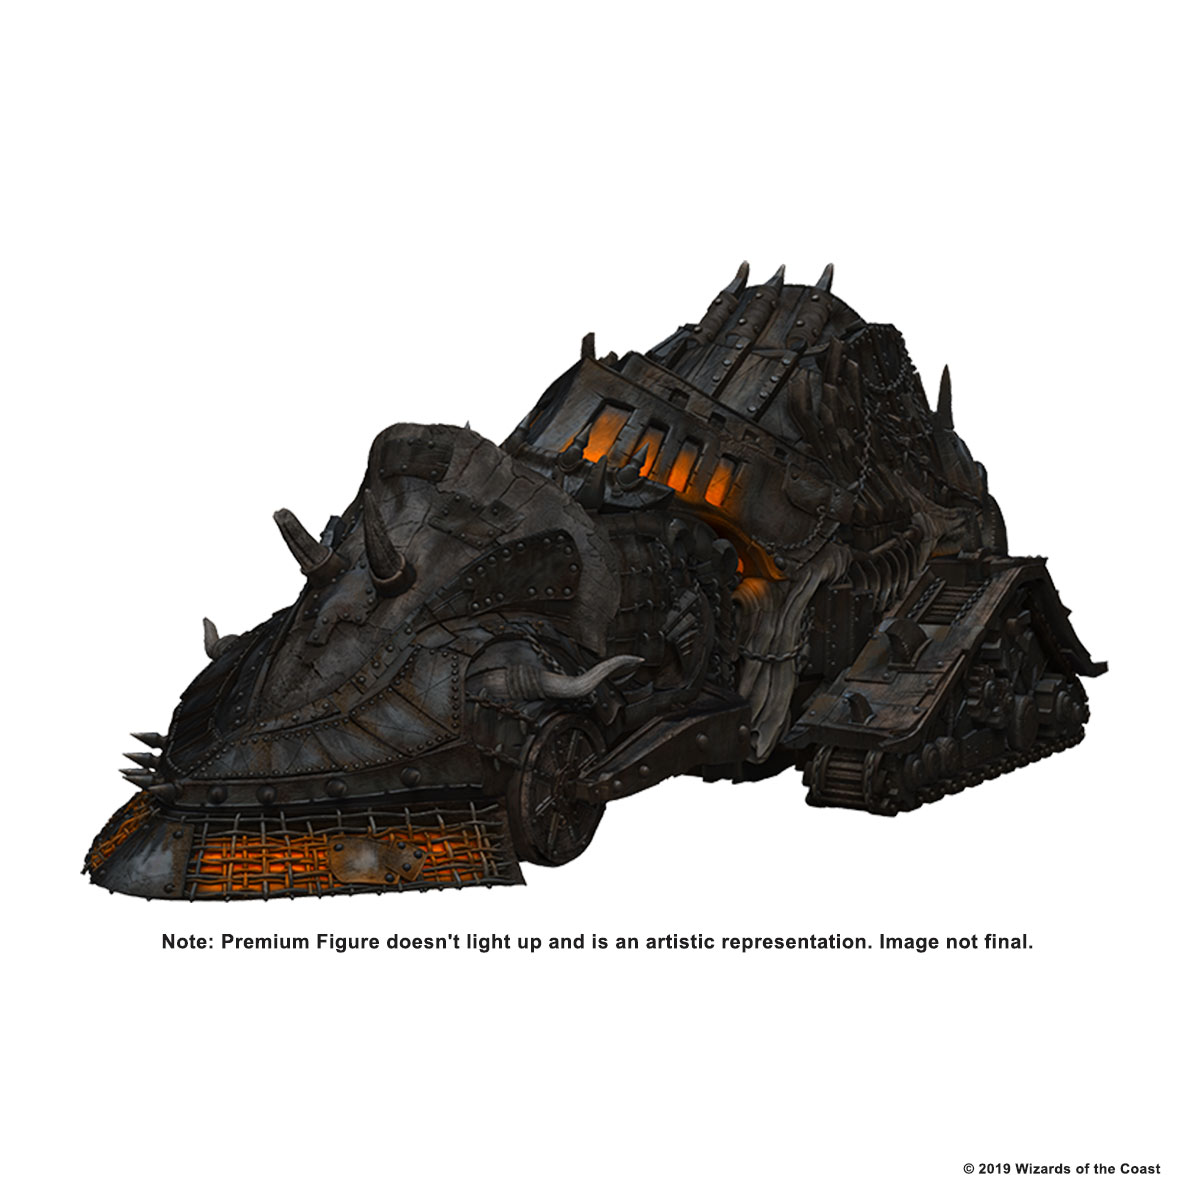
- Boxed set including custom DM screen, full-scale battle maps, encounter cards, diabolical handouts, wearables, Infernal War Machine 11″ figure (unique version that includes a saw blade), a D&D Beyond code for the adventure, and other details to be announced.
- Will also include miniatures of the characters Beadle and Grimm (may be fully painted).
- Limited run of 1,000 copies.
- Shipping October 2019.
[Beadle & Grimm’s D&D Platinum Edition Descent into Avernus Product Page]
D&D Beyond Updates
- Baldur’s Gate: Descent into Avernus available for preorder. Available September 17, 2019.
- D&D Essentials Kit boxed set will include a code to unlock the adventure, “Dragon of Icespire Peak”, for free, as well as a discount code for 50% off the Player’s Handbook.
- D&D Essentials boxed set will also include a series of QR codes for additional Phandelver adventures released on D&D Beyond.
- Strangers Things “Hunt For the Thesylhydra” adventure will be available for purchase on D&D Beyond (June 4th, 2019).
- New bundles available in the marketplace: Sourcebook Bundle (includes all sourcebooks and 10% discount on future) and Adventure Bundle (includes all Adventures and 10% discount on future). Or get everything with the existing Legendary Bundle (includes all sourcebooks and adventures, and 15% discount on future).
- Encounter Builder alpha is live for D&D subscribers.
A peak at the D&D Beyond Encounter Builder.
Gale Force Nine

- New card packs: Epic Monster Cards (CR 17-30 monsters from Monster Manual, Volo, and Mordenkainen books on 5 inch square cards) (November), Volo’s Guide to Monsters Monster Cards (September), Mordenkainen’s Tome of Foes Monster Cards (September), and Creature & NPC Cards (November).
- Baldur’s Gate Descent into Avernus unpainted miniatures including: Arkhan the Cruel, Krull, Torogar Steelfist, Mad Maggie, Zariel, Sylvira Savikas & Quasit, Mahadi Merchant Rakshasa, Thavius Kreeg, Little Lullu & Slobberchop, Lulu the Hollyphant, and some big beasties in the form of Lucille the Pit Fiend, Baphomet, and Yeenoghu.
- Waffle Crew figures: Evelyn Marthain, Strix, Paultin Seppa.
- Character Busts (6″ high, fully-painted): Minsc and Boo, Drizzt Do’Urden, and Elminster. (Releasing June-December)
- New miniature production tech is allowing GF9 to release miniatures as one piece without need for assembly.
- Descent into Avernus Dungeon Master’s Screen.
- Maps of Avernus to be announced.
- In second half of 2019, GF9 is also releasing a Dungeon Master’s Screen of Ships and the Sea (June), a 33″ x 27″ Faerun vinyl map (June), Cleric Expansion for Vault of Dragons (August), and an Underdark Paint Set with 10 colors and a Drizzt Do’Urdan miniature (August).
Wizkids Icons of the Realms Baldur’s Gate Descent into Avernus Miniatures (August 2019)
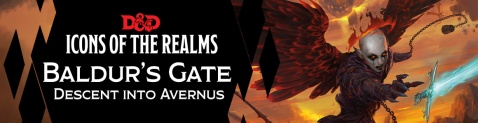
- Infernal collection of miniatures including the Pit Fiend, Glabrezu, Merregon, the fallen angel Zariel, and the adventurer Reya Dawn.
- 45 painted miniatures.
- Standard booster box contains four random miniatures: 1 large figure, and 3 medium/small figures.
- Premium Figure: The Infernal War Machine. 11″ long, fits 1 medium miniature in the “driver” area and 6 in the “passenger” area. Vehicle “hood” is removable.
- Infernal War Machine can be purchased separately (consumers are not required to purchase a booster case to get it).
- Available August 2019.
[Wizkids Baldur’s Gate Descent into Avernus Product Page]
Syrinscape

- Syrinscape is a an app to provide a soundtrack for your tabletop game.
- Ghost of Saltmarsh soundpacks coming soon (“Sinister Secret of Saltmarsh”, “Salvage operation”, “Danger at Dunwater”).
- Dungeon of the Mad Mage content coming soon.
Dungeon Mayhem: Battle for Baldur’s Gate Expansion (September 17, 2019)
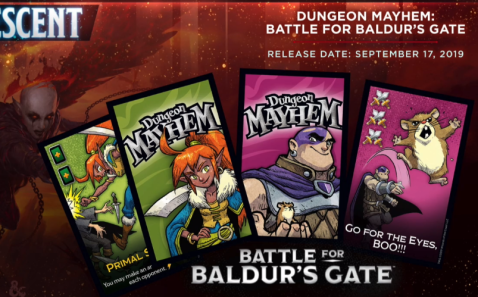
- Expansion for the free-for-all battle card game, Dungeon Mayhem.
- Features Minsc & Boo (Ranger) and Jaheira (Druid).
- Art by Jake Parker.
- Available September 17, 2019.
[Dungeon Mayhem: Battle Baldur’s Gate Expansion Product Page]
[D&D Live Announcement (Video)]
Han Cholo
Warriors of Waterdeep (May 30, 2019)

- Free to play mobile game (iOS and Android).
- Turn-based role-playing game, card based, centered on Waterdeep. Control a party of four.
- Currently in soft-launch in Canada.
- Launch Day May 30, 2019.
[Warriors of Waterdeep Official Page]
Wyrmwood
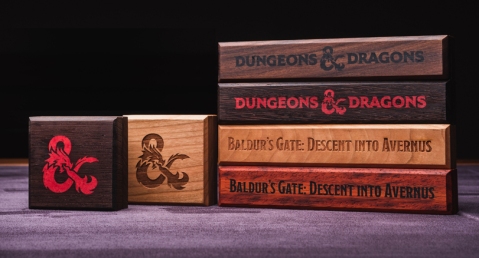
- Dice trays featuring D&D logo and Ghost of Saltmarsh art.
- Baldur’s Gate: Descent into Avernus Dice Vaults
Dungeons & Dragons Young Adventurer’s Guides (July 16, 2019)
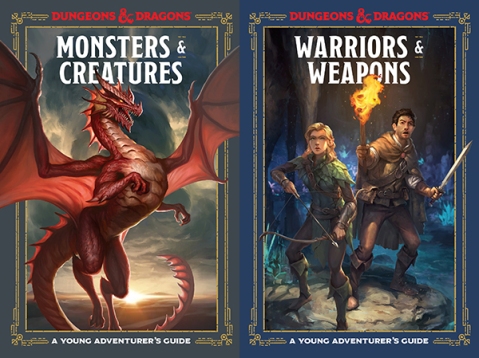
- “Monsters & Creatures”, “Warriors & Weapons”. 112 page hardcovers.
- Introductory guidebooks to D&D. Entry point for young fans (ages 8+).
- Includes lots of new artwork.
- Written by Stacy King, Andrew Wheeler, and Jim Zub.
- On sale July 16, 2019.
[Monsters & Creatures Product Page]
[Warriors & Weapons Product Page]
[D&D Live Announcement (Video)]
IDW: “Dungeons & Dragons Infernal Tides” comic (November 30, 2019)
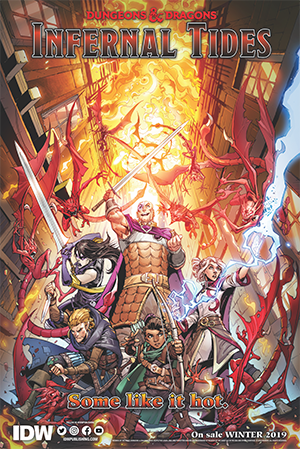
- Minsc and his friends are caught in the middle of devil-tainted corruption that has taken hold of Baldur’s Gate.
- Written by Jim Zub, art by Max Dunbar.
- Five-issue miniseries.
- “Heavy Metal wonderland of kookiness.”
- First issue November 30, 2019.
[Dungeons & Dragons Infernal Tides Product Page]
[IDW Infernal Tides Announcement Page]
[D&D Live Announcement (Video)]
IDW: “Rick & Morty vs. Dungeons & Dragons II: Painscape” (September 18, 2019)
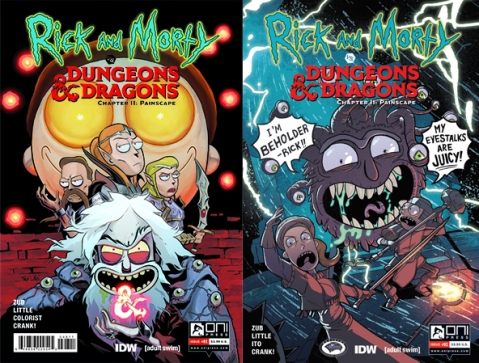
- “Rick has made a lot of failed characters … and in all the multiverses out there those characters exist. And they are *very* angry at him.”
- “This time D&D is coming to Earth and it’s not taking any prisoners.”
- Written by Jim Zub, art by Troy Little. Variant cover art by Jim Zub & Sarah Stern.
- 4-issue mini-series
- Issue #1 in stores September 18, 2019.
[Rick and Morty vs. Dungeons & Dragons II: Painscape Product Page]
[D&D Live Announcement (Video)]
Creature Incarnation: Giant Wolf Spider Variant
The Giant Wolf Spider as presented in the 5th Edition Monster Manual is perfectly usable monster, but I noticed while reading up on real world wolf spiders that it doesn’t quite capture their flavor. Presented below is my slightly tweaked version, the Giant Wolf Spider (Variant).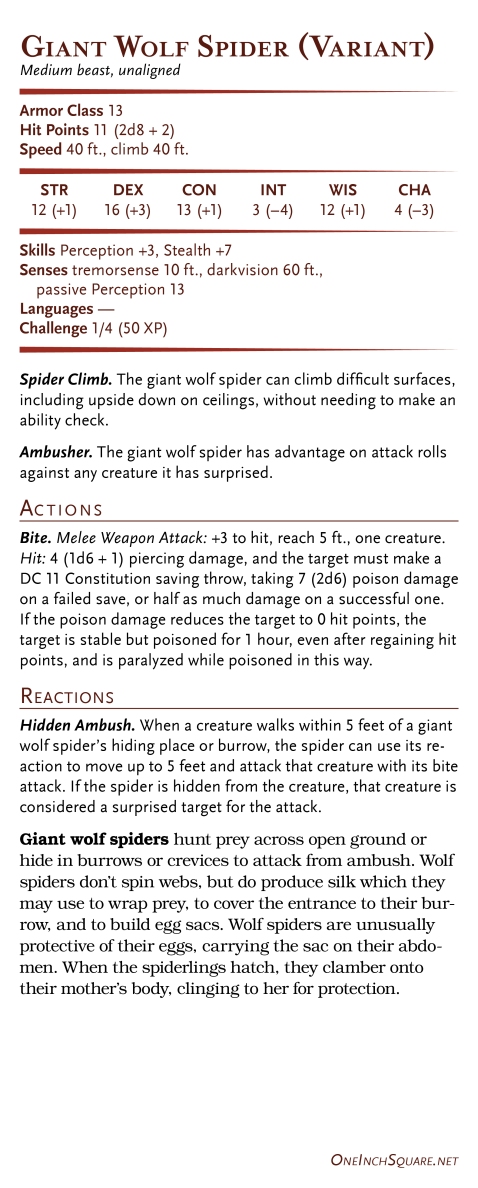
Design Notes
This variant is based on the Giant Wolf Spider from the Monster Manual, with the following changes:
Tremorsense: Giant Wolf Spiders and Giant Spiders both have Blindsight listed under their senses. I’m not entirely certain why the designers chose this ability–maybe it is supposed to reflect a spider’s 360 degree vision and excellent sense of touch, or perhaps it is a nod to Spider-Man’s tingly danger-sense. Regardless, I felt that Tremorsense was a better reflection of the wolf spider’s ability to detect nearby prey through vibrations. I kept the range of 10 feet, as that seemed reasonable.
Hunters. Wolf spiders hunt prey or lie in ambush in burrows. To better reflect this, I added the Ambusher trait (found on the Kenku and Doppleganger) as well as a Hidden Ambush reaction. I wanted to capture how they quickly emerge from their hiding places to attack their prey. Giving them Hidden Ambush in the form of a reaction facilitates encounters in which Giant Wolf Spiders lie in wait even after the first round of initiative while still allowing them to get the jump on PCs. The line that says that creatures attacked as a result of the Hidden Ambush are considered surprised allows the Ambusher trait to trigger and makes an exception to the general rule that surprise is determined only once at the beginning of combat and that a creature cannot be surprised again.
It would have been simpler, of course, to just grant advantage on the Hidden Ambush attack, but the use of “surprise” is intentional: it allows the attack to interact with other game abilities related to being surprised. For example, the Alert feat says that a PC cannot be surprised while they are conscious. It is the intention that in this case, the attack granted by Hidden Ambush would not have advantage (because Alert prevents the PC from being surprised).
No Webs. Wolf spiders don’t spin webs (though they do spin silk). As such, I removed Web Sense and Web Walker. The former is replaced by Tremorsense. As for the latter, one could probably argue that being a spider allows the Giant Wolf Spider to walk on webbing regardless of whether or not it can spin them.
Otherwise, the statblock is the same as the base Giant Wolf Spider. The addition and subtraction of a few traits and actions wasn’t enough to warrant changing the Challenge Rating, and the other stats seem reasonable. I considered doubling the Proficiency Bonus added to Perception–real world wolf spiders are noted as having excellent vision and other senses–but I suspect that the fact the Giant Wolf Spider is considered trained in Perception at all (compare with the Giant Spider who is not) is meant to reflect this.
I think these minor changes help better reflect the abilities of the wolf spider, while also distinguishing the Giant Wolf Spider a bit more from the Giant Spider. Whereas the Giant Spider may lie in wait for a victim to be snared in its web, the Giant Wolf Spider hides among debris and in small burrows, waiting for the moment to pounce.
Building Scarlet Moon Hall
Scarlet Moon Hall is one of the “haunted keeps” located in the Dessarin Valley and an important location early in the 5th edition D&D adventure Princes of the Apocalypse. The gallery that follows shows how I built the keep for my game using primarily Dwarven Forge City Builder terrain and D&D Dungeon Tiles. Below the gallery is a parts list for those interested.
Click the individual photos to read design and build notes for each floor.


")
 East")
 From Above")
")
 West")
 From Above")
 Hole")


")


Parts List
The following is a list of parts to build Scarlet Moon Hall similar to the way I have. In some cases it varies slightly from what I actually used as I ran out of pieces here and there and made due with what I had. I have linked to sets on the Dwarven Forge site that contain the pieces in question, but note that many pieces appear in multiple sets.
1st Floor (The Downward Path)
- 3 Solid Stone Floors
- 1 Stone Foor With Stairwell Hole
- 3 Solid Stone Walls
- 4 Arrowslits Walls
- 1 Stone Wall With Door
- 4 Stone Corner Posts
- 2 Stone Double Posts
- 2 Wood Double Posts
- Ruined Stone Walls and Ruined Stone Corners
- 2 pieces of foam board or similar as supports (~5 10/16″ and 3 10/16″ in length)
Here, and throughout the tower, one could opt to use only stone double posts, only wooden ones, or a combination of both. I chose to use both on the exterior walls for aesthetic and cost reasons.
Wall type and placement can also be varied. I chose to alternate solid stone walls with arrowslits, both horizontally and vertically.
2nd Floor (The Downward Path)
- 4 Ruined Stone Floors 4×4 or 4 Ruined Wooden Floors 4×4
- 4 Solid Stone Walls
- 4 Arrowslits Walls
- 4 Stone Corner Posts
- 2 Stone Double Posts
- 2 Wood Double Posts
3rd Floor (Upper Entry Chamber)
- 2 Solid Wood Floors 4×4
- 2 Ruined Stone Floors 4×4 or 2 Ruined Wooden Floors 4×4
- 4 Solid Stone Walls and/or Stone Magnetic Walls and/or Stone Walls With LED Torch
- 3 Arrowslits Walls
- 1 Stone Wall With Door
- 4 Stone Corner Posts
- 2 Stone Double Posts
- 3 Wood Double Posts (one for the interior)
- 1 Steep Stairs
If you use the ruined wood floors, the exterior will match the other wood floors (the outsides of the floor pieces are brown).
In addition to solid stone walls, one has the choice of magnetic walls and walls with LED torches to spruce up this build.
4th Floor (Cultist Barracks)
- 3 Solid Wood Floors 4×4
- 1 Wood Floor With Stairwell Hole 4×4
- 4 Solid Stone Walls and/or Stone Magnetic Walls and/or Stone Walls With LED Torch
- 3 Arrowslits Walls
- Magnetic Accessories (e.g. Crossed Swords and Tapestry)
- 4 Stone Corner Posts
- 2 Stone Double Posts
- 4 Wood Double Posts (two for the interior)
- 1 Steep Stairs
Here and elsewhere, it is possible to substitute a double posts with two corner posts. However, the double posts serve to hold adjacent floor pieces together, giving your build stability.
5th Floor (Elizar’s Chamber)
- 3 Solid Wood Floors 4×4
- 1 Wood Floor With Stairwell Hole 4×4
- 3 Solid Stone Walls and/or Stone Magnetic Walls and/or Stone Walls With LED Torch
- 3 Arrowslits Walls
- 2 Stone Center Window Walls
- 2 Closed Shutters
- 2 Open Shutters
- 4 Stone Corner Posts
- 2 Stone Double Posts
- 4 Wood Double Posts (two for the interior)
- 1 Magnetic Alchemist Shelf
- 1 Table, Chair, Bookcase, and Ladder
In my build, I used two more stone center window walls for the North wall (instead of a solid wall and arrowslit wall) simply due to running out of wall pieces.
Attic
- 3 Solid Wood Floors 4×4
- 1 Wood Floor With Trapdoor 4×4
- 8 Solid Tudor Walls (or 8 Solid Stone Walls if you prefer)
- 4 Wood Corner Posts (or 4 Stone Corner Posts)
- 6 Wood Double Posts (two for the interior); or 2 Stone Double Posts and 4 Wood Double Posts (two for the interior)
- 1 Ladder
I chose to make the walls of the attic Tudor style as I thought it helped offset the attic a bit from the stone walls of the structure.
Roof Support
Alternately, one could use a combination of any type of wood floors, as it simply supports the roof.
Roof
- 4 Slate 2″ x 4″ Roofs
- 4 Slate 4″ x 4″ Roofs
- Assassin’s Perch
- Thick cardboard
Using the 2″ x 4″ roof pieces creates a roof that isn’t as deep as the rest of the keep. One could alternately use a total of eight 4″ x 4″ roof pieces.
Scaffold
The pieces for the scaffold came from a variety of D&D Dungeon Tiles sets, but the most useful are found in DU6 Harrowing Halls and DU7 Desert of Athas.
Tents
These are great papercraft tents designed by Dave Graffam Models. Assembly required.
Cataloguing the Art of the Monster Manual
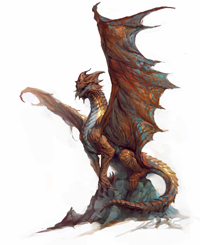
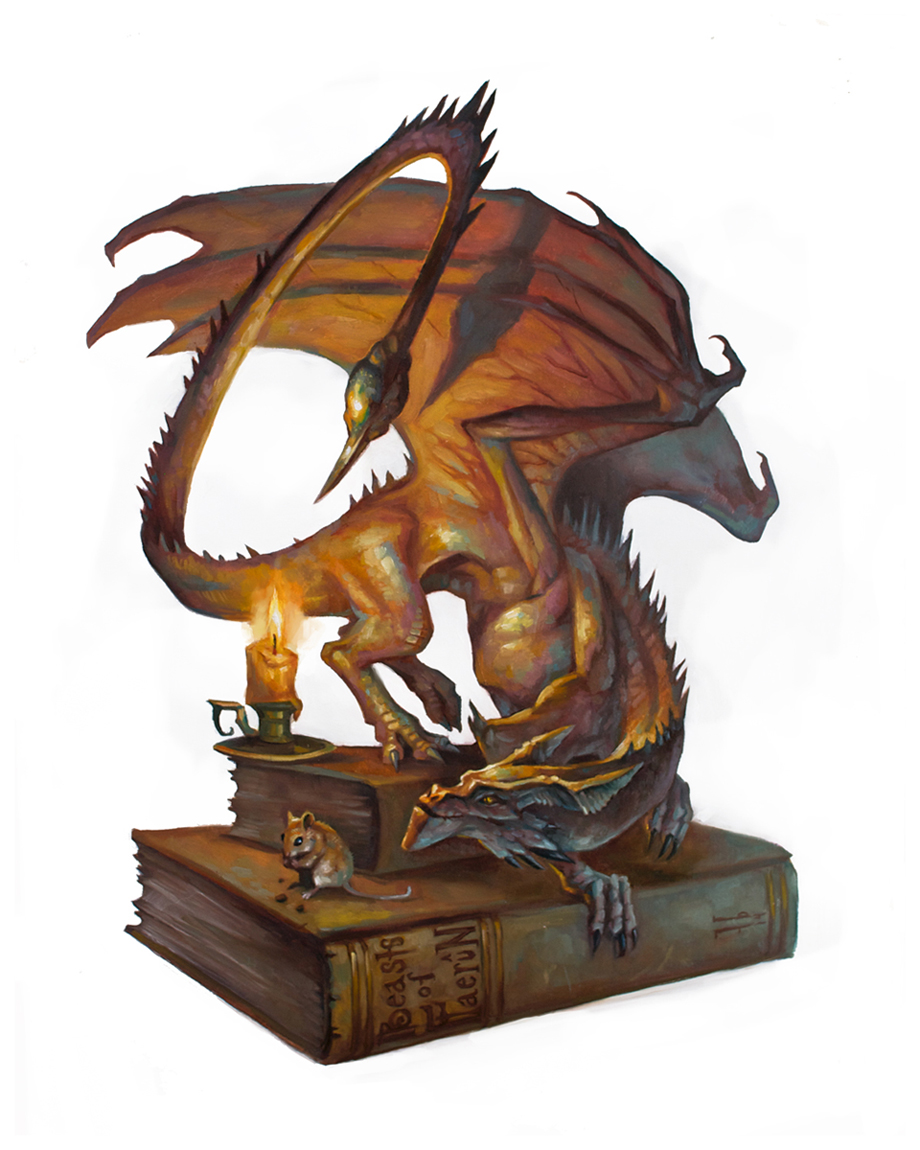
Copper Dragon, by Vance Kovacs
The 5th edition of Dungeons & Dragons is perhaps the most beautifully illustrated to date. The artwork begs to be shared, and at the table I enjoy showing players exactly what terrors they are facing. Pulling out the Monster Manual each time, however, can be cumbersome, especially when trying not to reveal the monster stats. As such, I prefer to use printouts of monster art or now, in the age ubiquitous digital devices, display them on a tablet.
Unfortunately, there is no complete digital art gallery available for the Monster Manual. In addition, although the Monster Manual credits all of the contributing artists, it doesn’t tie these credits to individual pieces. This makes tracking down a specific artist to see more of their work a bit of a chore.
To remedy these issues, I scoured the internet in an attempt to track down as many high quality original (i.e. not scanned from the book) versions of the art shown in the Monster Manual and determine their respective creators. Fortunately, many artists proudly display their work as part of their portfolio or on social media, and Wizards of the Coast has released some of it through various channels.
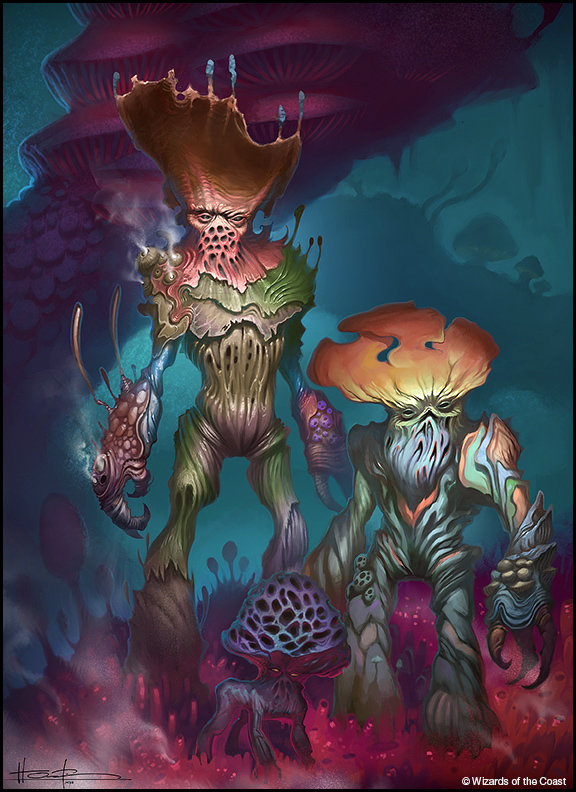
What follows is a list of every monster in the 5th edition Monster Manual for which there is a piece of primary artwork. This art is almost always directly above or near the stat block, but in a few cases multiple monsters are combined into a bigger full-page piece (see Myconids). For purposes of this list, I have omitted the artwork that is not directly tied to a stat block (such as monster sketches, backgrounds, section illustrations, etc.) Monsters with no art are omitted from this list.
Every monster for which I could find artwork from a primary source (i.e. the artist themself or Wizards of the Coast) is linked to that art. I made every attempt to link to the highest resolution image I could find. In some cases, I have linked to multiple pieces of art if the original varies from the printed version in some meaningful way (see Azer).
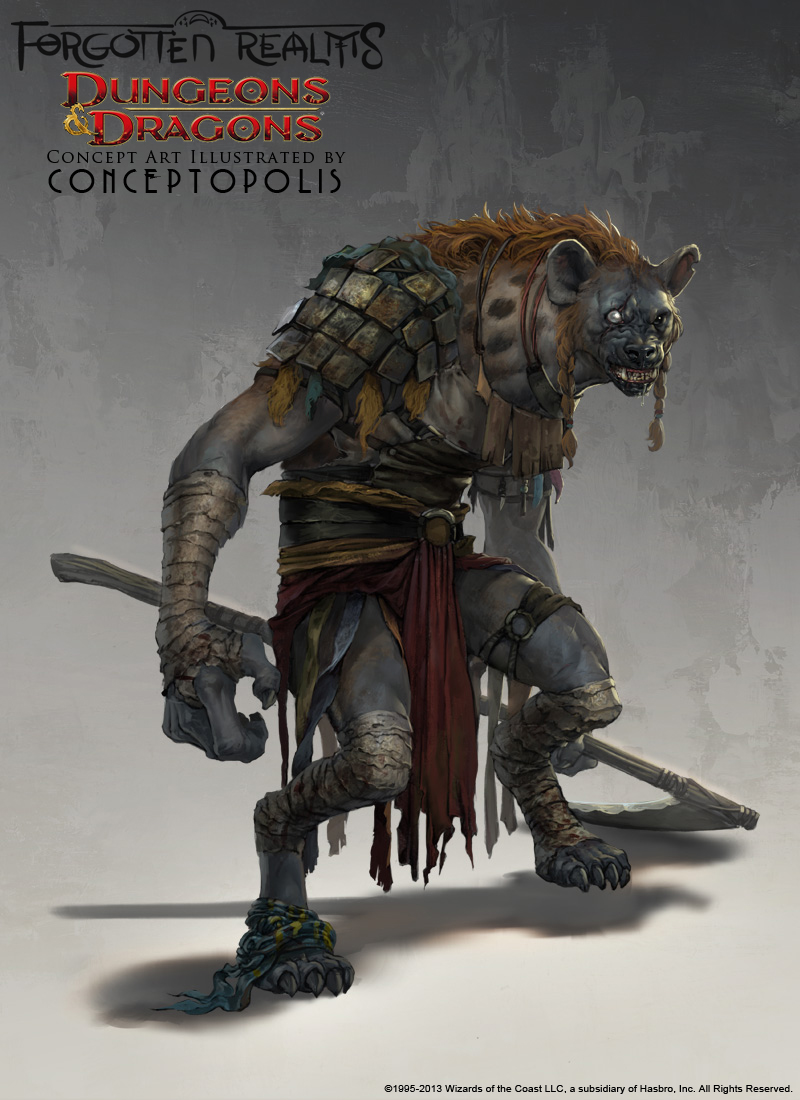
Wherever it was possible to determine it, I have listed the artist who created the work. In some cases the credit is simply a studio (e.g. Conceptopolis). If I was able to determine the name of a specific artist at a studio who produced a work, I credit them both.
This catalog is far from complete. I encourage readers who can identify the artist of a monster lacking a credit, and who can link to a high quality digital version, to post in the comments. Artist homepages, ArtStation, DeviantArt, Twitter, Facebook, and Instagram, are excellent places to look when attempting to track down individual pieces. If you are an artist who contributed to the Monster Manual, please say hi in the comments as well.
A
Aarakocra by Christopher Burdett, page 12
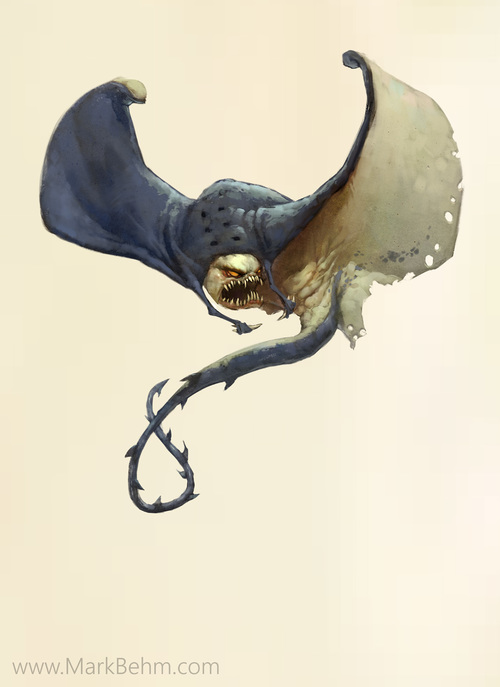
Aboleth by Mark Behm, page 13
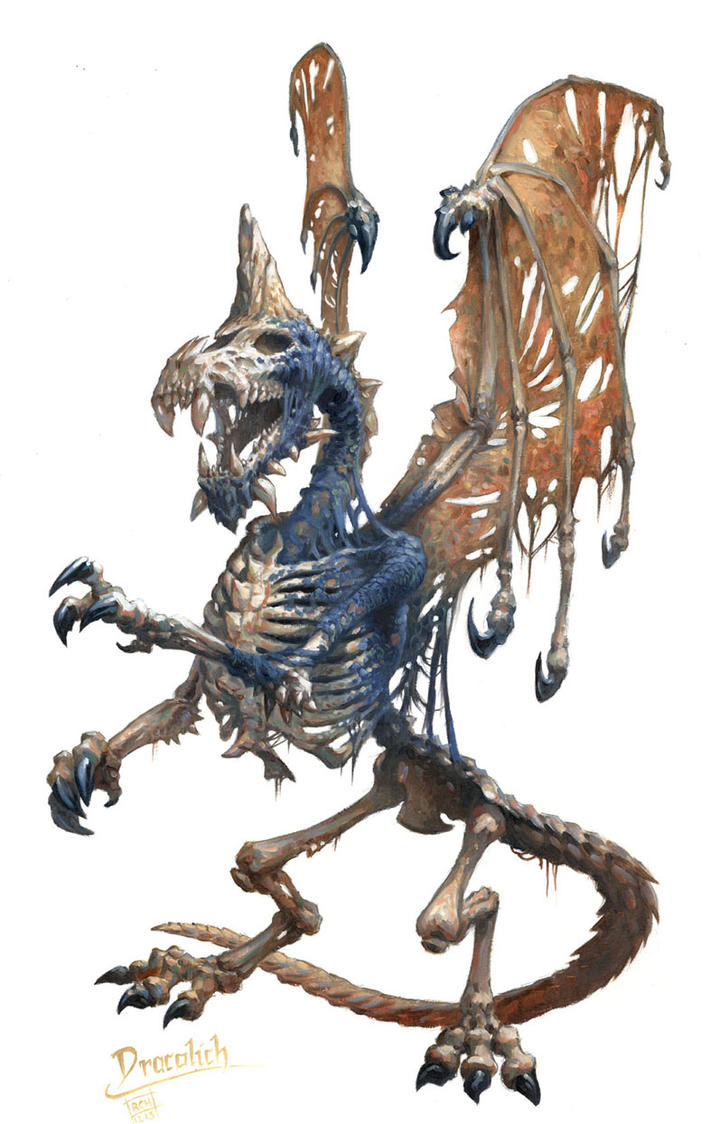
Adult Blue Dracolich by Ralph Horsley, page 84
Air Elemental by Kieran Yanner, page 124
Allosaurus: See Dinosaurs
Ancient Black Dragon by Craig J Spearing, page 87
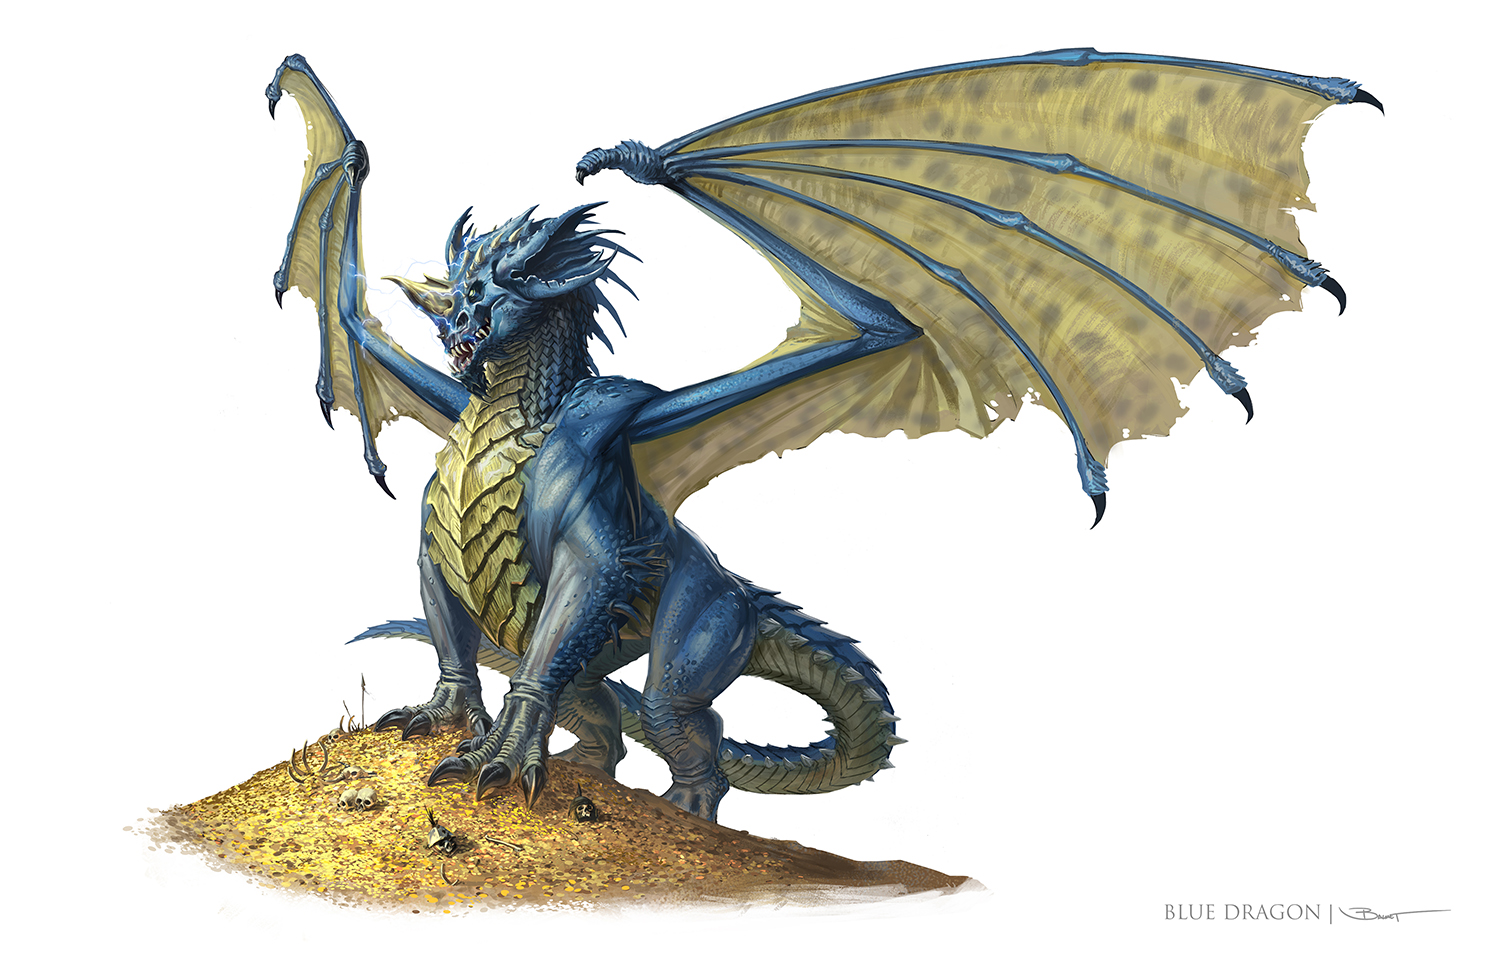
Ancient Blue Dragon by John-Paul Balmet, page 90
Ancient Brass Dragon by Daniel Landerman, page 104
Ancient Bronze Dragon by Craig J Spearing, page 107
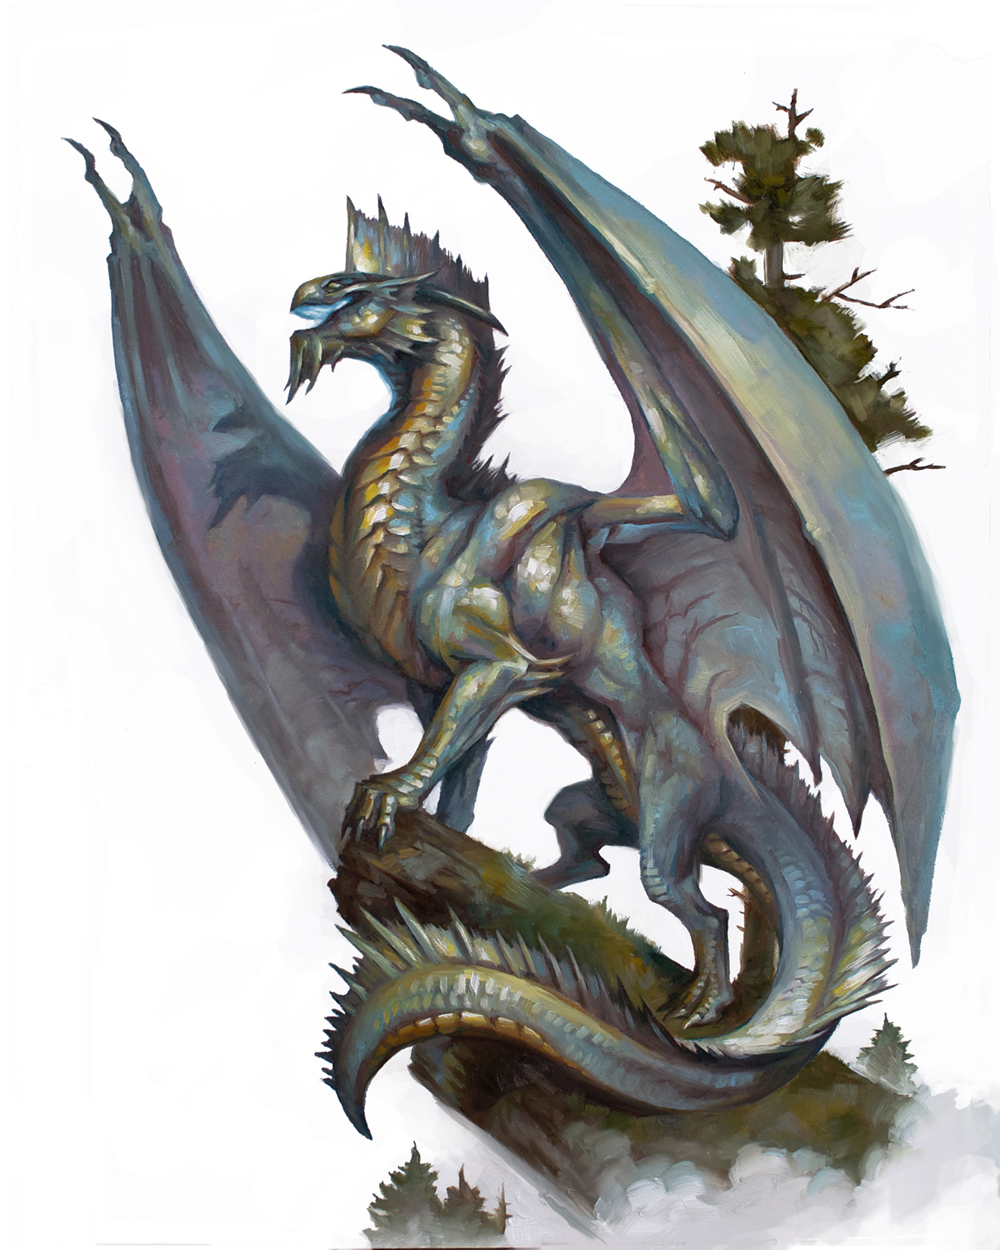
Ancient Copper Dragon by Vance Kovacs, page 110 and title page
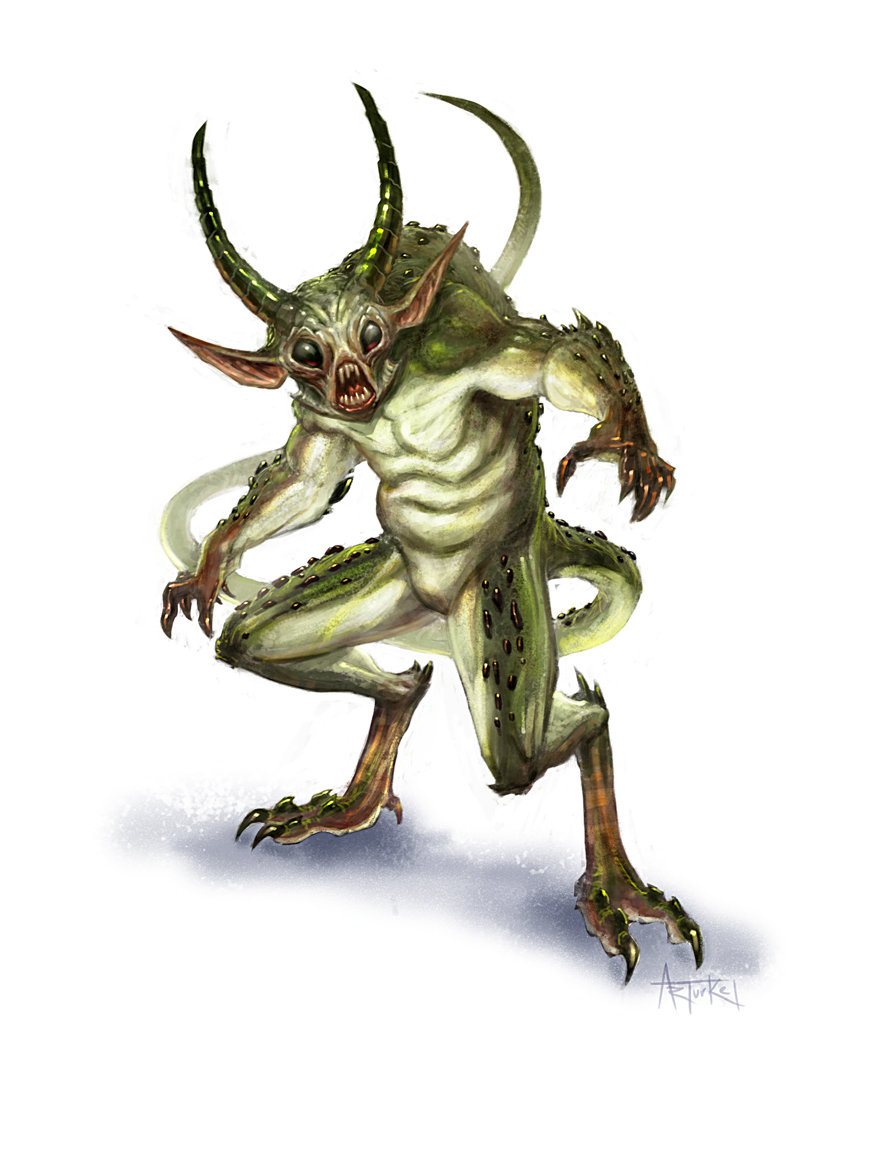
Ancient Gold Dragon by Autumn Rain Turkel, page 113
Ancient Green Dragon by Daren Bader, page 93
Ancient Red Dragon by Zack Stella, page 97
Ancient Silver Dragon (Monster Manual) by Tom Babbey, page 116
Ancient Silver Dragon (Original) by Tom Babbey, page 116
Ancient White Dragon by Lars Grant-West, page 100
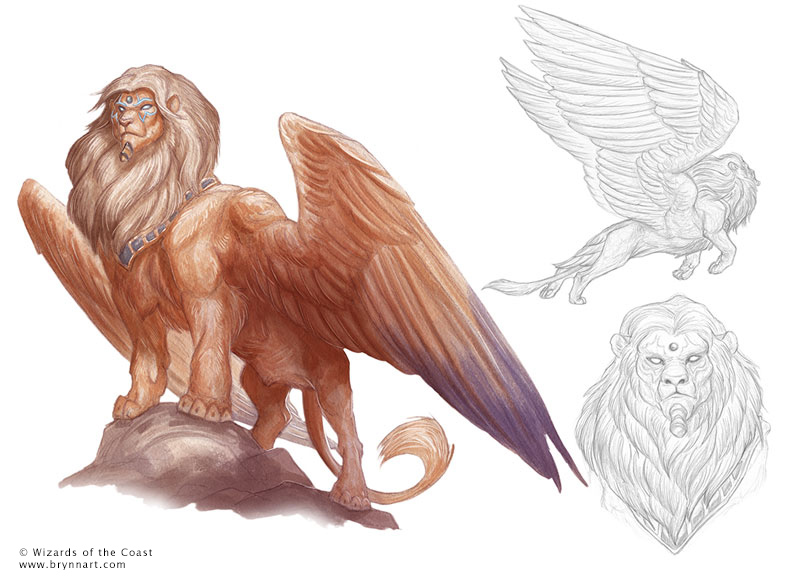
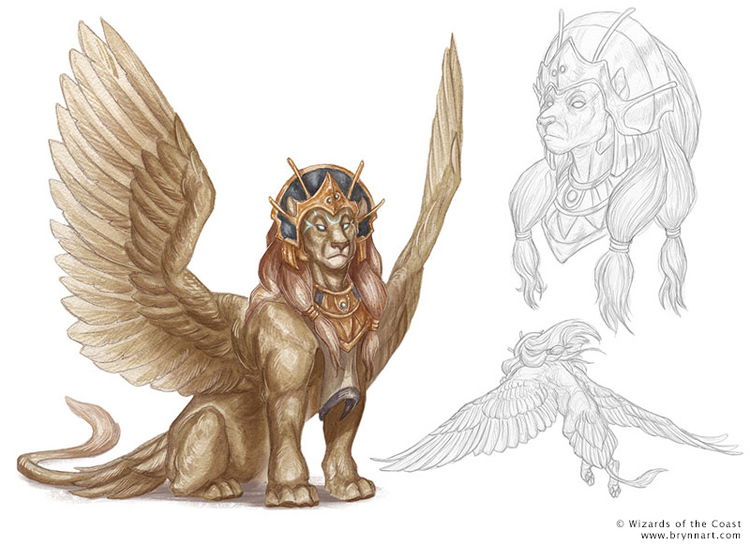
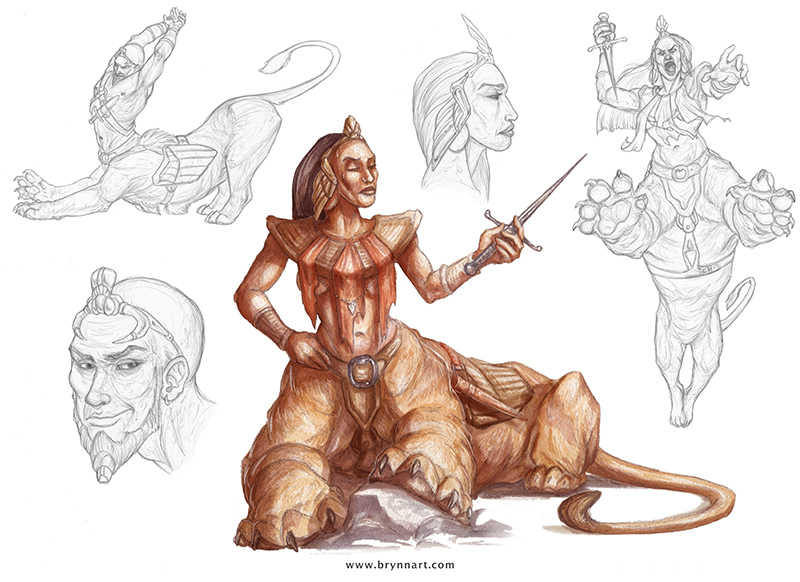
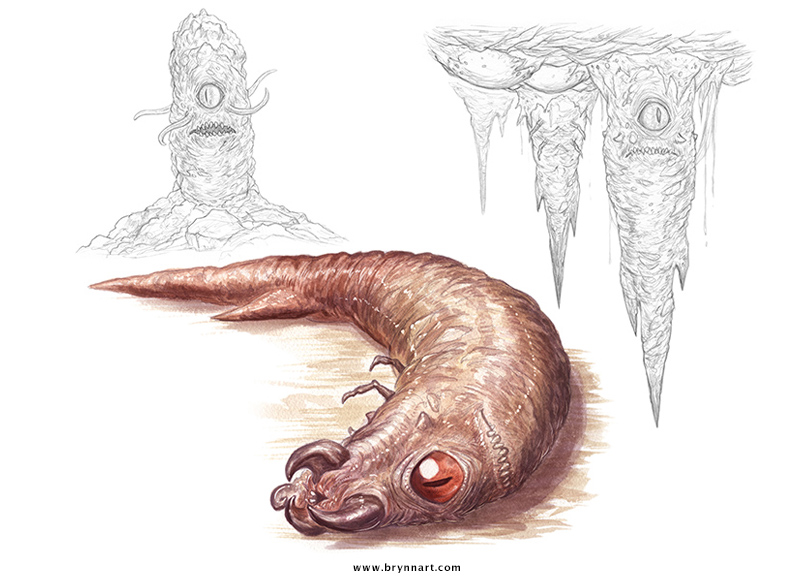
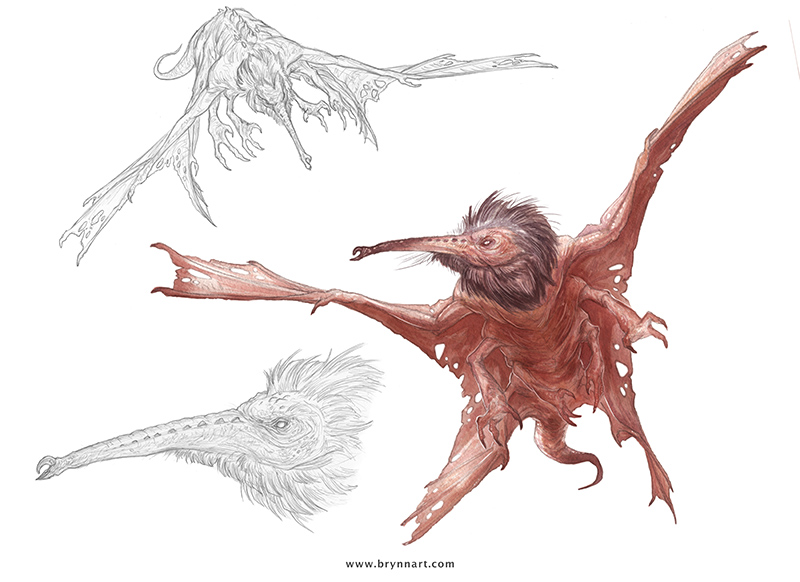
Androsphinx by Brynn Metheney, page 281
Animated Armor by Autumn Rain Turkel, page 19
Ankheg by Christopher Burdett, page 21
Arcanaloth by Andrew Mar, page 313
Archmage by Tyler Jacobson, page 342
Azer (Monster Manual) by Milivoj Ceran, page22
Azer (Original) by Milivoj Ceran, page 22
B
Balor by Conceptopolis, page 55
Bandit Captain by Vincent Proce, page 344
Banshee by Tomas Giorello, page 23
Barbed Devil (Hamatula), page 70
Barlgura by Conceptopolis, page 56
Basilisk by Ilya Shkipin, page 24
Bearded Devil (Barbazu) by Mike Sass, page 70
Behir by John-Paul Balmet, page 25
Beholder by Kieran Yanner, page 28
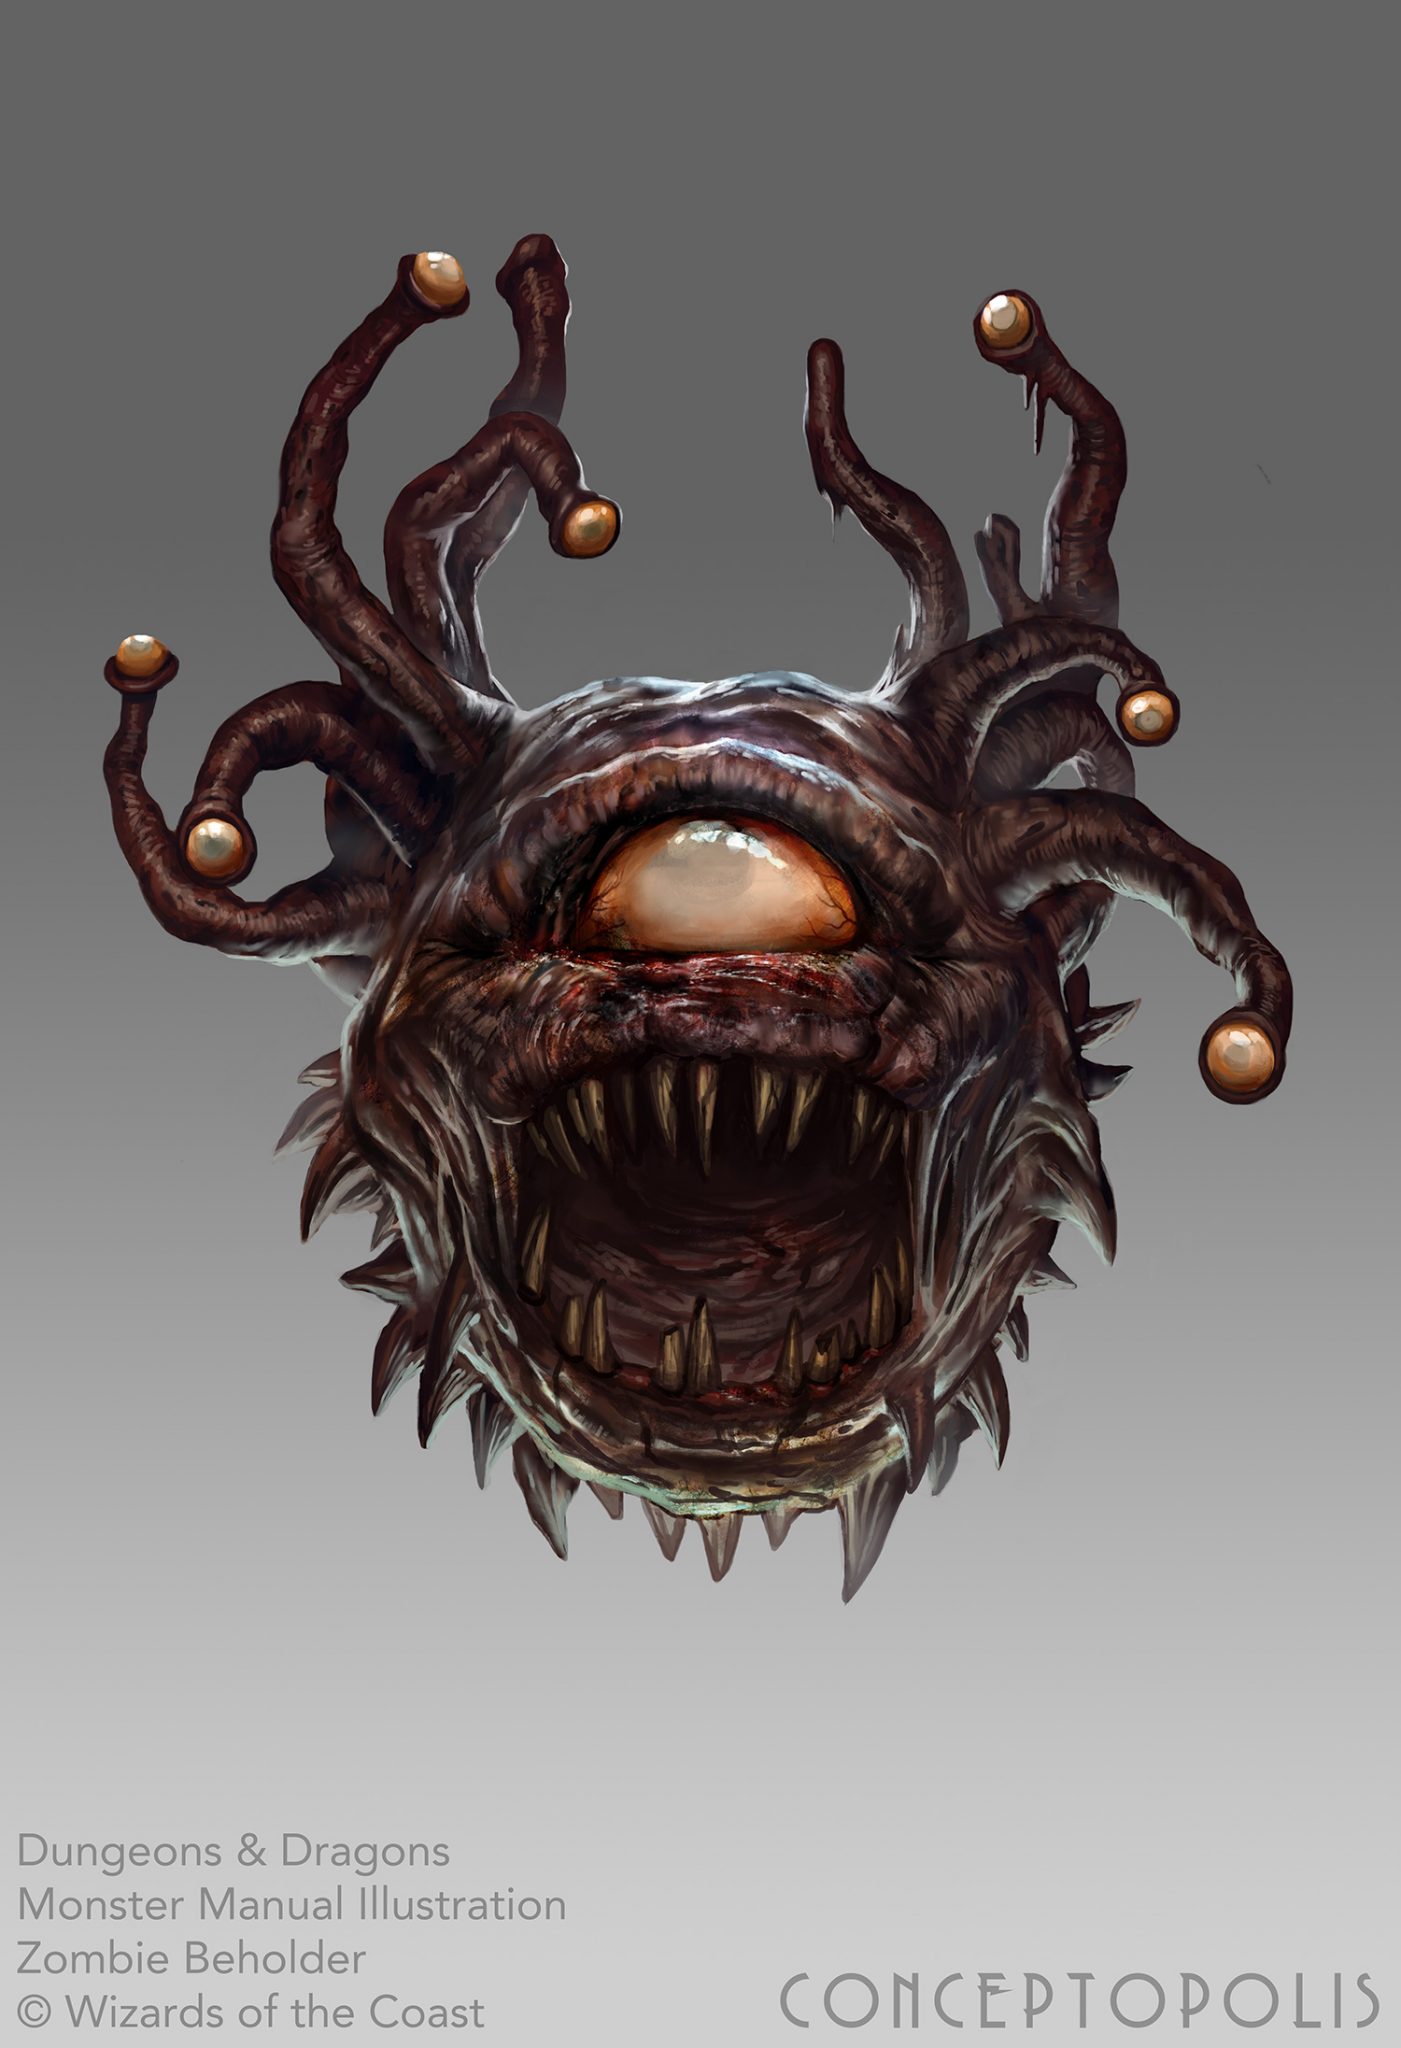
Beholder Zombie by Conceptopolis, page 315
Black Dragon Wyrmling, page 86 (previous printed in 4th edition’s Draconomicon: Chromatic Dragons)
Black Pudding, page 241
Blights (Needle, Twig, Vine) (Monster Manual) by Conceptopolis, page 31
Blights (Needle, Twig, Vine) (Original) by Conceptopolis, page 31
Blink Dog by Conceptopolis, page 319
Blue Slaad by Rudy Siswanto for Conceptopolis, page 275
Bone Devil (Osyluth) by Filip Burburan, page 71
Bone Naga by Conceptopolis, page 233
Bronze Dragon Wyrmling, page 109
Bugbear by Steve Prescott, page 33
Bulette by Cory Trego-Erdner, page 34
Bullywug by Conceptopolis, page 35
C
Cambion (Monster Manual) by Milivoj Ceran, page 36
Cambion (Original) by Milivoj Ceran, page 36
Carrion Crawler by Brynn Metheney, page 37
Centaur by Wesley Burt, page 38
Chain Devil (Kyton) by Marco Nelor, page 72
Chasme by Conceptopolis, page 57
Chimera, page 39
Chuul by Kate Pfeilschiefter, page 40
Clay Golem by Jasper Sandner for Conceptopolis, page 168
Cloaker by Mark Behm, page 41
Cloud Giant by Justin Sweet, page 154
Cockatrice by Filip Burburan, page 42
Couatl by Conceptopolis, page 43
Crawling Claw by Jim Pavelec, page 44
Cult Fanatic by Lindsey Look, page 345
Cyclops by Tomas Giorello, page 45
D
Dao by Conceptopolis, page 143
Darkmantle by Mark Behm, page 46
Death Dog by Rudy Siswanto for Conceptopolis, page 321
Death Knight by Conceptopolis, page 47
Death Slaad by Conceptopolis, page 278
Death Tyrant by Kieran Yanner, page 29
Deep Gnome (Svirfneblin), page 164
Demilich by Michael Berube, page 48
Deva by Conceptopolis, page 16
Dinosaurs by Marc Sasso, page 79
Displacer Beast by Conceptopolis, page 81
Djinni by Conceptolis, page 144
Doppelganger by Vance Kovacs, page 82
Dragon Turtle, page 119
Dretch by Muhamad Faizal Fikri for Conceptopolis, page 57
Drider by Daniel Landerman, page 120
Drow Mage, page 127
Druid by Jesper Ejsing, page 346
Dryad by Richard Whitters, page 121
Duergar by Jasper Sandner, page 122
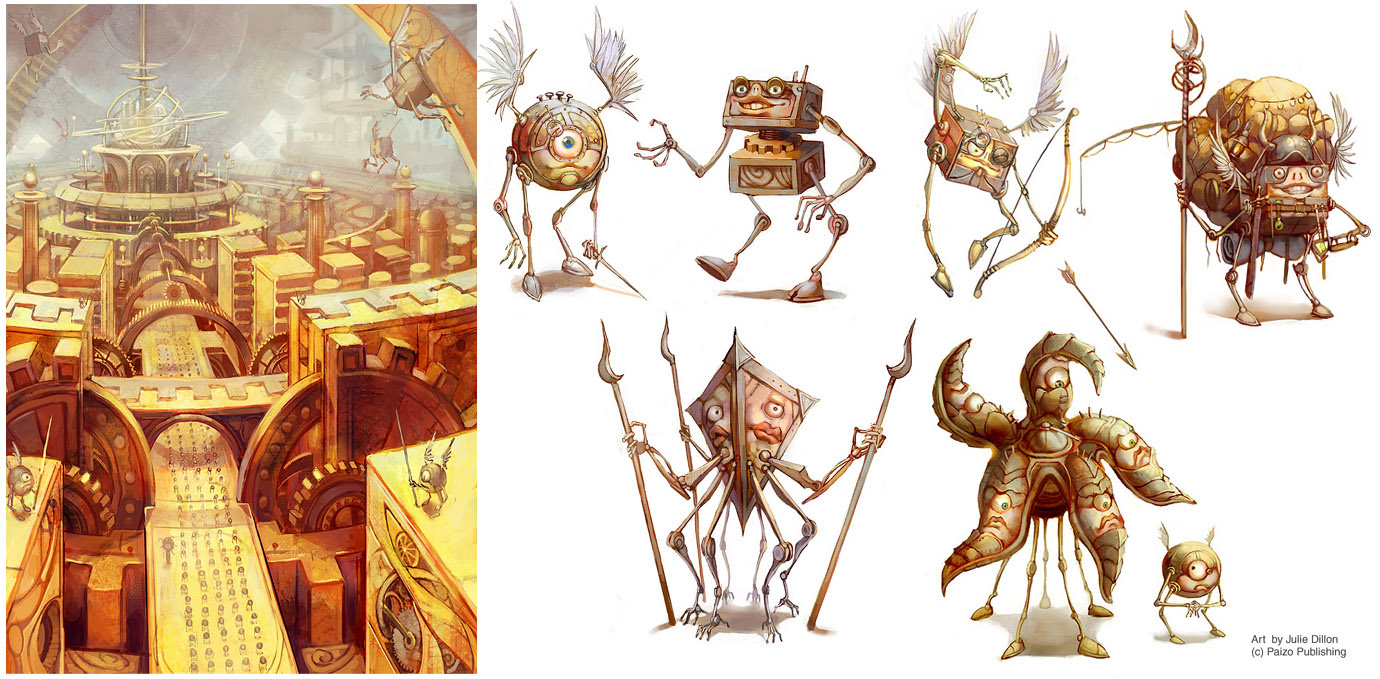
Duodrone by Julie Dillon, page 225
Dust Mephit, page 215
E
Earth Elemental by Kieran Yanner, page 124
Efreeti by Conceptopolis, page 145
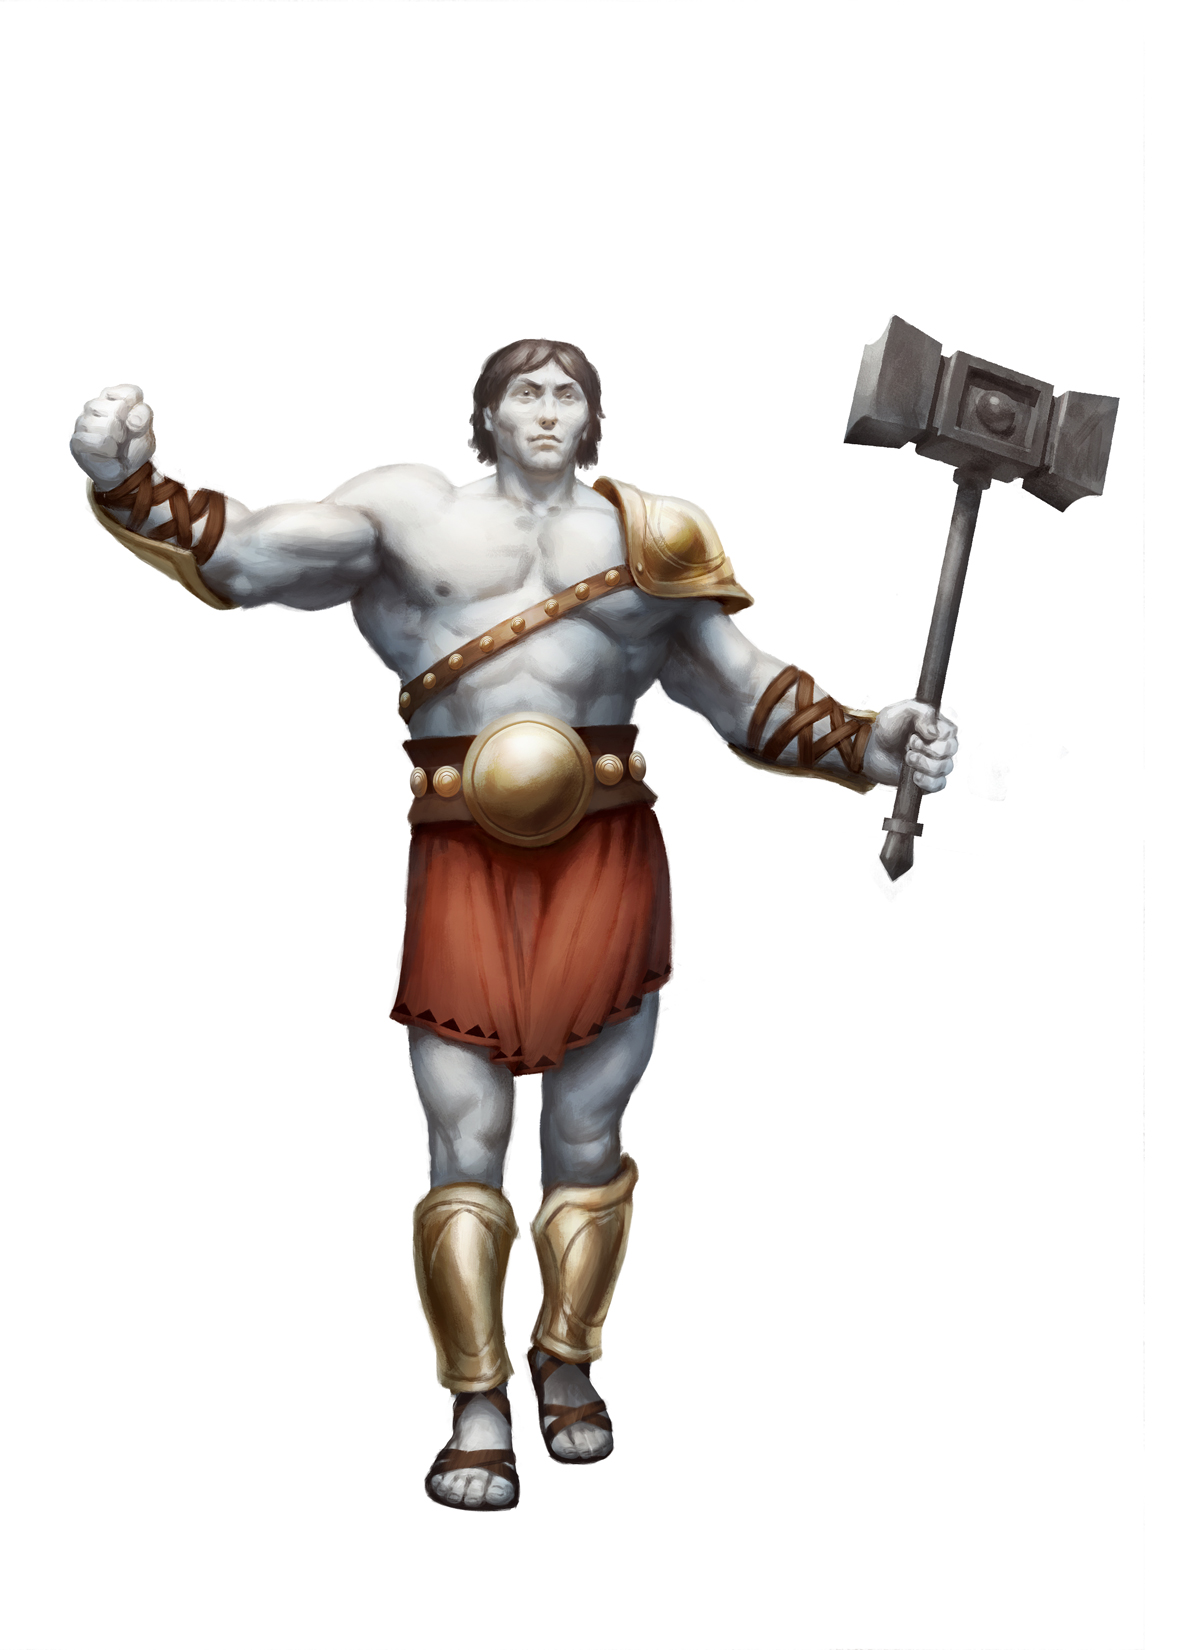
Empyrean by Cory Trego-Erdner, page 130
Erinyes by Allen Williams, page 73
Ettercap, page 131
Ettin by Kieran Yanner, page 132
F
Faerie Dragon by Mike Sass, page 133
Fire Elemental, page 125
Fire Giant by Daniel Ljunggren, page 154
Fire Snake by Christopher Burdett, page 265
Flameskull by Conceptopolis, page 134
Flesh Golem by Conceptopolis, page 169
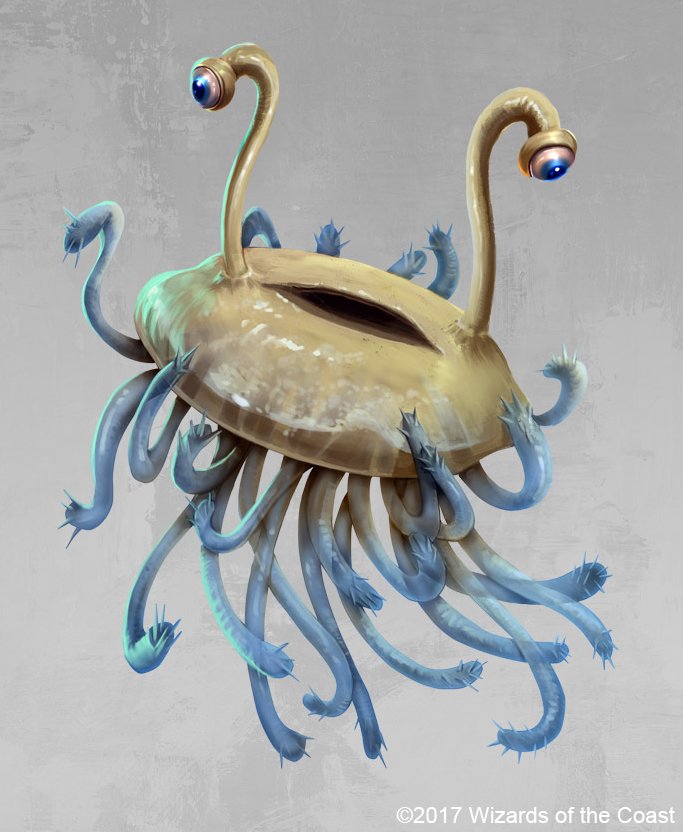
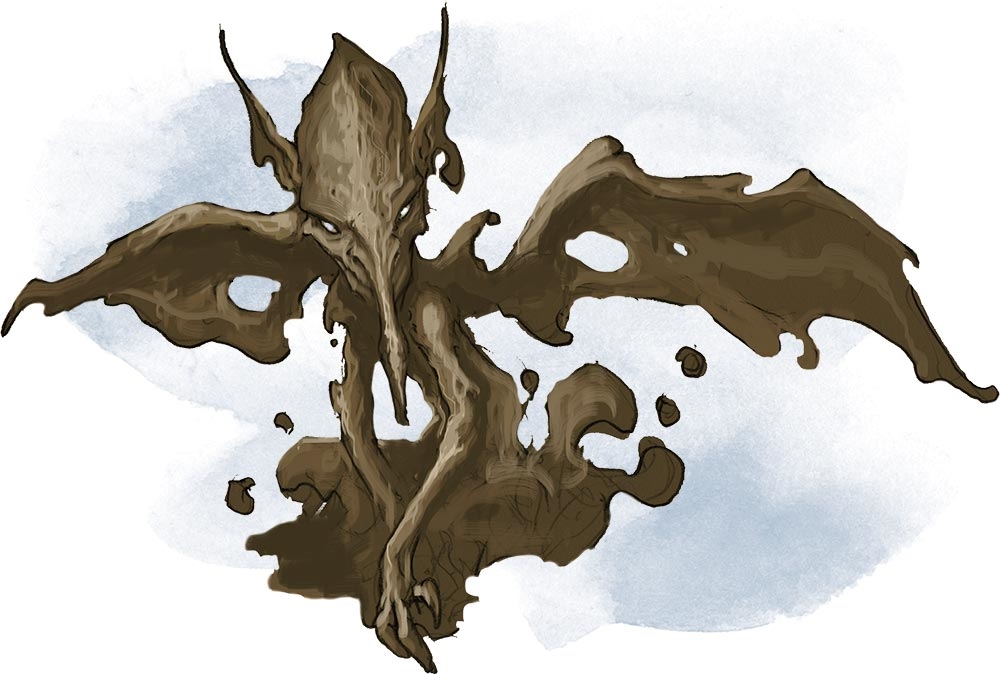
Flumph by Conceptopolis, page 135
Flying Sword, page 20
Fomorian by Conceptopolis, page 136
Frost Giant by Justin Sweet, page 155
Fungi (Gas Spore, Shrieker, Violet Fungus), page 137
G
Galeb Duhr by Conceptopolis, page 139
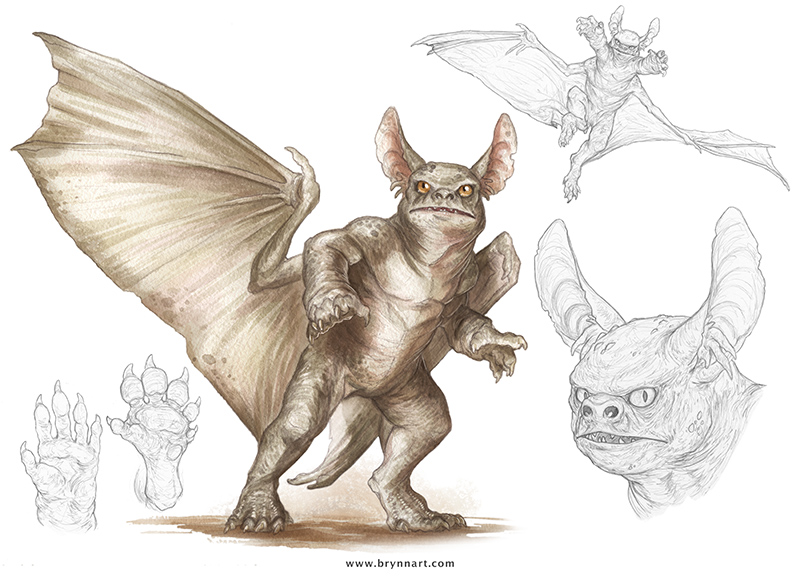
Gargoyle by Brynn Metheney, page 140
Gas Spore: See Fungi
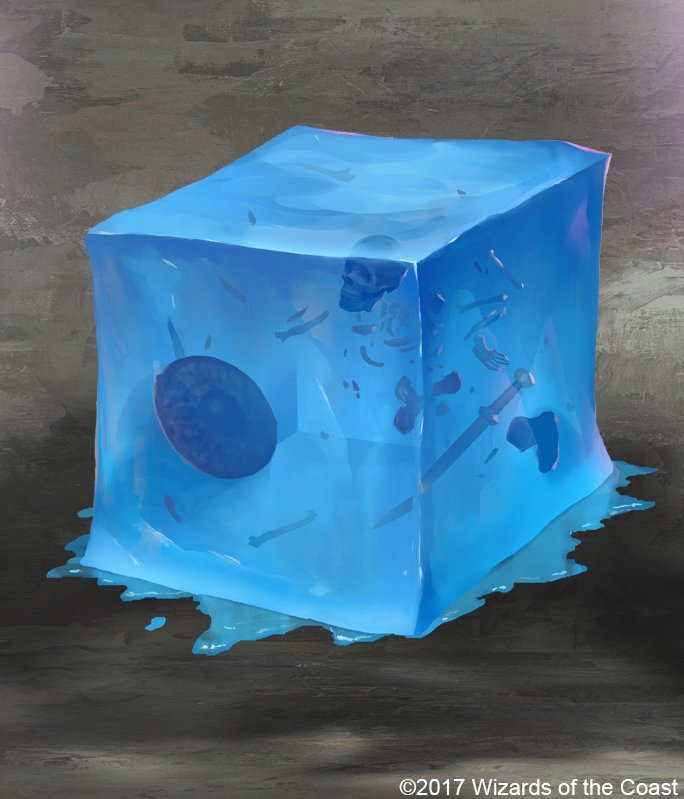
Gelatinous Cube (Monster Manual) by Conceptopolis, page 242
Gelatinous Cube by Conceptopolis, page 242
Ghast by Ryan Pancoast, page 148
Ghost, page 147
Giant Eagle, page 324
Giant Fire Beetle by Conceptopolis, page 325
Giant Spider by Brynn Metheney, page 328
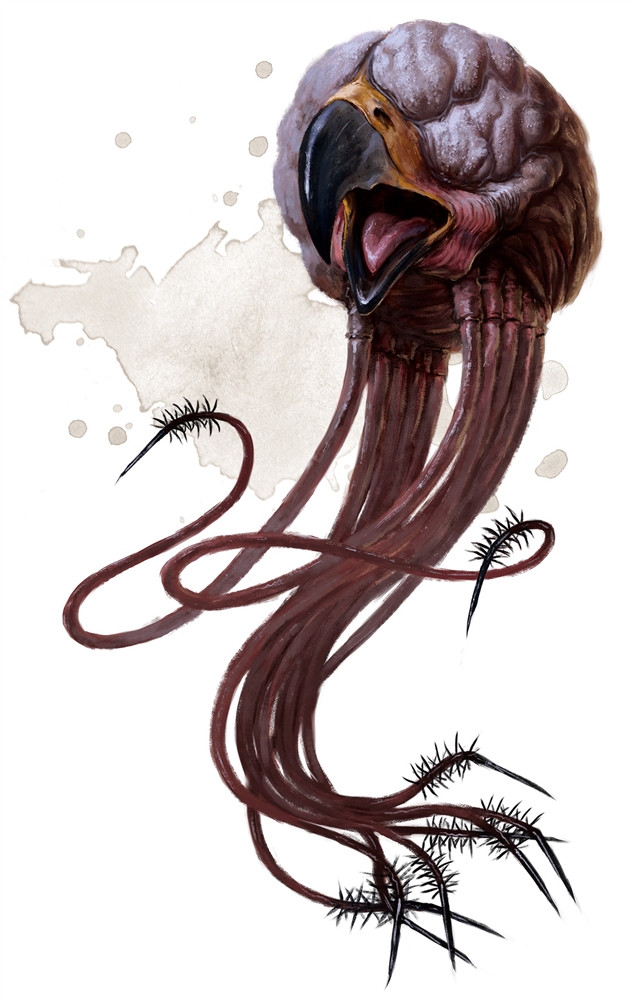
Gibbering Mouther by Conceptopolis, page 157
Githyanki Warrior by Emrah Elmasli, page 160
Githzerai Monk by Emrah Elmasli, page 161
Glabrezu by Conceptopolis, page 58
Gnoll (Monster Manual) by Conceptopolis, page 163
Gnoll by Conceptopolis, page 163
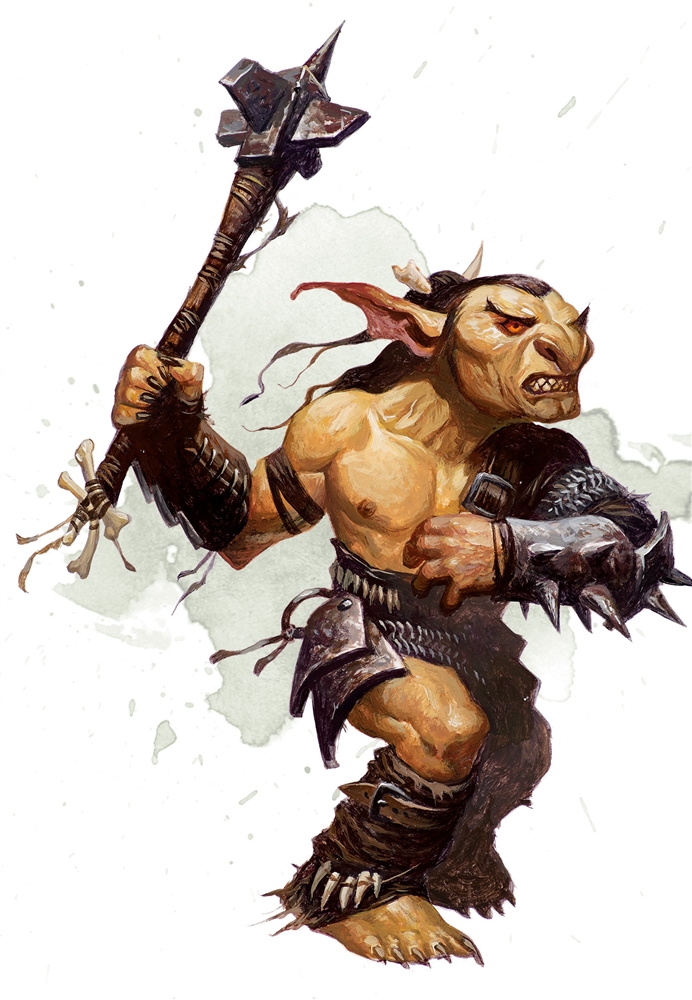
Goblin by Steve Prescott, page 166
Gorgon by Zack Stella, page 171
Goristro by Conceptopolis, page 59
Gray Ooze, page 243
Gray Slaad by Conceptopolis, page 275
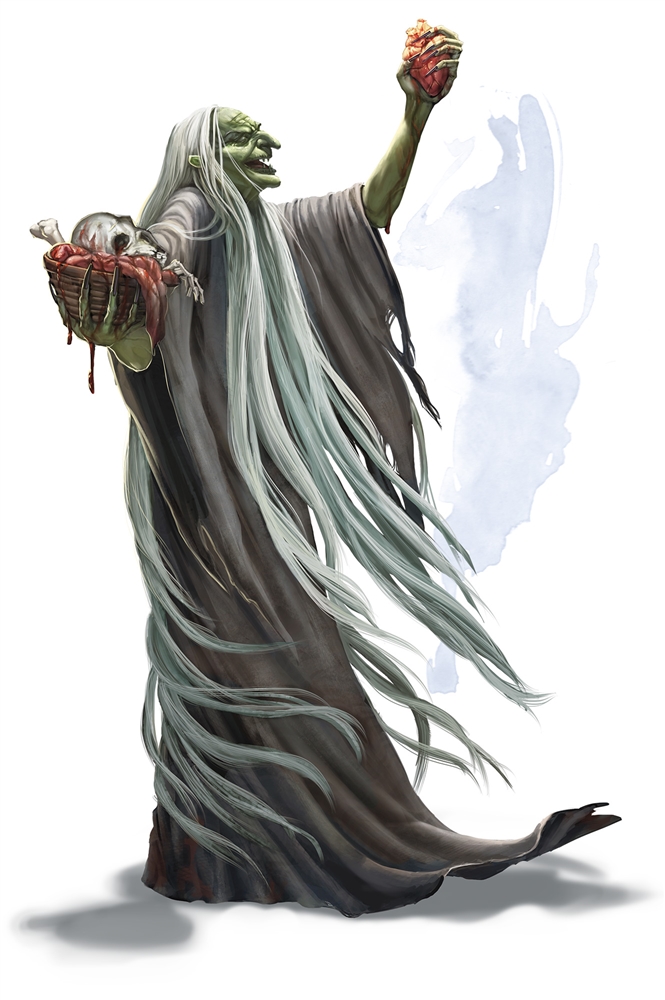
Green Hag by Conceptopolis, page 177
Green Slaad by Rudy Siswanto for Conceptopolis, page 275
Grell by Daniel Landerman, page 172
Grick by Conceptopolis, page 173
Griffon, page 174
Grimlock by Milivoj Ceran, page 175
Guardian Naga, page 234
Gynosphinx by Brynn Metheney, page 282
H
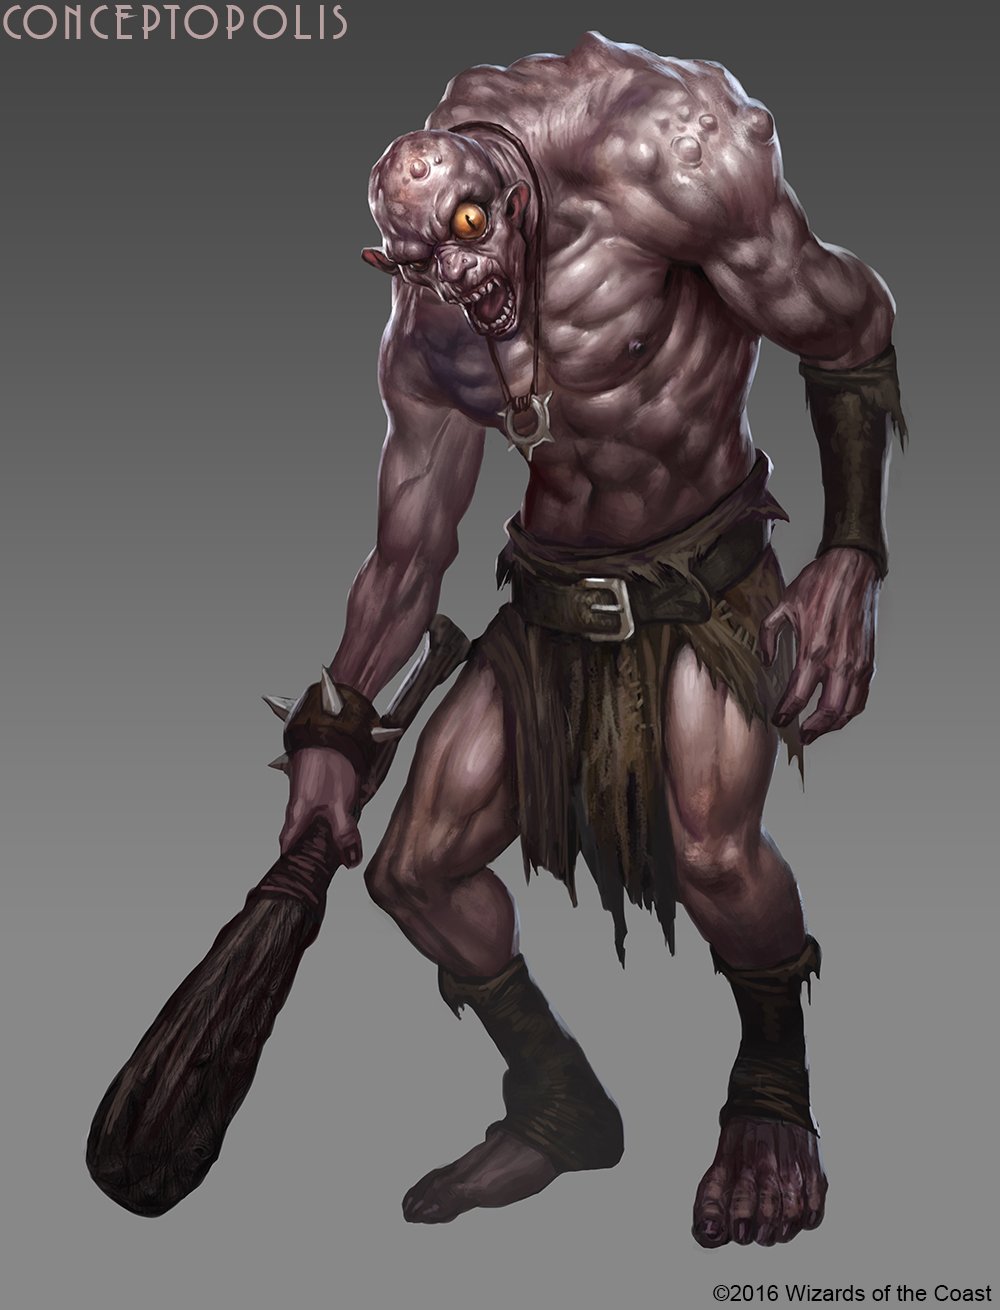
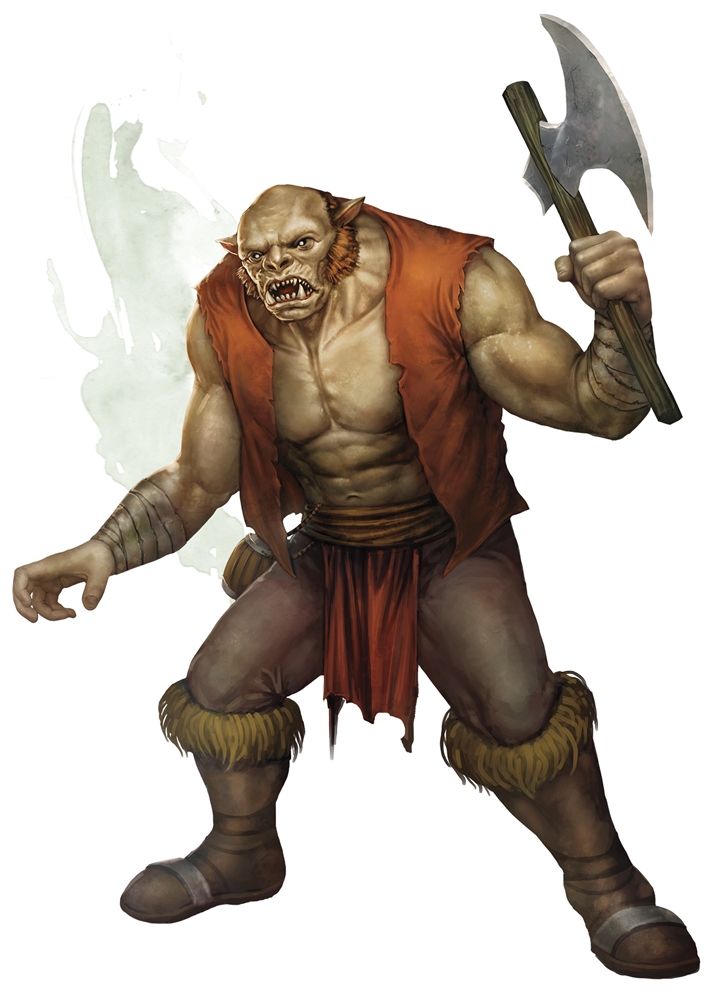
Half-Ogre by Conceptopolis, page 238
Half-Red Dragon Veteran by Conceptopolis, page 180
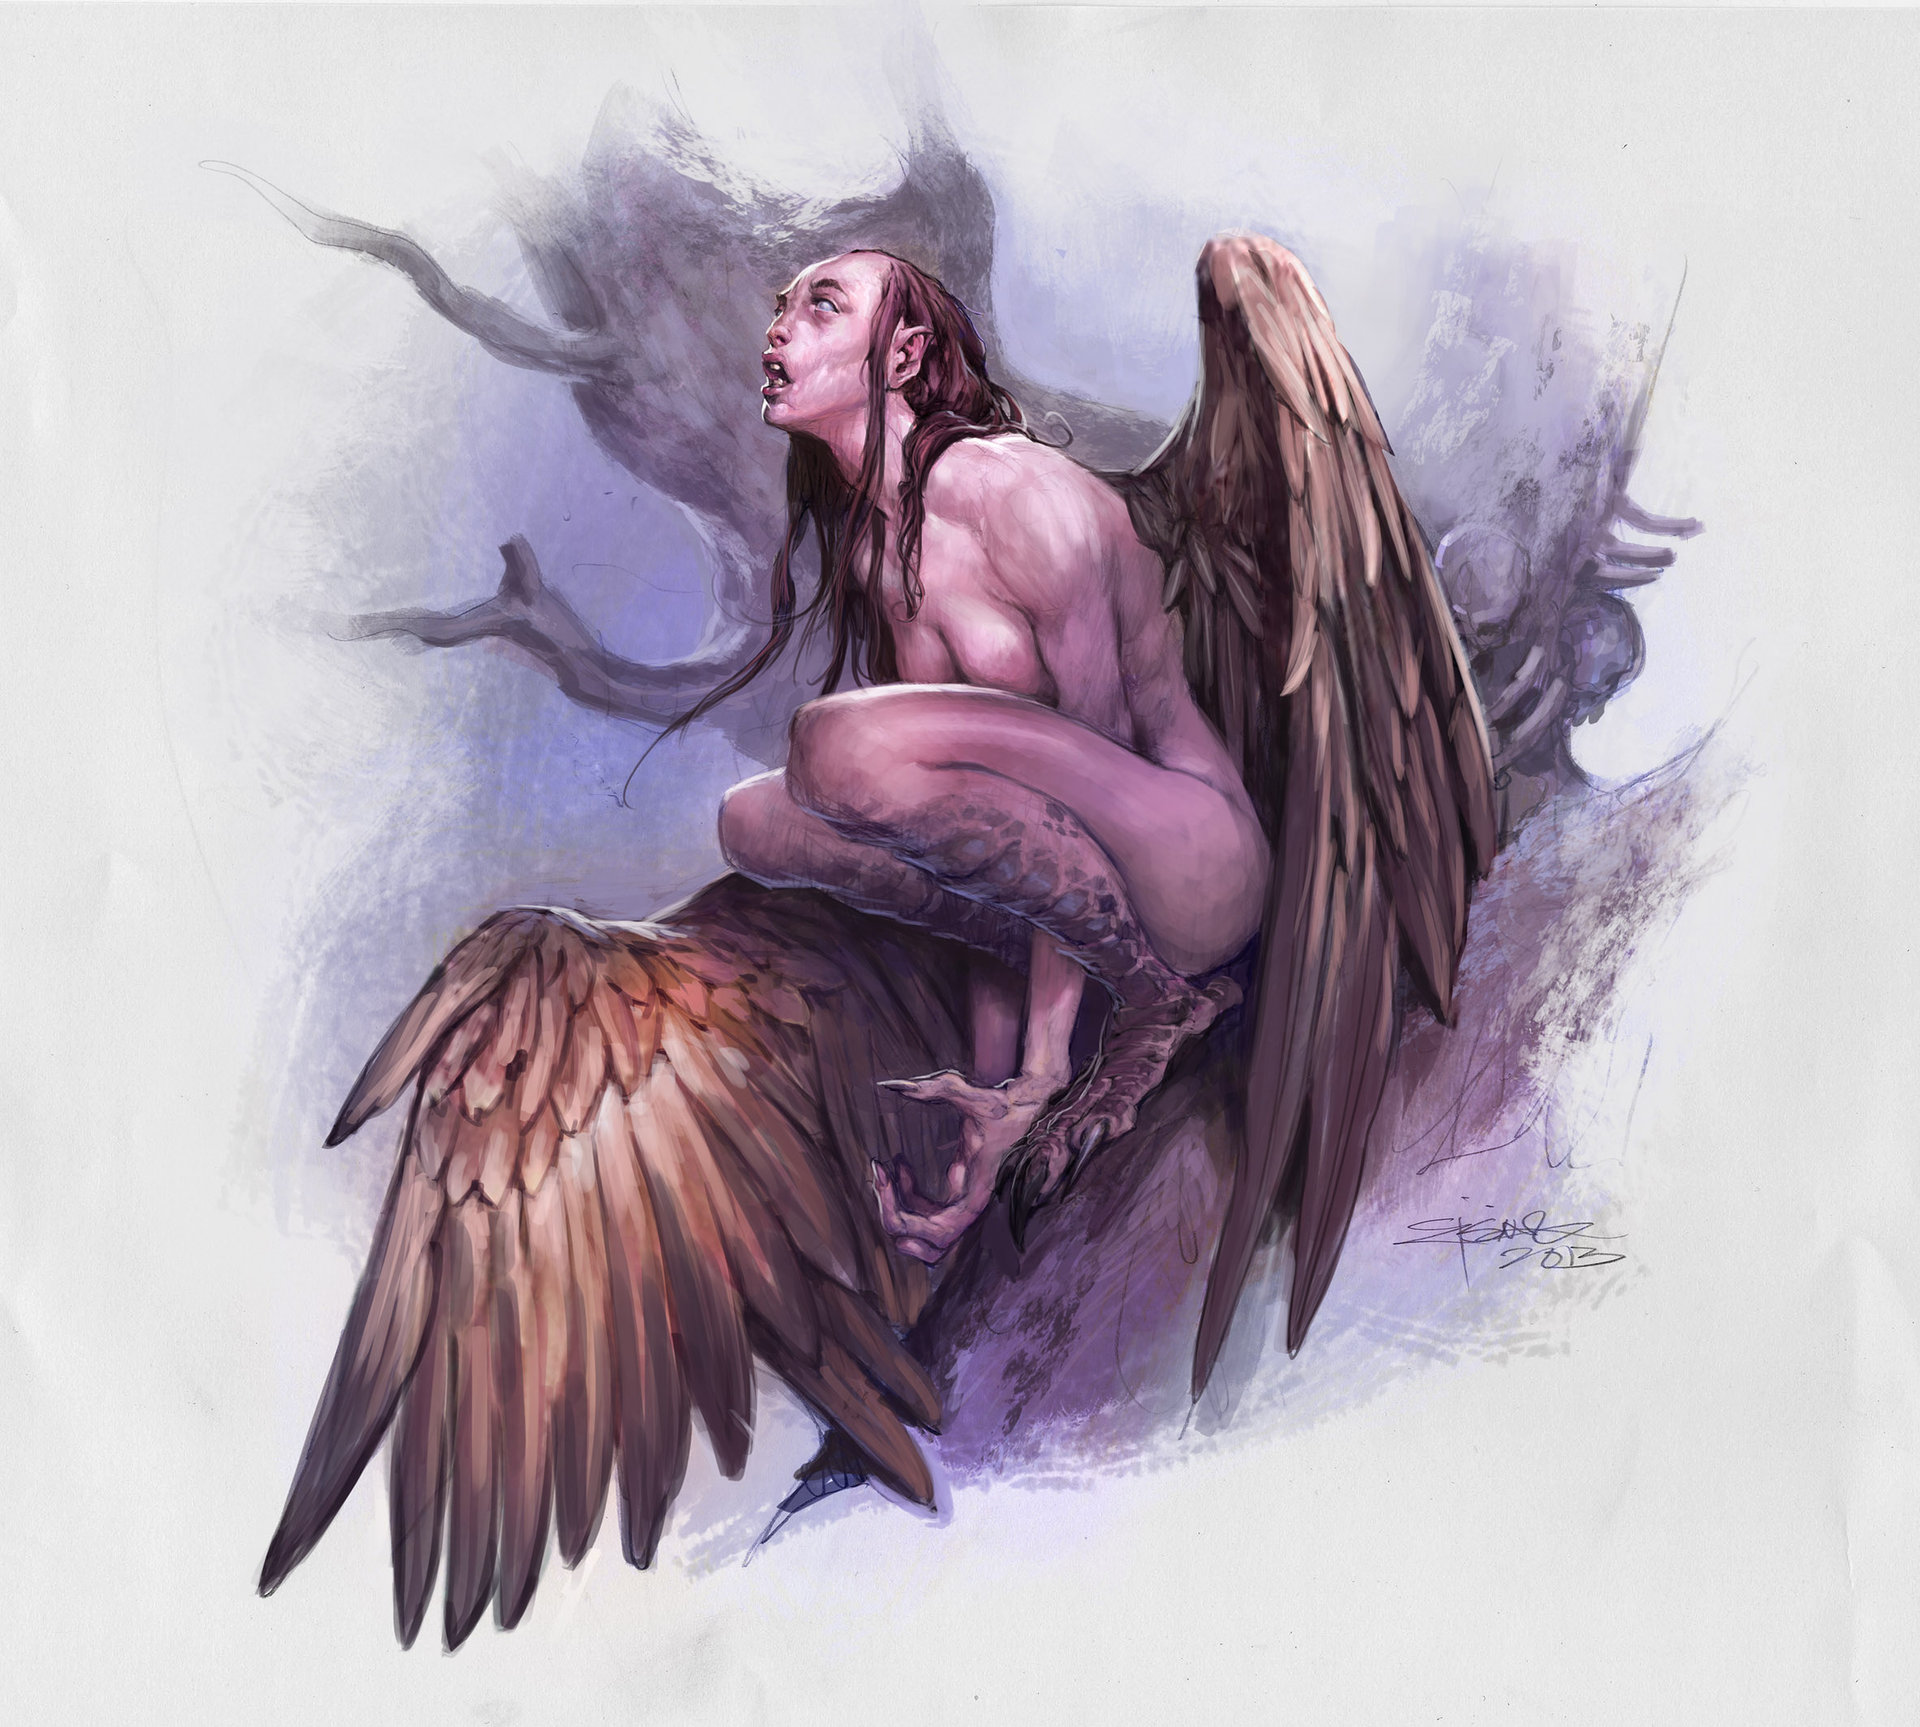
Harpy by Jesper Ejsing, page 181
Hawk by Martias Tapia, page 330
Hell Hound by Rudy Siswanto for Conceptopolis, page 182
Helmed Horror by Mathew Stewart, page 183
Hezrou by Conceptopolis, page 60
Hill Giant by Justin Sweet, page 155
Hippogriff, page 184
Hobgoblin Warlord, page 187
Homunculus by Brynn Metheney, page 188
Hook Horror by Cory Trego-Erdner, page 189
Horned Devil (Malebranche) by Jim Pavelec, page 74
Hydra by Zack Stella, page 190
Hyena, page 331 (previously printed in 4th edition’s Monster Vault: Threats to the Nentir Vale)
I
Ice Devil (Gelugon) by Dave Dorman, page 75
Ice Mephit, page 215
Imp by Slawomir Maniak, page 76
Incubus by Conceptopolis/Richard Suwono, page 285
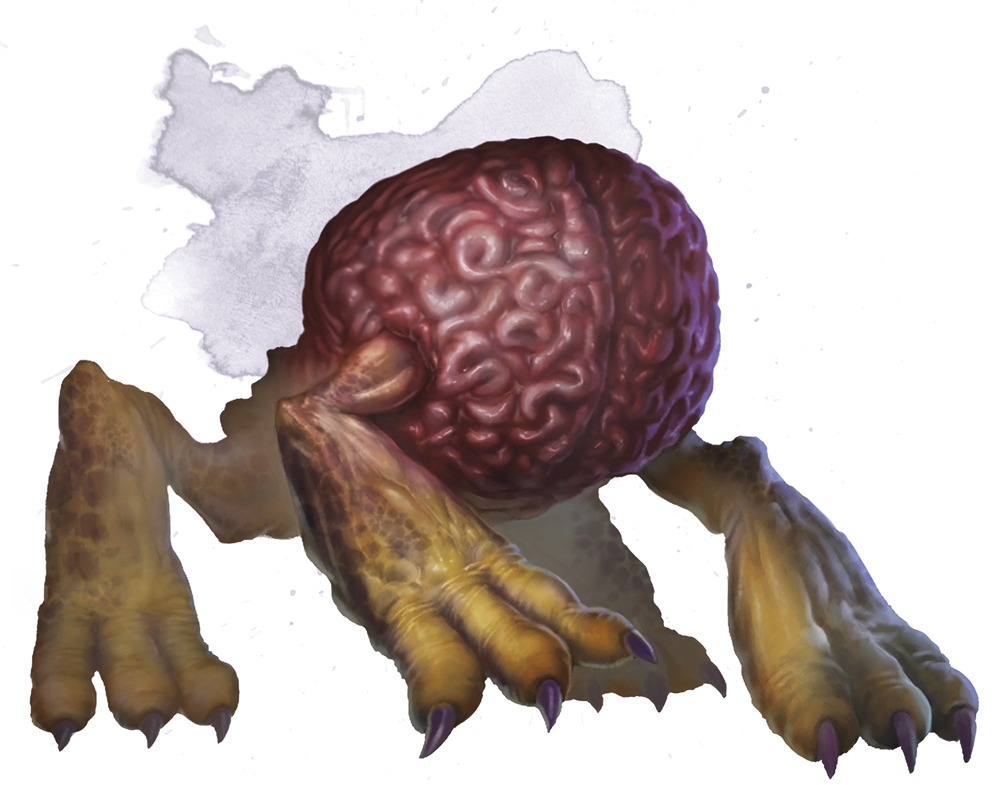
Intellect Devourer by Conceptopolis, page 191
Invisible Stalker by David Vargo, page 192
Iron Golem by Conceptopolis, page 170
J, K
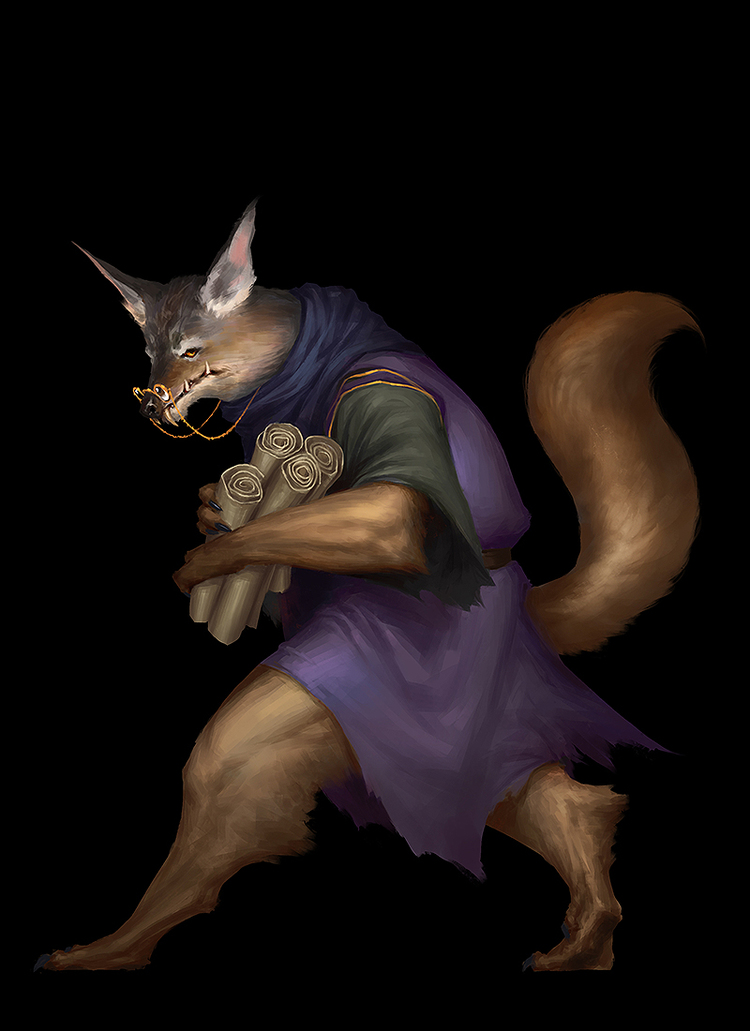
Jackalwere by Conceptopolis, page 193
Kenku, page 194
Kobold by Conceptopolis, page 195
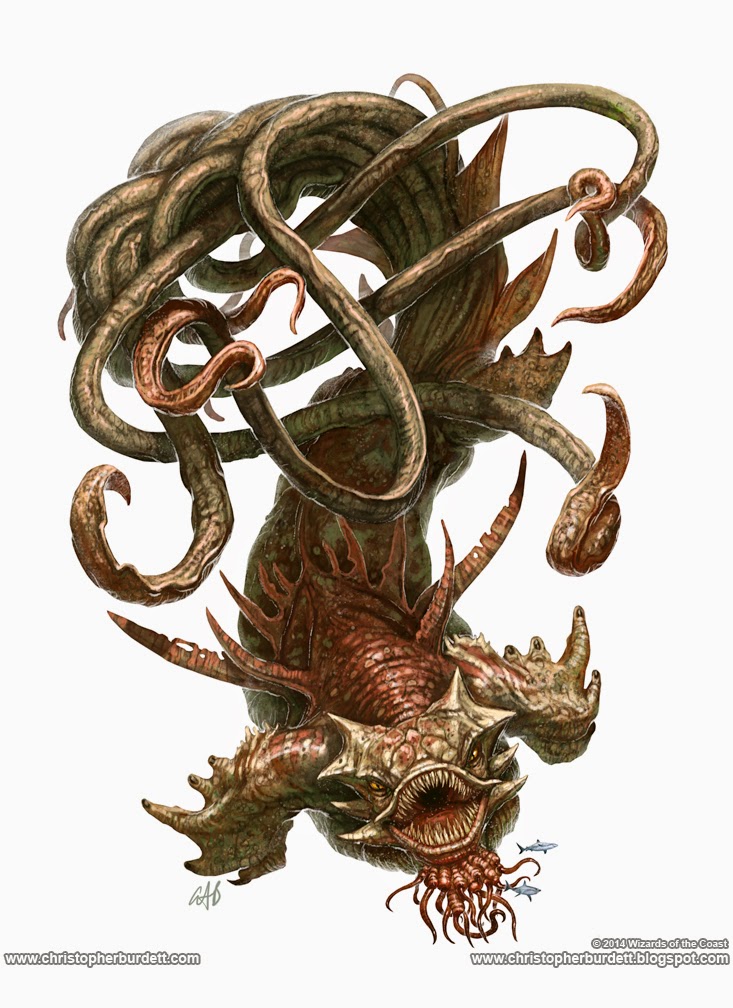
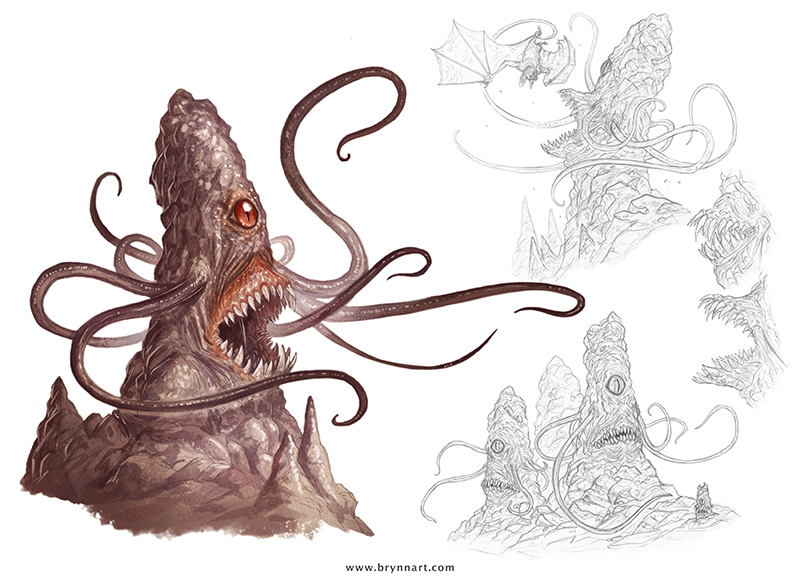
Kraken by Christopher Burdett, page 197
Kuo-Toa by Min Yum, page 198
Kuo-Toa by Zoltan Boros, page 199
Kuo-Toa Archpriest by Zoltan Boros, page 200
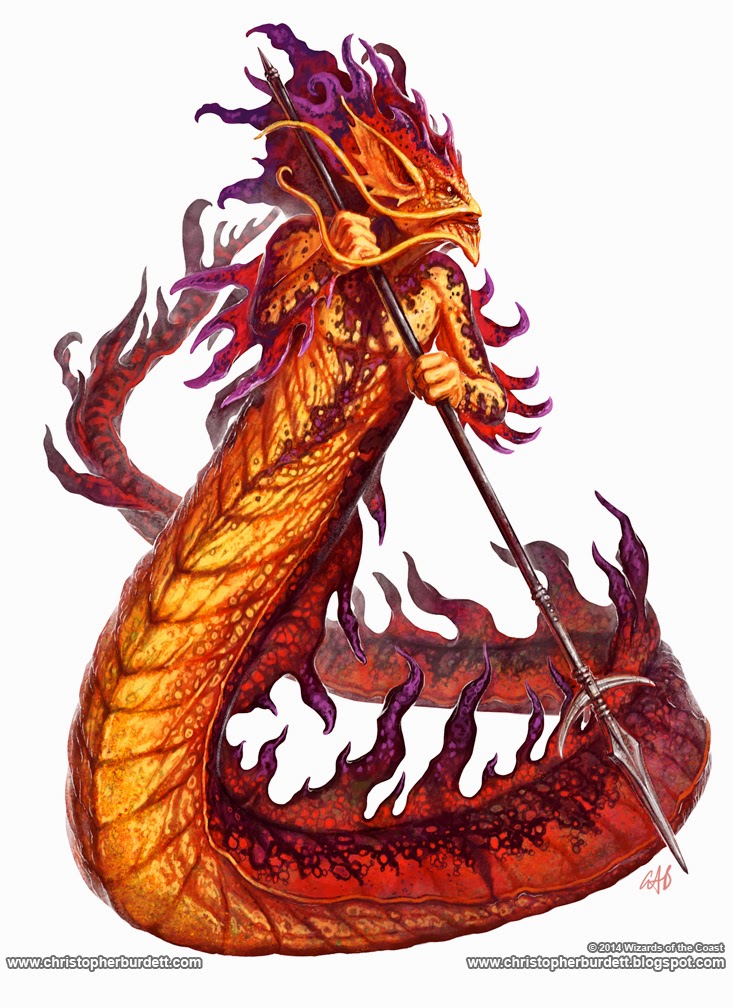
Kuo-Toa Whip by Zoltan Boros, page 200
L
Lamia by Brynn Metheney, page 201
Lemure by Jasper Sandner, page 76
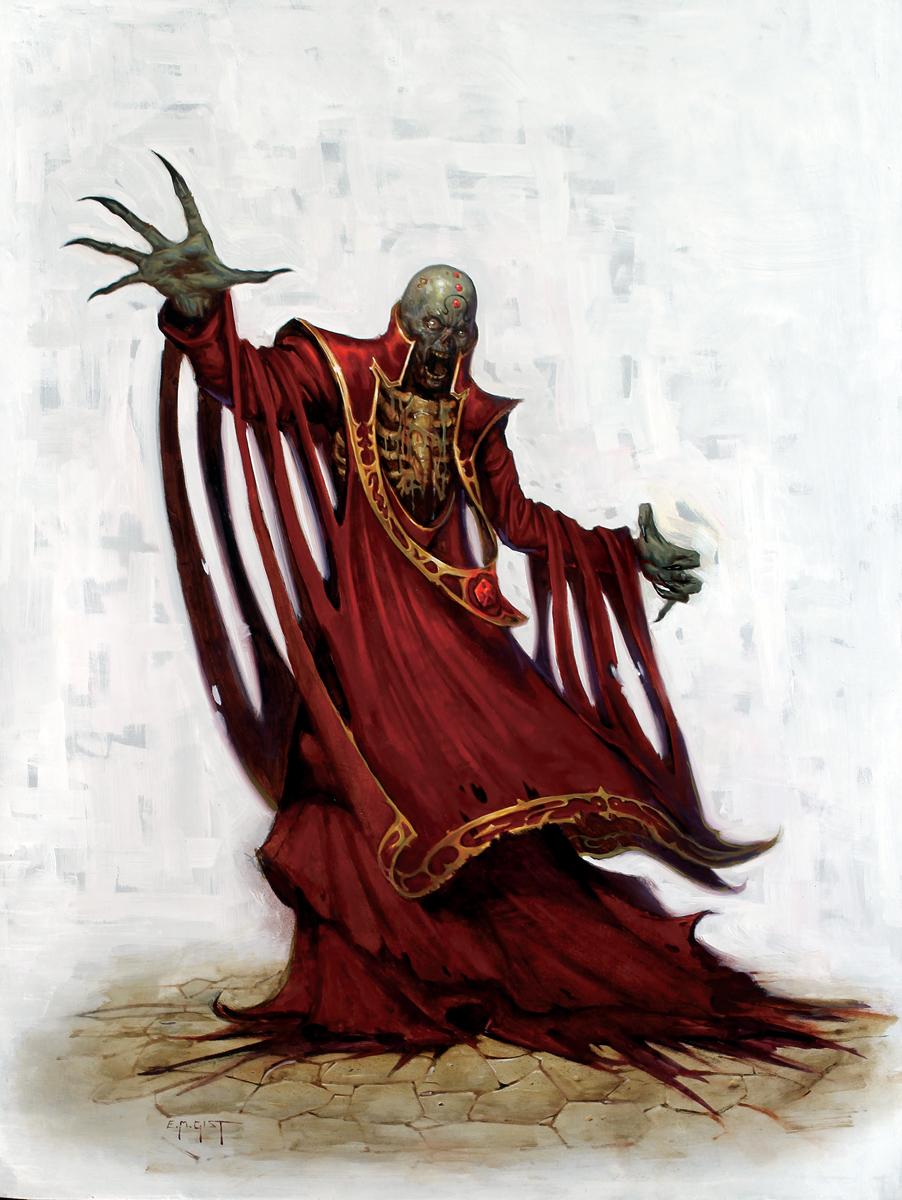
Lich (Monster Manual) by E. M. Gist, page 202
Lich (Original) by E. M. Gist, page 202
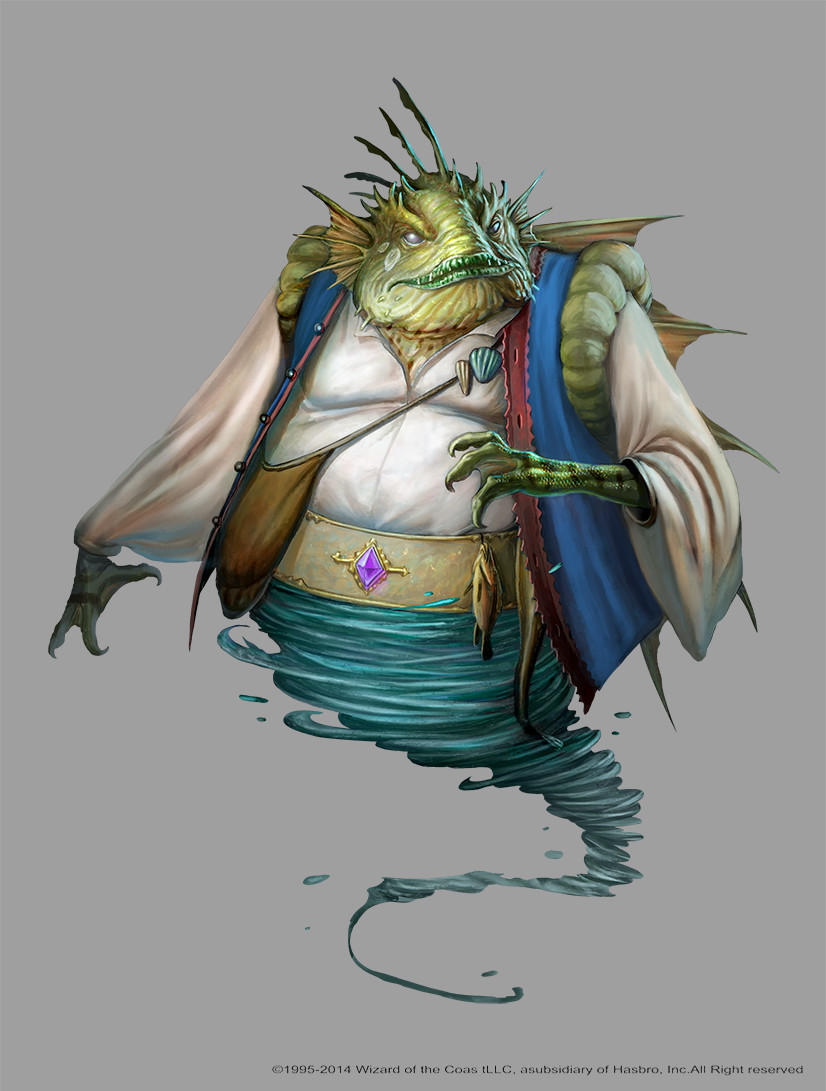
Lizardfolk by Conceptopolis, page 204
M
Magma Mephit, page 216
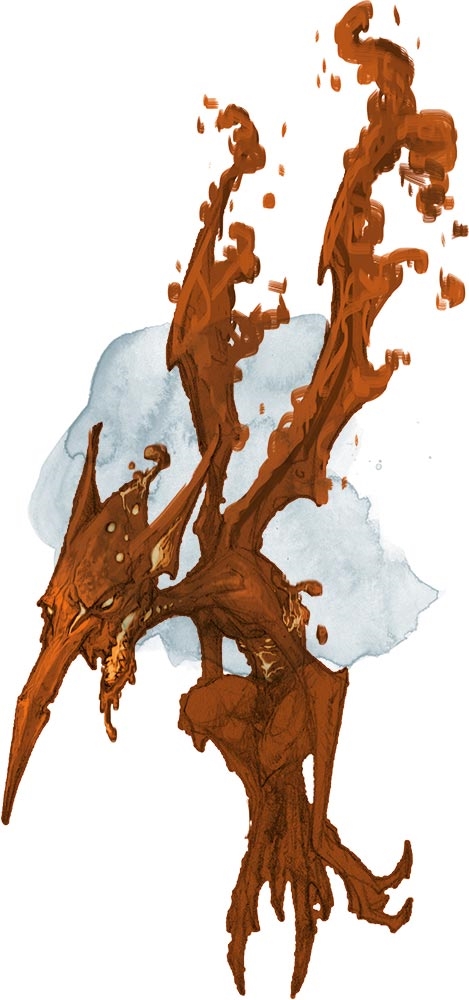
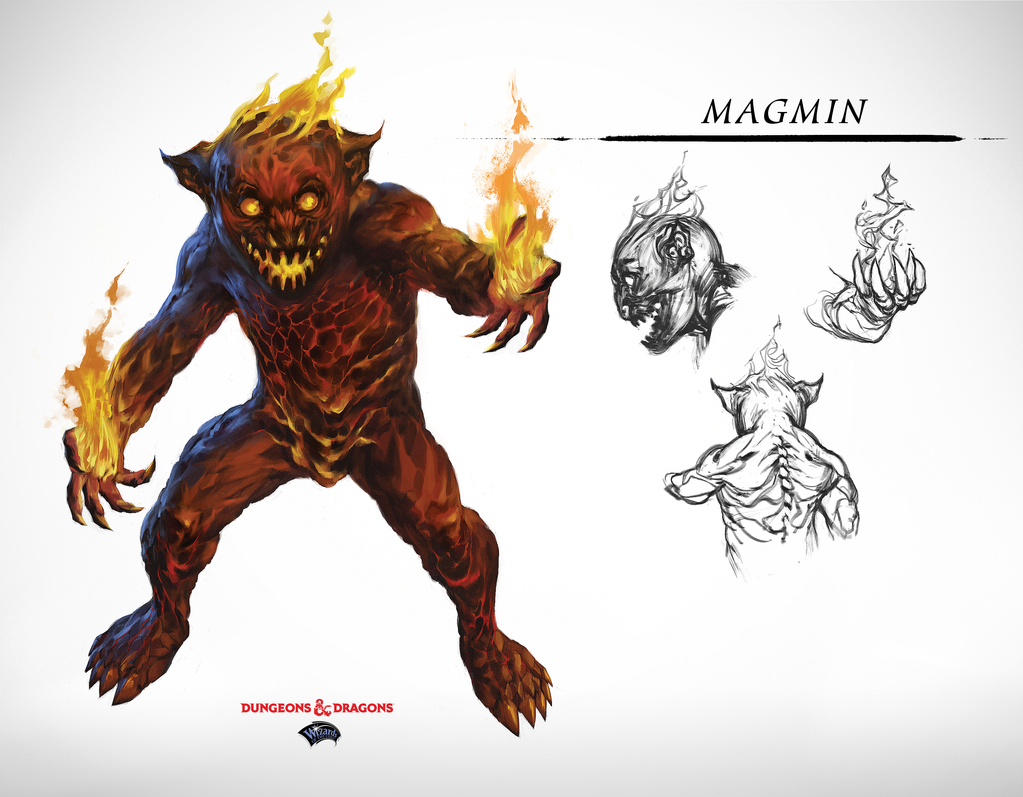
Magmin by Toma Feizo Gas, page 212
Manes by Conceptopolis, page 60
Manticore (Monster Manual) by Zack Stella, page 213
Manticore (Original) by Zack Stella, page 213
Marid by Muhamad Faizal Fikri for Conceptopolis, page 146
Marilith by Conceptopolis, page 61
Mastiff by Rudy Siswanto for Conceptopolis, page 332
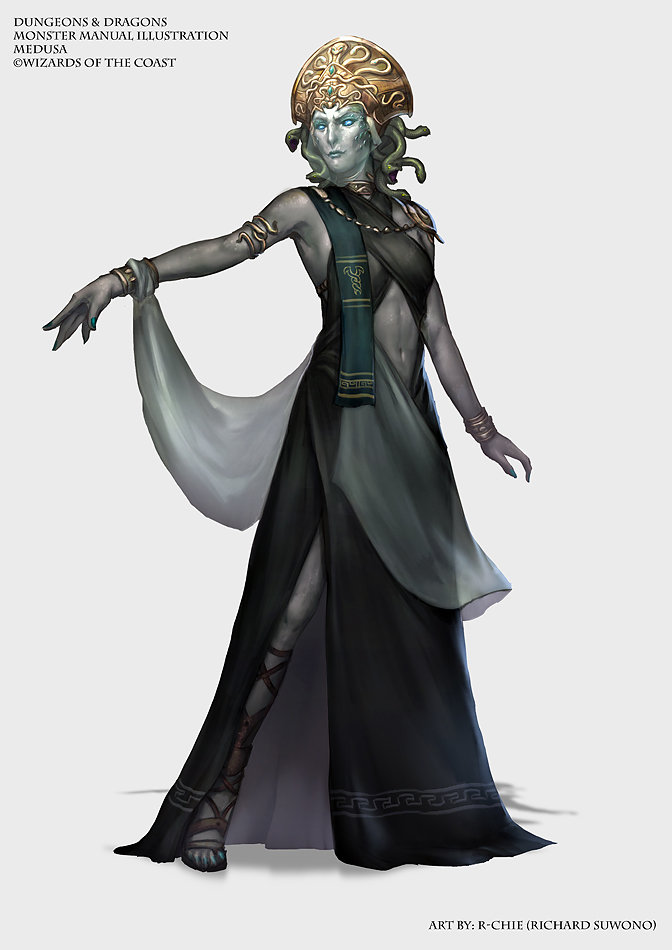
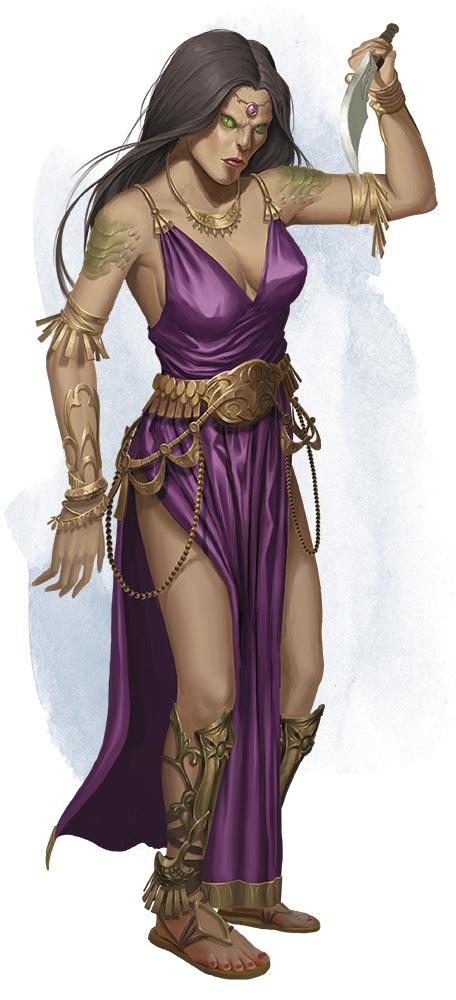
Medusa by Richard Suwono for Conceptopolis, page 214
Merfolk, page 218
Merrow by Rudy Siswanto for Conceptopolis, page 219
Mezzoloth, page 313
Mimic by Eric Belisle, page 220
Mind Flayer (Illithid) by Conceptopolis, page 222
Minotaur by Brynn Metheney, page 223
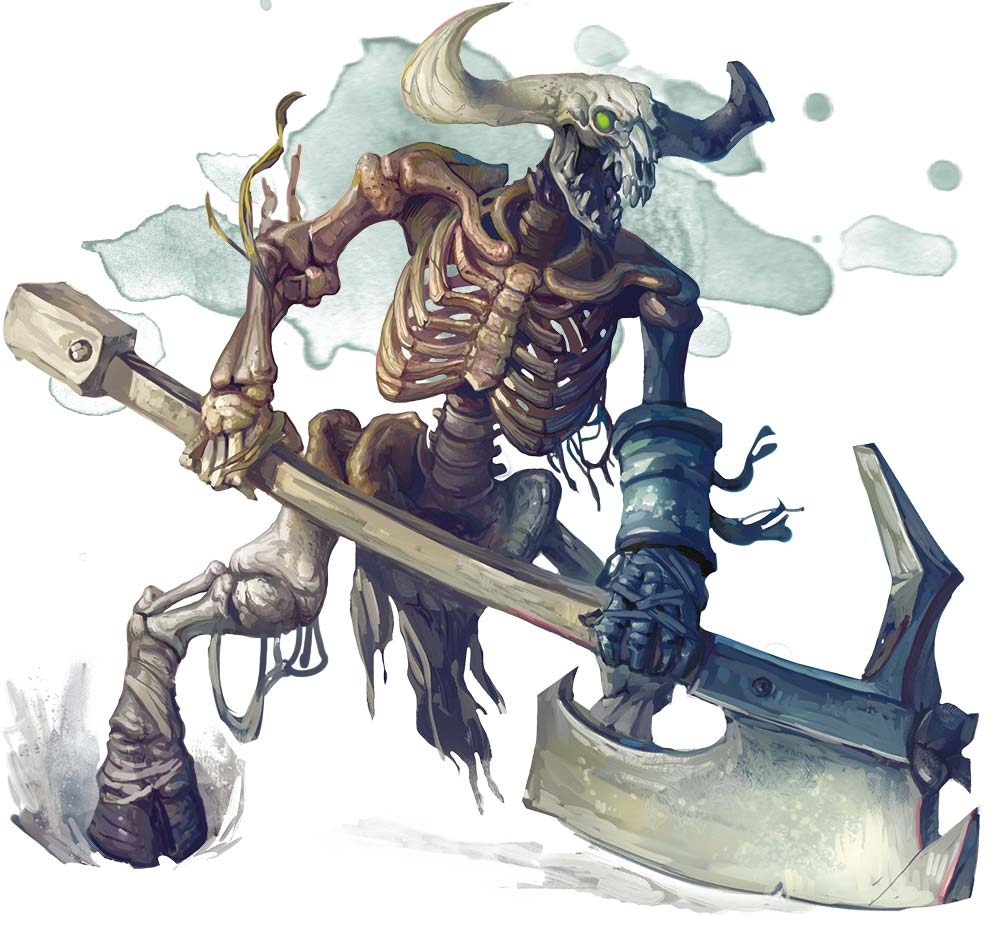
Minotaur Skeleton, page 273
Monodrone by Julie Dillon, page 224
Mud Mephit, page 216
Mummy by Vincent Proce, page 228
Myconid Adult: See Myconids
Myconid Sovereign: See Myconids
Myconid Sprout: See Myconids
Myconids by Hector Ortiz, page 231
N
Nalfeshnee by Conceptopolis, page 62
Needle Blight: See Blights
Night Hag by Conceptopolis, page 178
Nightmare by Conceptopolis, page 235
Noble by Daniel Landerman, page 348
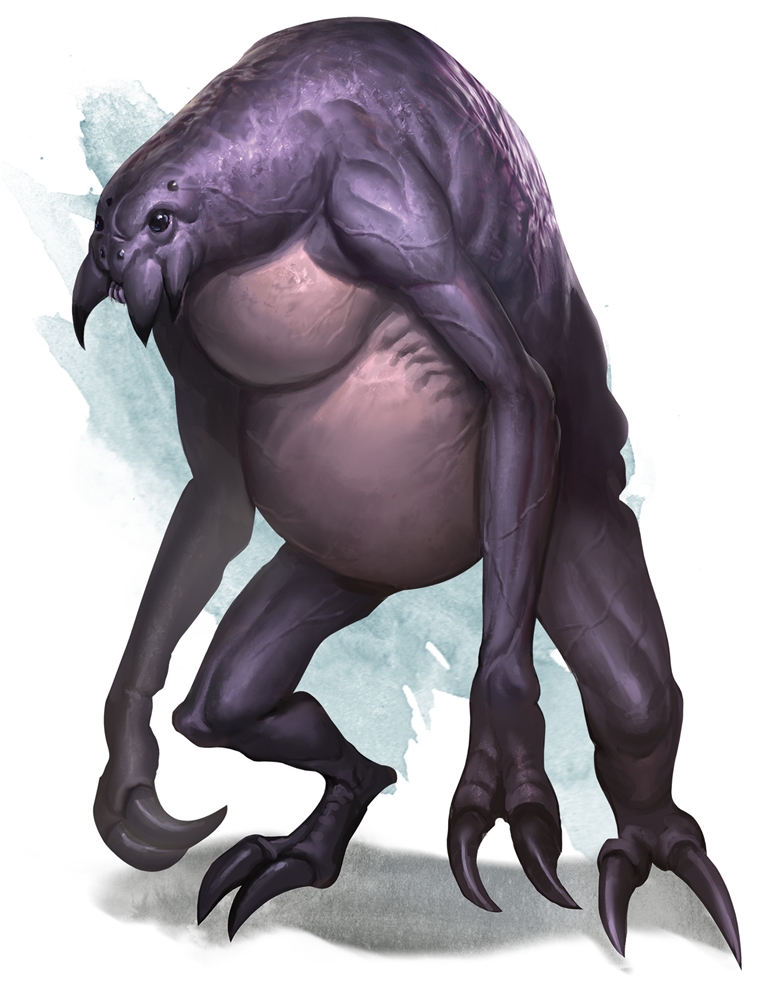
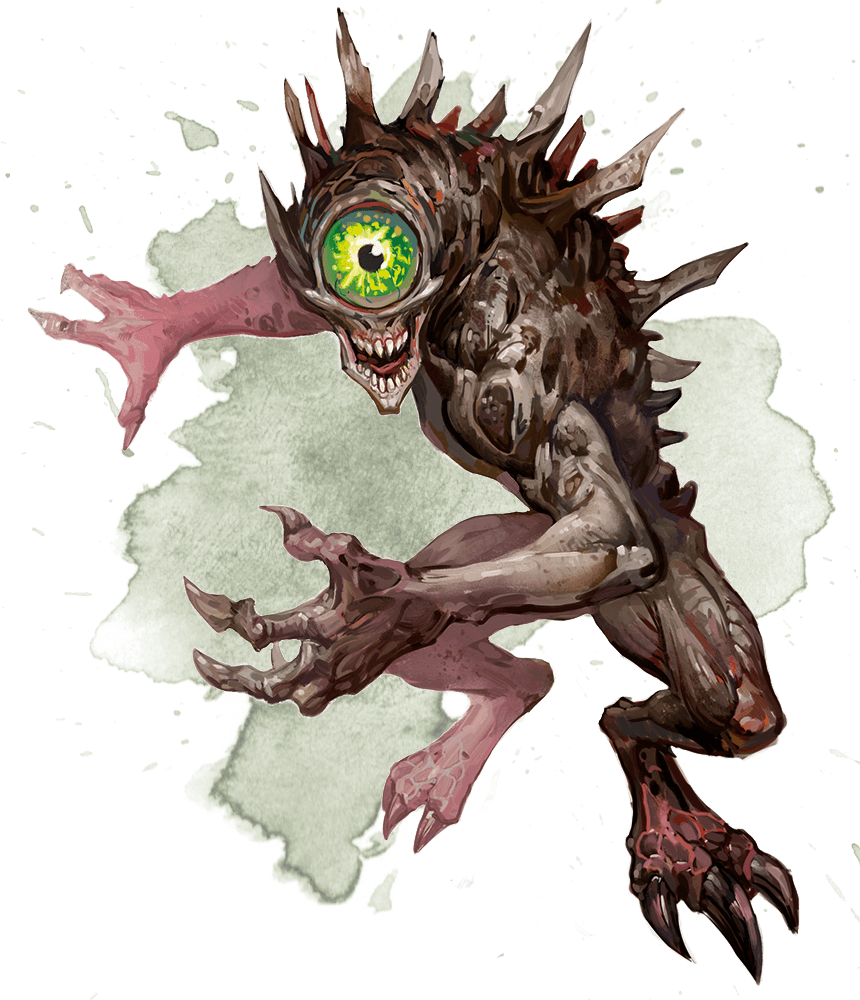
Nothic, page 236
Nycaloth, page 314
O
Ochre Jelly, page 243
Ogre by Mark Behm, page 237
Ogre Zombie, page 315
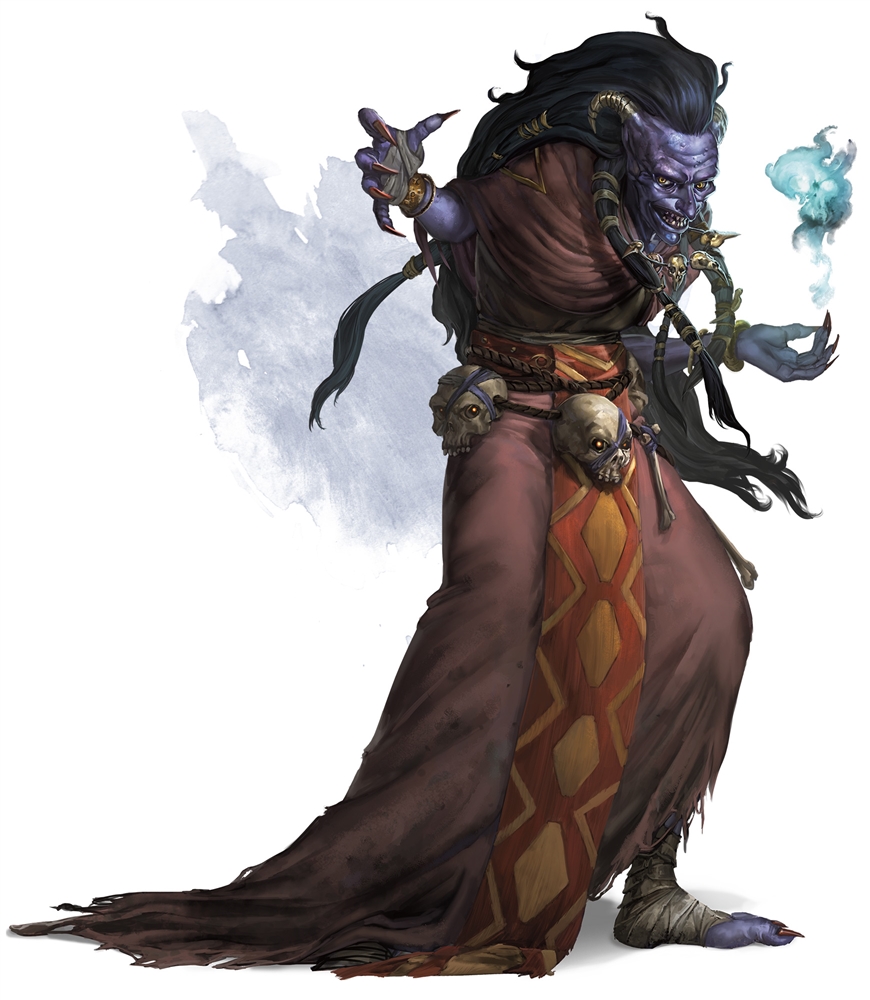
Oni, page 239
Orc by Conceptopolis, page 246
Orog by Marco Nelor, page 247
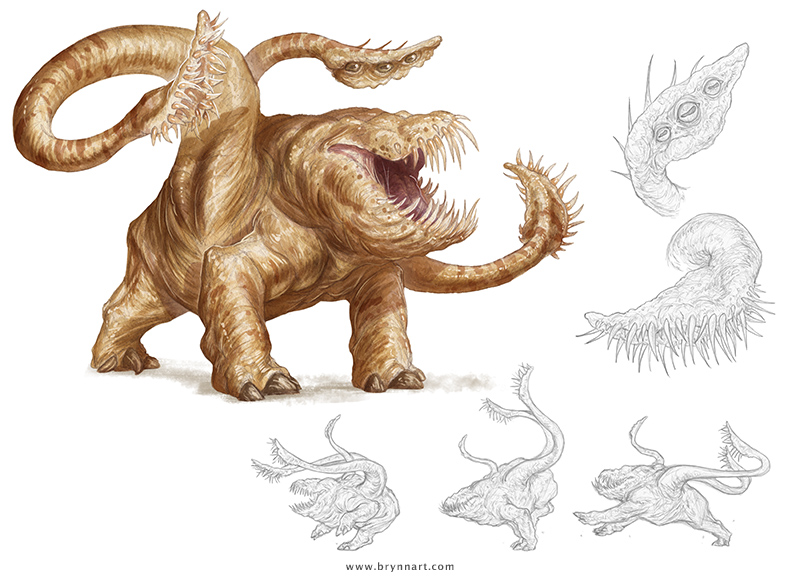
Otyugh by Brynn Metheney, page 248
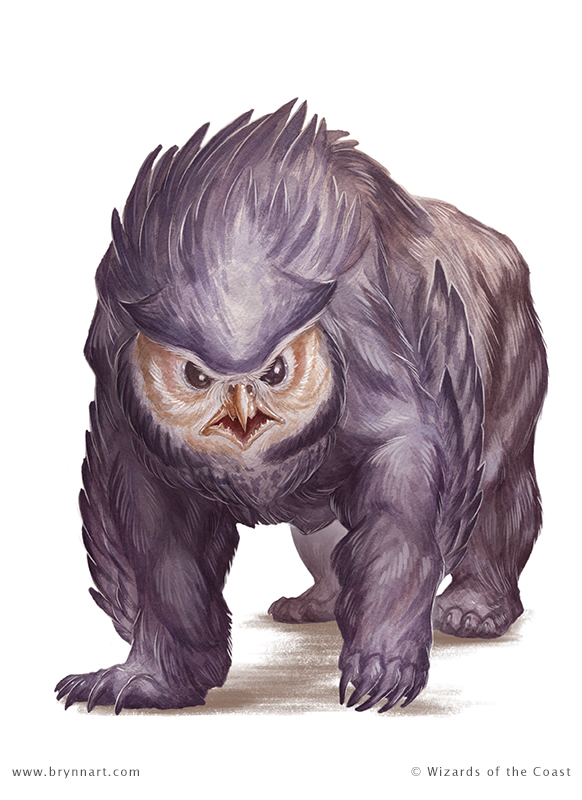
Owlbear by Brynn Metheney, page 249
P
Pegasus by Dave Dorman, page 250
Pentadrone by Julie Dillon, page 226
Peryton, page 251
Phase Spider, page 334
Piercer by Brynn Metheney, page 252
Pit Fiend by Michael Berube, page 77
Pixie, page 253
Planetar by Conceptopolis, page 17
Plesiosaurus, page 80
Pseudodragon by Tom Babbey, page 254
Pteranodon: See Dinosaurs
Purple Worm, page 255
Q
Quadrone by Julie Dillon, page 226
Quaggoth, page 256
Quasit by Autumn Rain Turkel, page 63
Quipper by Cyril Van Der Haegen, page 335
R
Rakshasa by Ilya Shkipin, page 257
Rat, page 338
Red Slaad by Rudy Siswanto for Conceptopolis, page 275
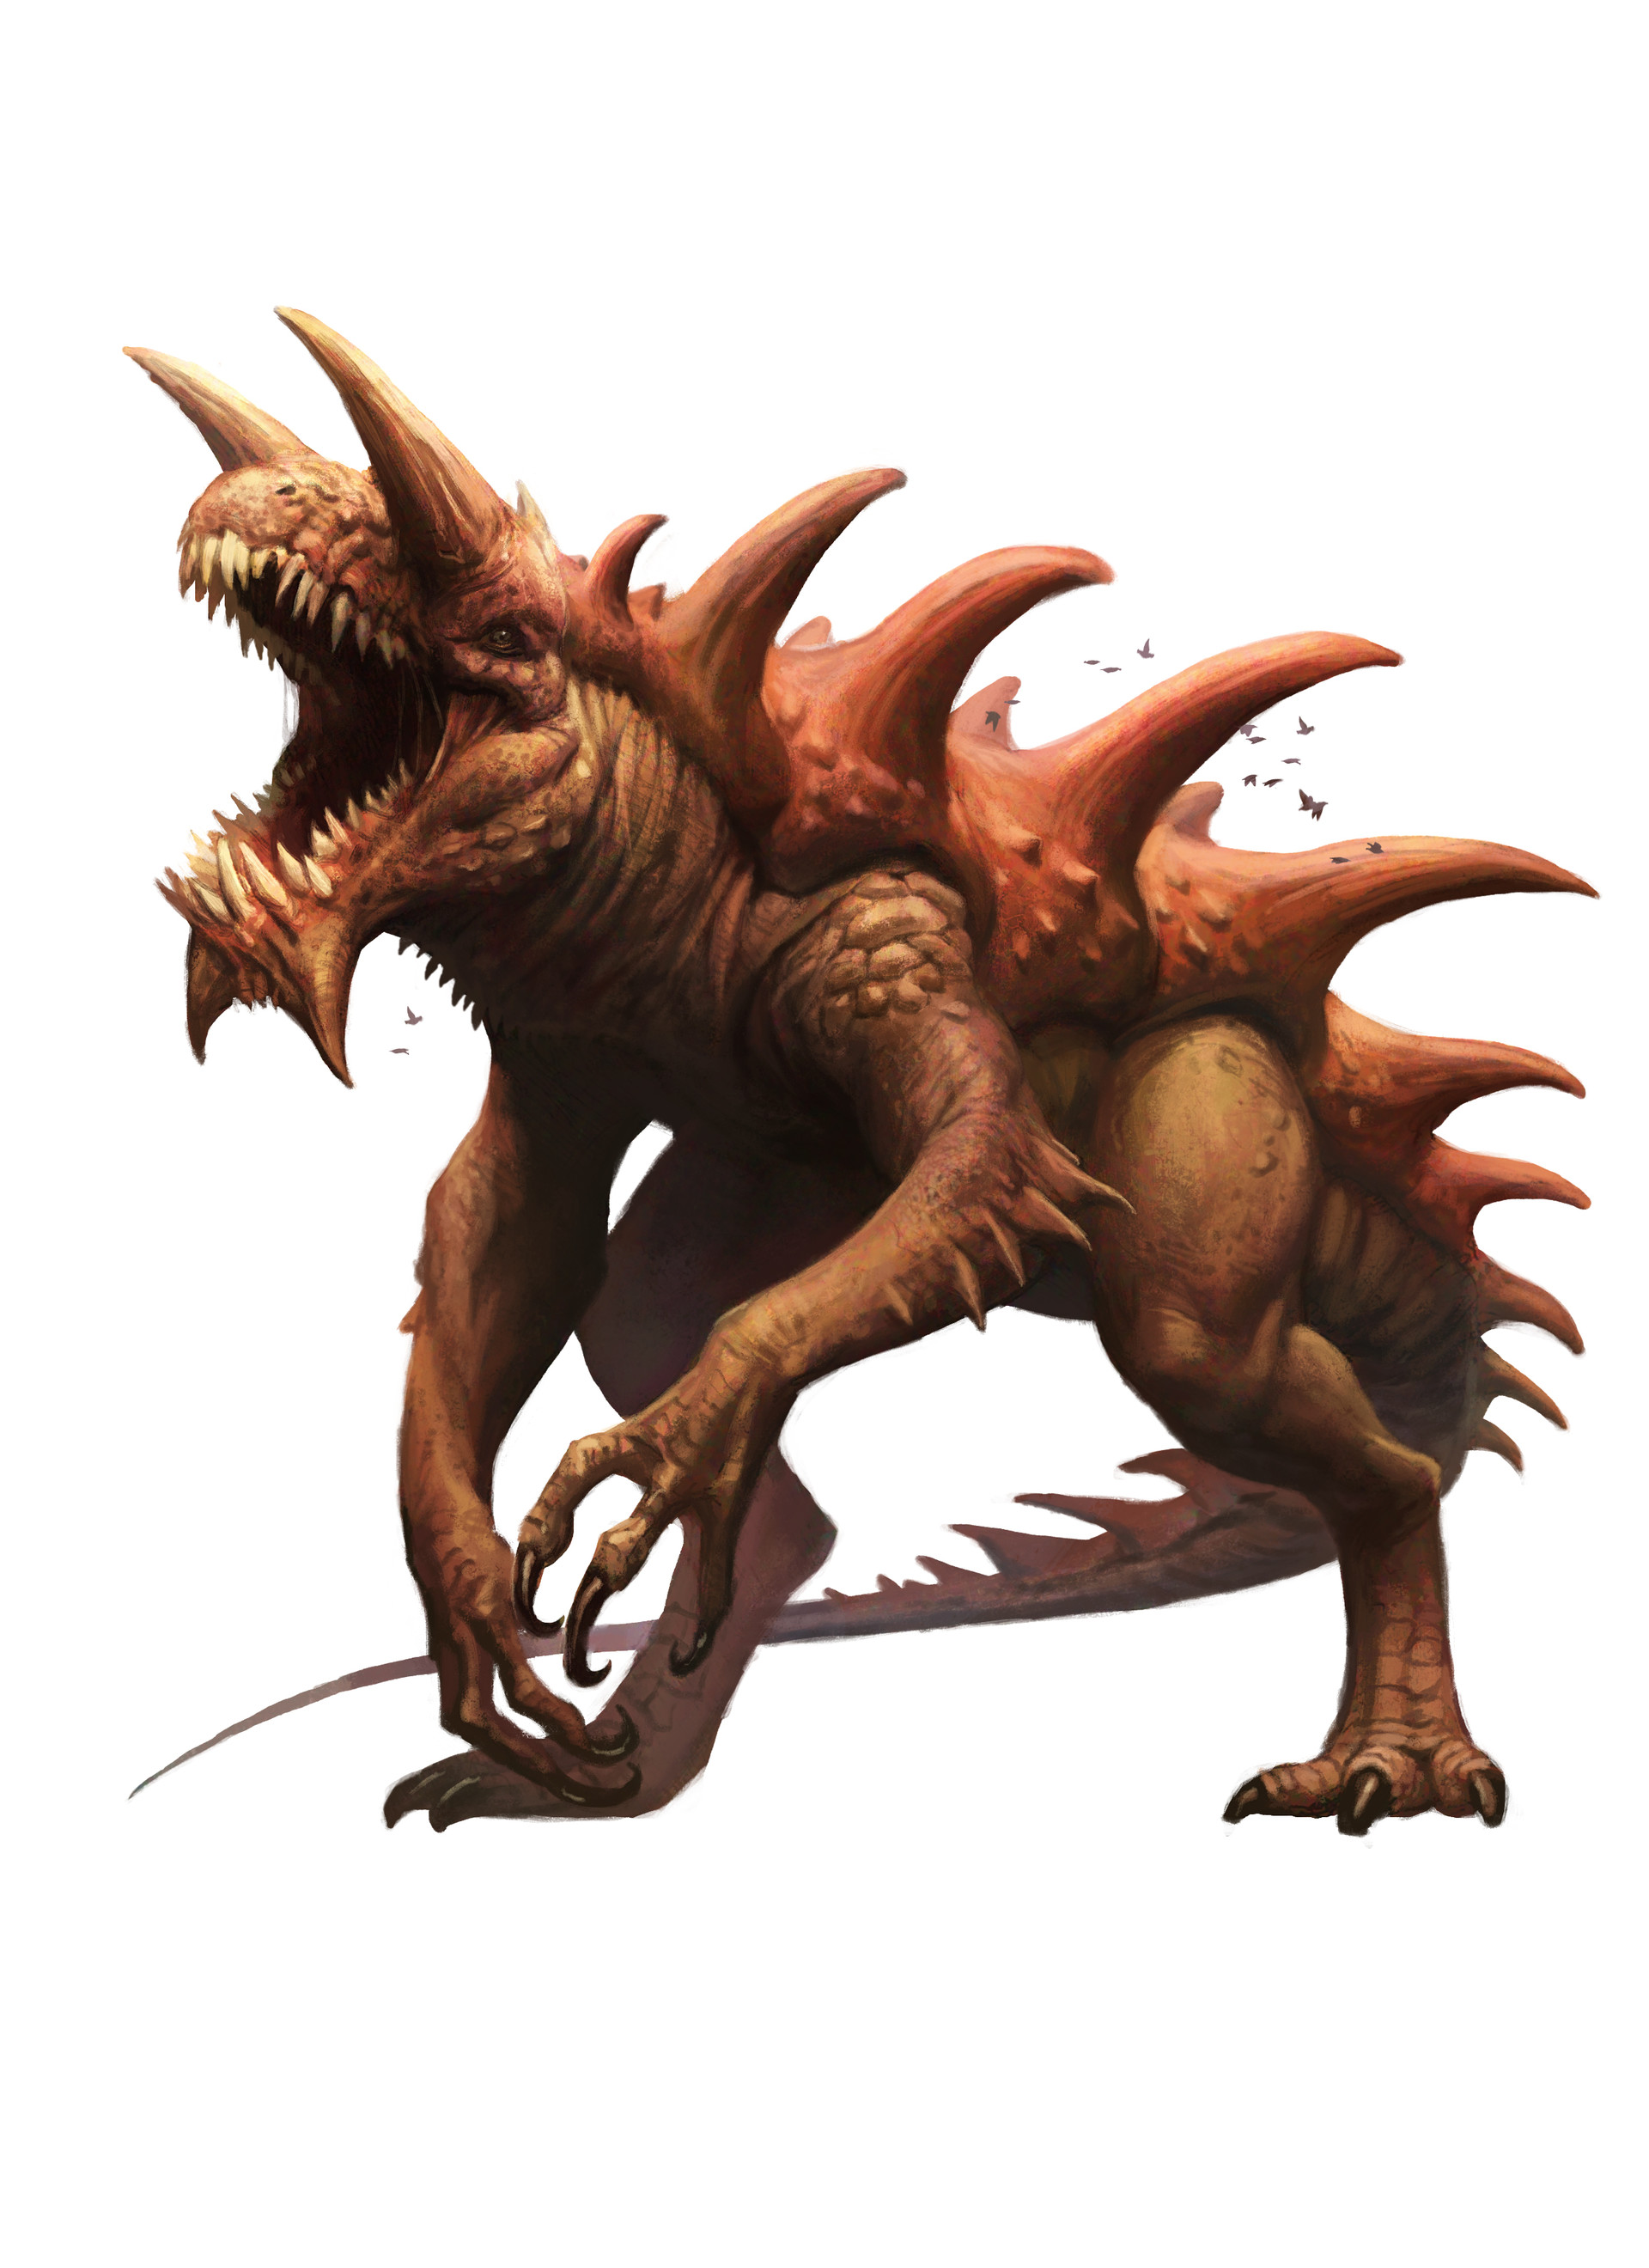
Remorhaz by Cory Trego-Erdner, page 258
Revenant by Christopher Moeller, page 259
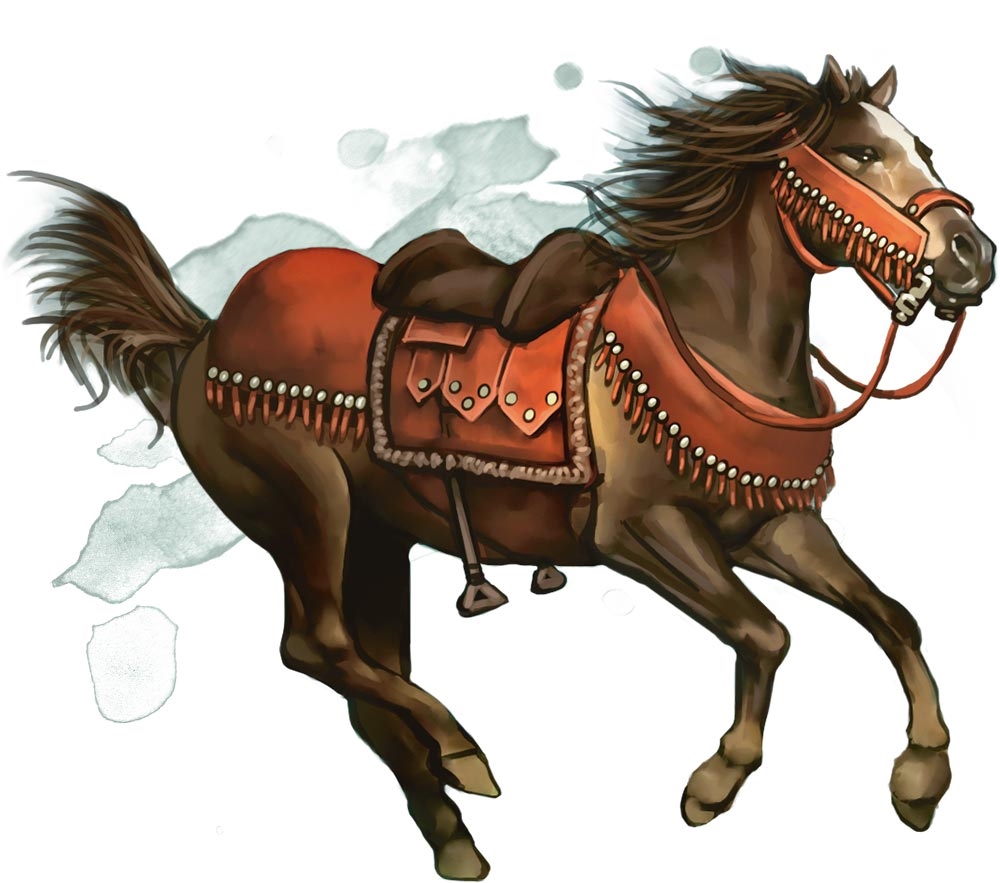
Riding Horse, page 336
Roc by Conceptopolis, page 260
Roper by Brynn Metheney, page 261
Rug of Smothering, page 20
Rust Monster by Brynn Metheney, page 262
S
Sahuagin by Conceptopolis, page 263
Sahuagin Baron, page 264
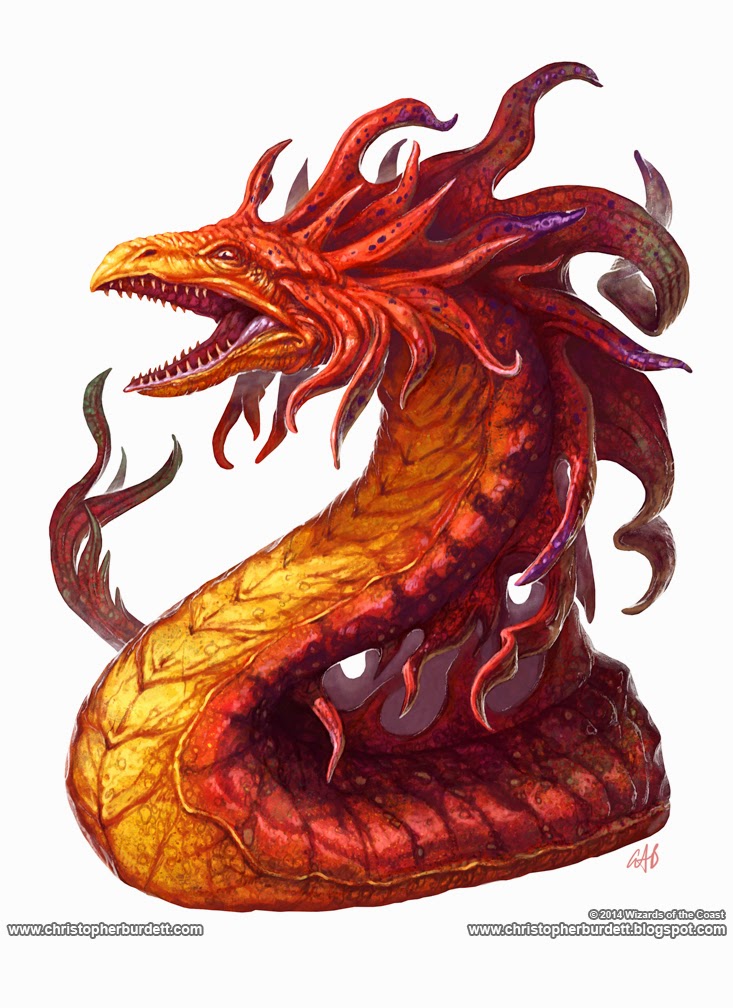
Salamander by Christopher Burdett, page 266
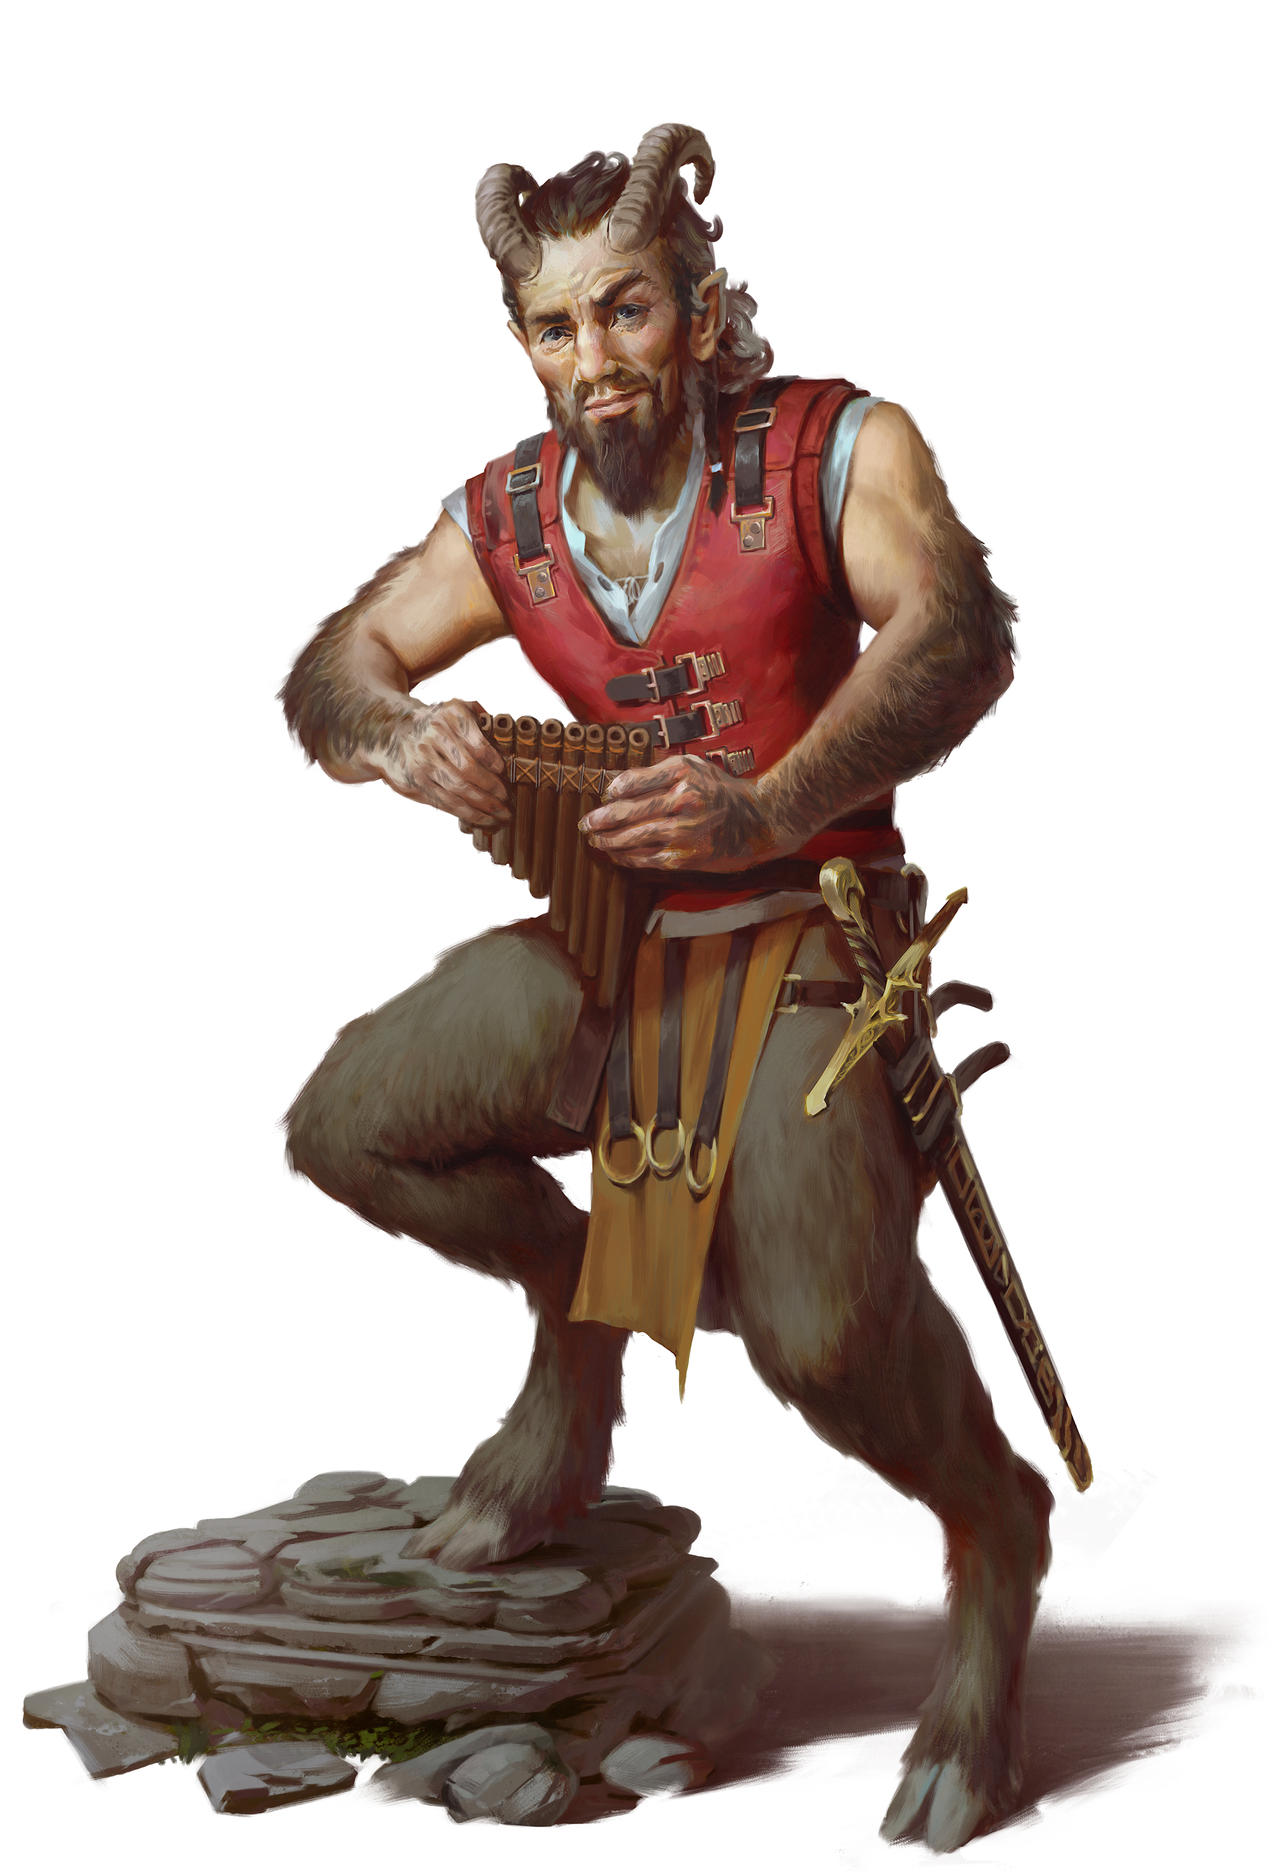
Satyr by Lake Hurwitz, page 267
Scarecrow by Dave Dorman, page 268
Scout by Lindsey Look, page 349
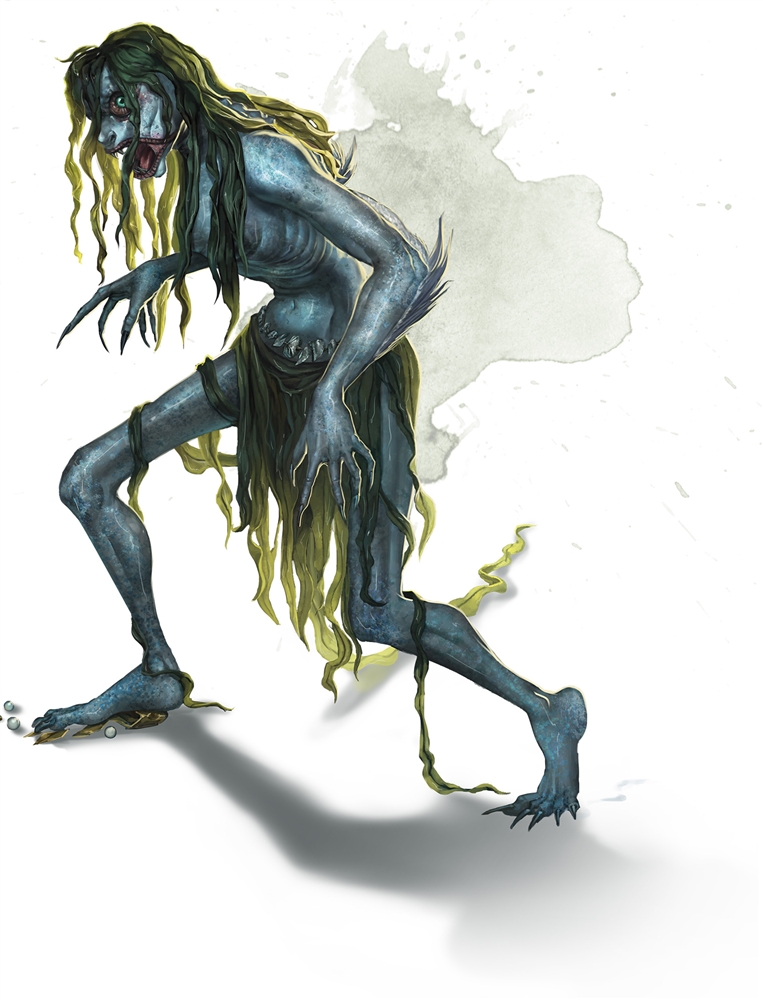
Sea Hag by Conceptopolis, page 179
Shadow, page 269
Shadow Demon by Conceptopolis, page 64
Shambling Mound by Ilya Shkipin, page 270
Shield Guardian by Conceptopolis, page 271
Shrieker: See Fungi.
Skeleton by Autumn Rain Turkel, page 272
Smoke Mephit, page 217
Solar by Conceptopolis, page 18
Spectator by Kieran Yanner, page 30
Specter, page 279
Spined Devil (Spinagon) by Michael Berube, page 78
Spirit Naga, page 234
Sprite, page 283
Steam Mephit, page 217
Stirge by Brynn Metheney, page 284
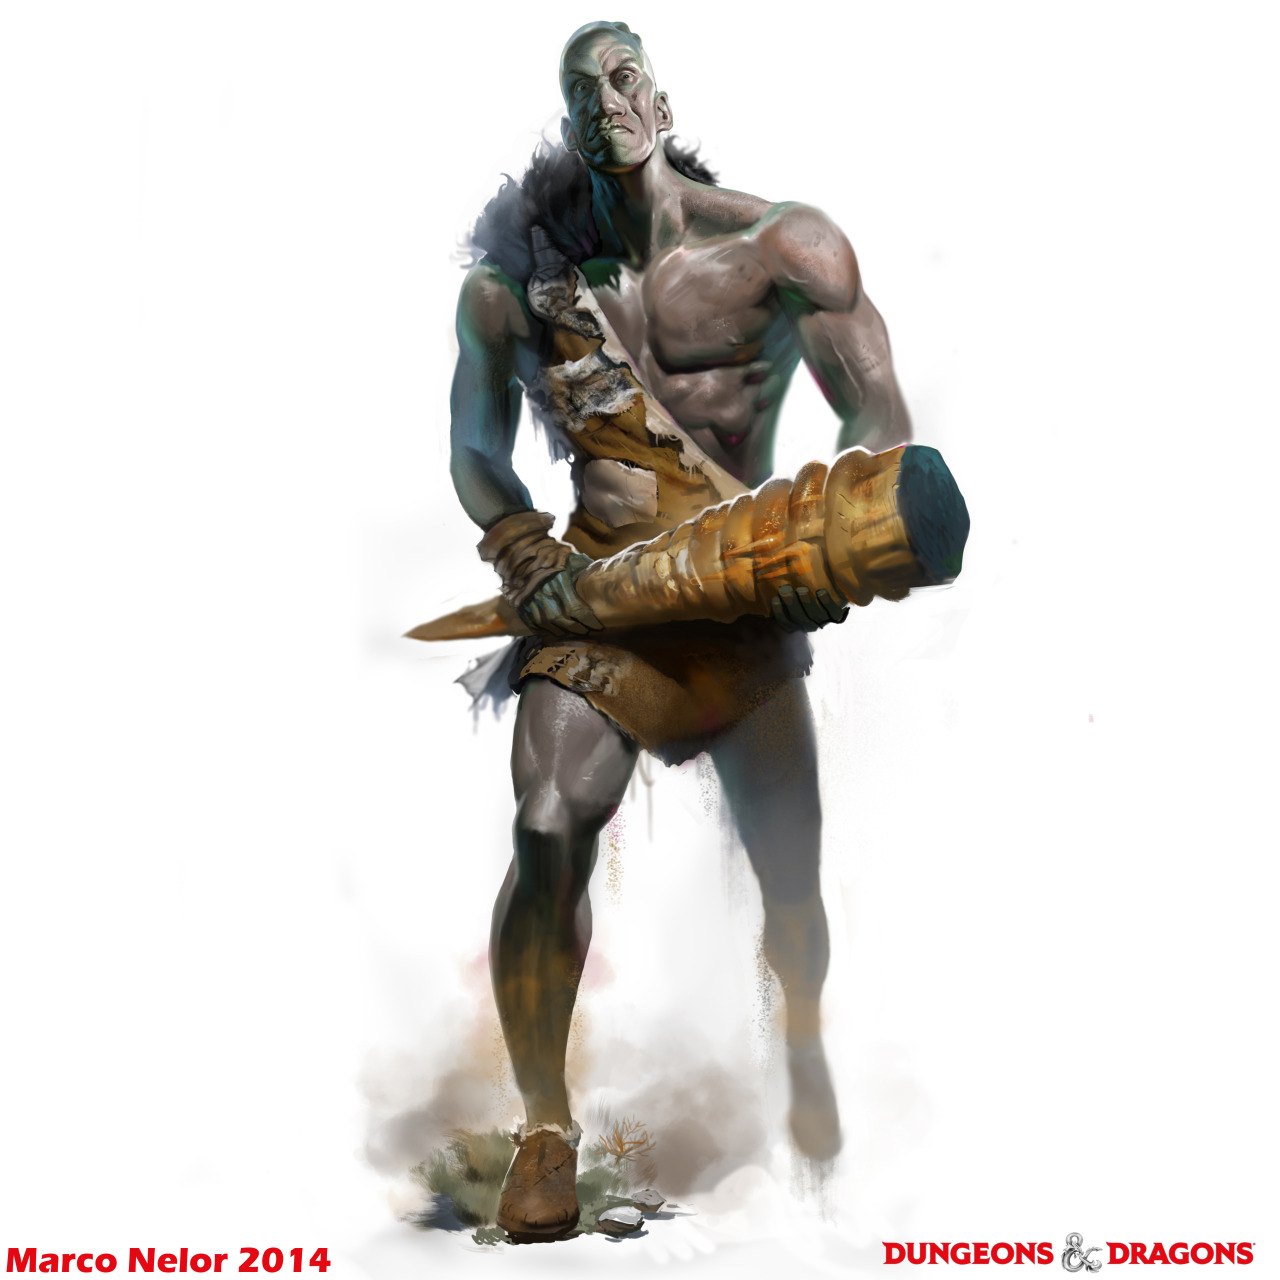
Stone Giant (Monster Manual) by Marco Nelor, page 156
Stone Giant (Original) by Marco Nelor, page 156
Stone Golem by Conceptopolis, page 170
Storm Giant by John-Paul Balmet, page 156
Succubus (Monster Manual) by Richard Suwono for Conceptopolis, page 285
Succubus by Richard Suwono for Conceptopolis, page 285
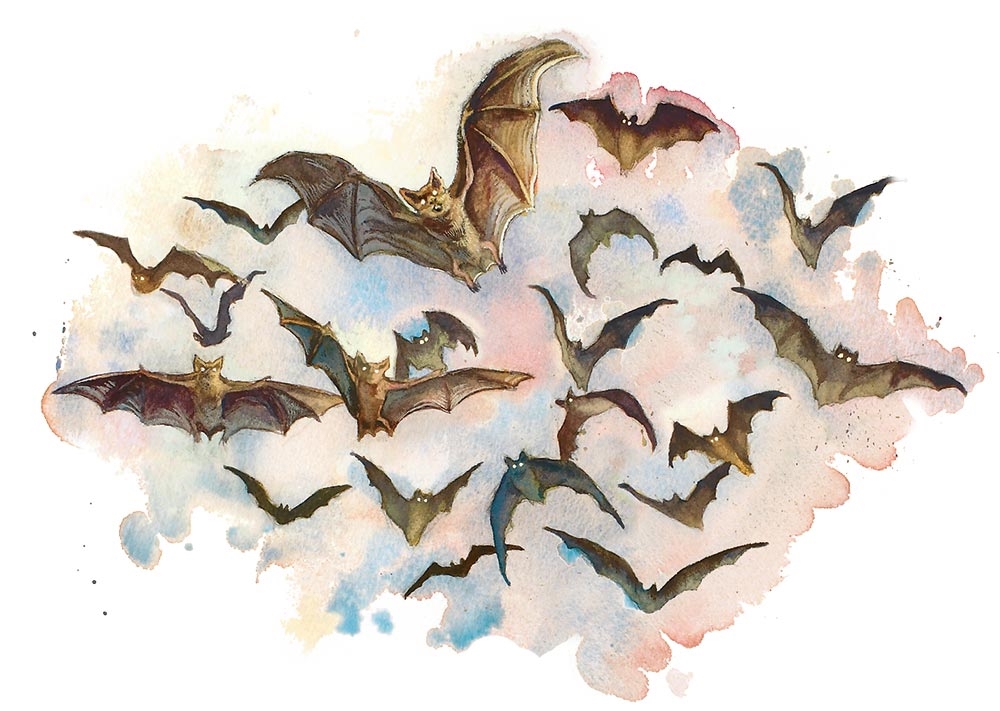
Swarm of Bats, page 337
T
Tarrasque by Cory Trego-Erdner, page 287
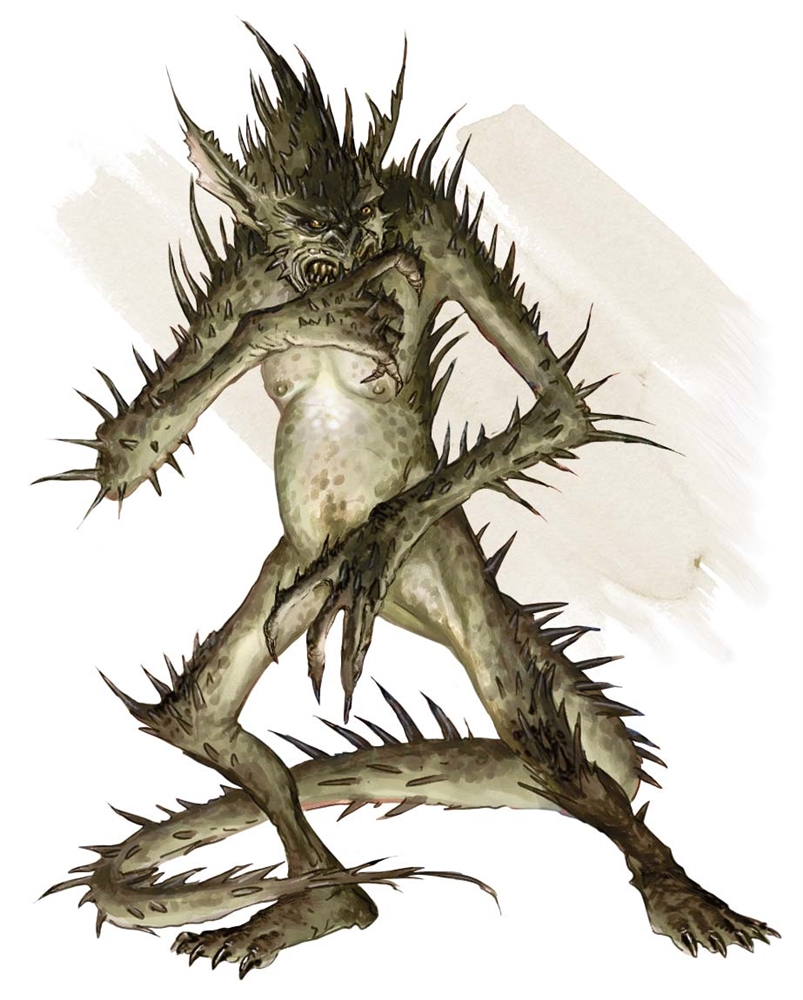
Thri-Kreen by Ilya Shkipin, page 288
Thug by Tyler Jacobson, page 350
Treant, page 289
Tridrone by Julie Dillon, page 225
Troglodyte, page 290
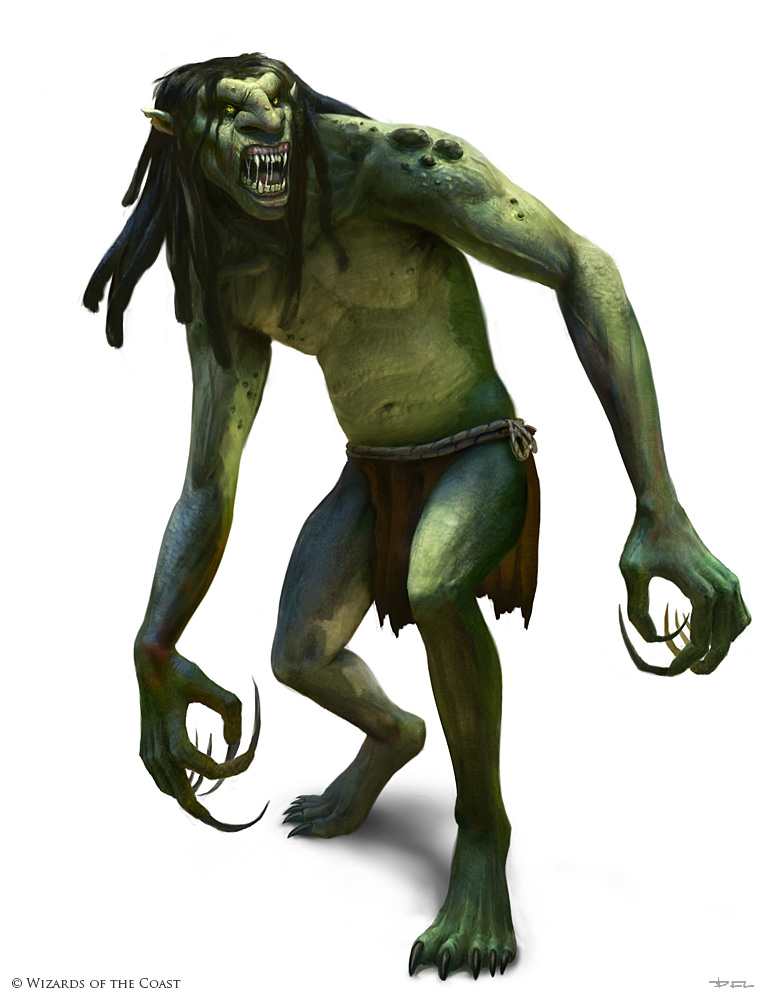
Troll by Daniel Ljunggren, page 291
Twig Blight: See Blights
U
Ultroloth, page 314
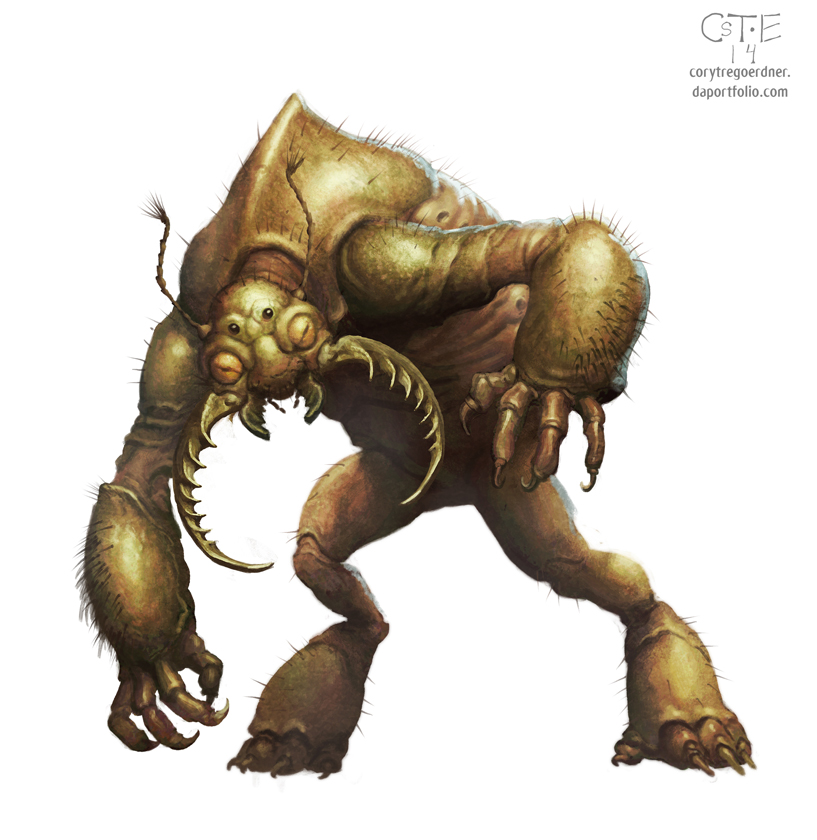
Umber Hulk (Monster Manual) by Cory Trego-Erdner, page 292
Umber Hulk (Original) by Cory Trego-Erdner, page 292
Unicorn by Toma Feizo Gas, page 294
V
Vampire, page 295
Vampire Spawn by Conceptopolis, page 298
Vine Blight: See Blights
Violet Fungus: See Fungi
Vrock by Conceptopolis, page 64
W
Water Elemental by Kieran Yanner, page 125
Water Weird, page 299
Werebear, page 208
Wereboar by Conceptopolis, page 209
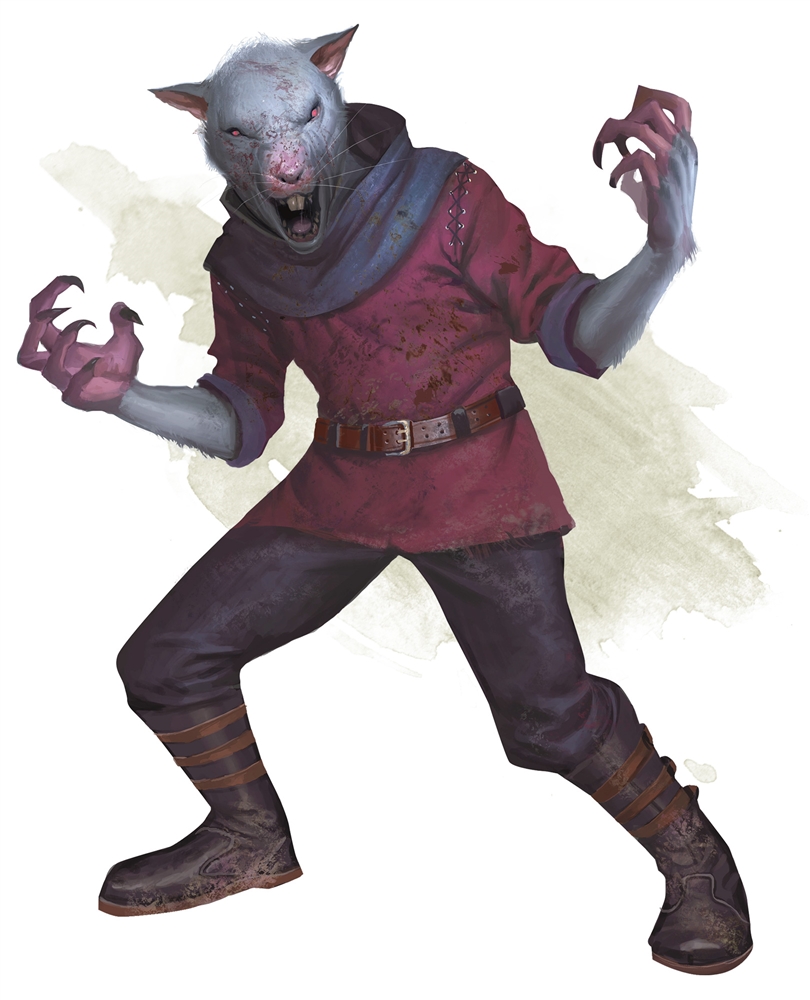
Wererat by Conceptopolis, page 209
Weretiger by Conceptopolis, page 210
Werewolf, page 211
Wight by Autumn Rain Turkel, page 300
Will-o’-Wisp by Hector Ortiz, page 301
Winter Wolf, page 340
Worg, page 341
Wraith by Justin Sweet, page 302
Wyvern by Brynn Metheney, page 303
X, Y, Z
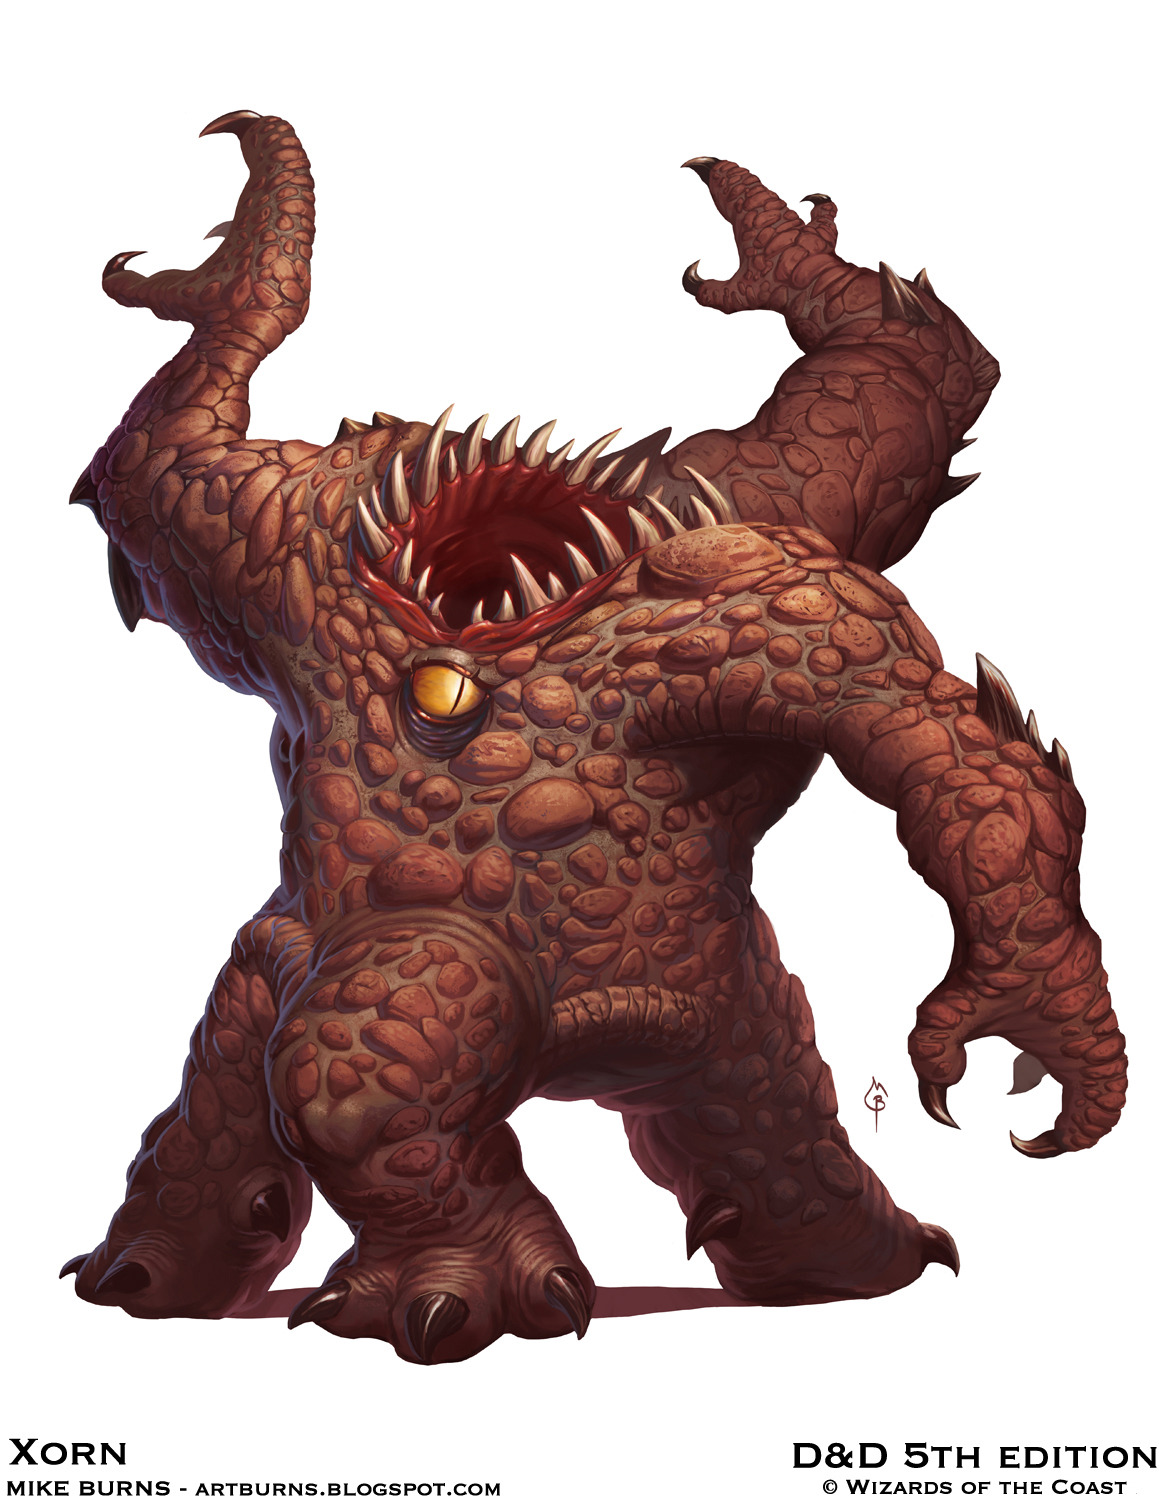
Xorn by Mike Burns, page 304
Yeti, page 305
Yochlol by Conceptopolis, page 65
Young Red Shadow Dragon by Craig J Spearing, page 85
Yuan-Ti Abomination by Conceptopolis, page 308
Yuan-Ti Malison (Type 1) by Conceptopolis, page 309
Yuan-Ti Pureblood by Conceptopolis, page 310
Zombie by Conceptopolis, page 315
Shifty Cow
In celebration of there finally being an official cow statblock for 5th Edition D&D (as seen in Volo’s Guide to Monsters) I statted up a Shifty Looking Cow for anyone interested. You’re welcome?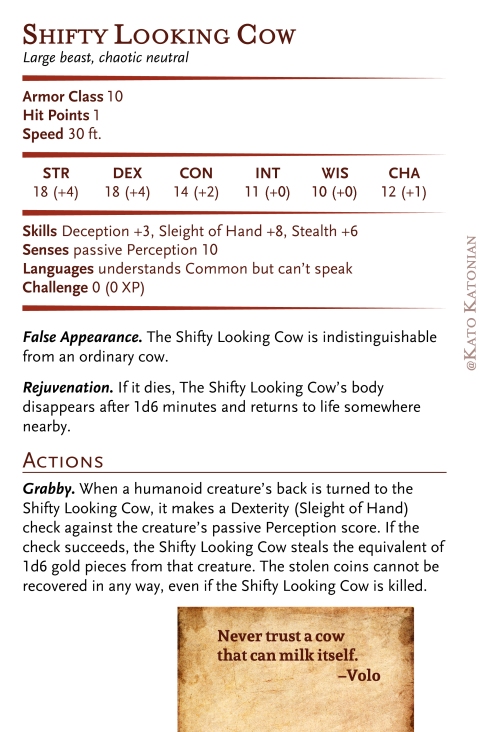
