
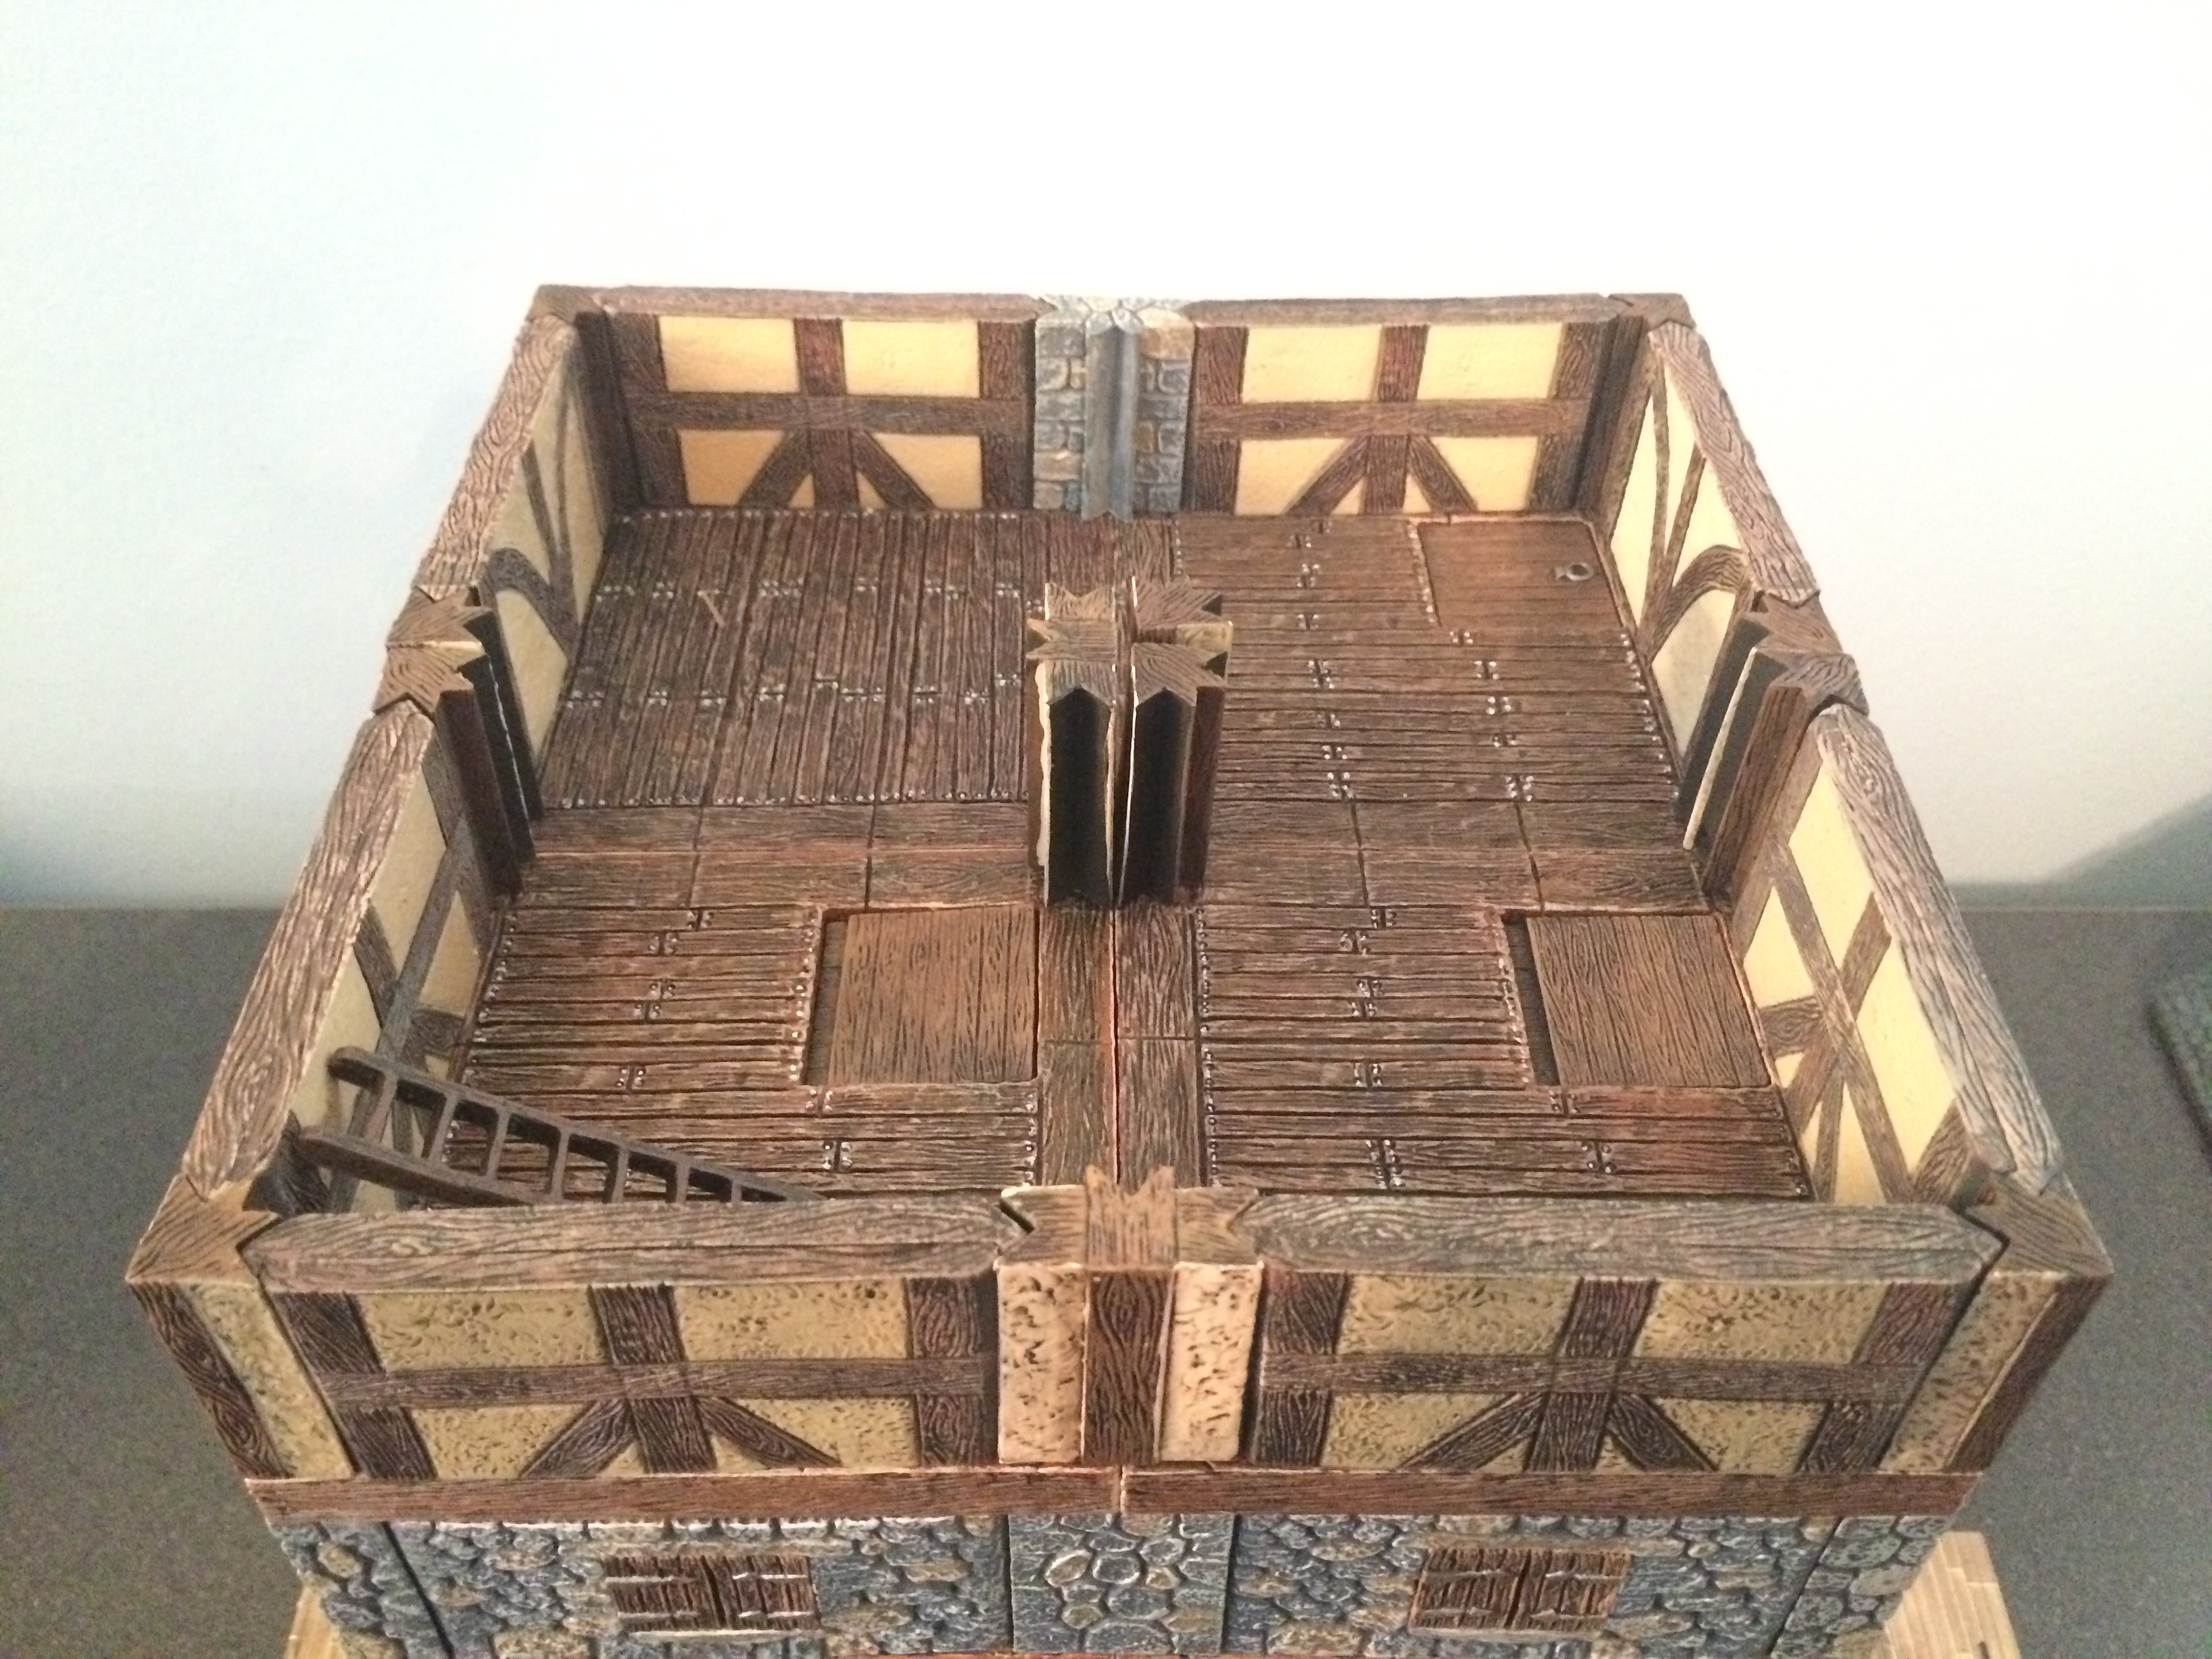
Here I used four tudor floor pieces to represent the floor of the attic. Because I had run out of wood pieces by this point, I simply used trapdoor floors and flipped the door over. In the upper right corner is on actual trapdoor, which is meant to match the attic access seen in the map.
The trapdoor pieces and ladder are held in place with poster tack to keep them in place during transport and play.
A ladder in the lower right leads up to the roof. The walls are all tudor walls and corner posts, with tudor double posts between inline wall sections (along the back wack I actually uses a stone double post because I ran out of tudors).
The double and single posts sticking out of the center of the room serve a few purposes: 1) they provide another point where the floor pieces are held together; 2) they provide support for floors above to prevent sagging; 3) they provide a handle by which I could easily lift and remove floors as the adventurers made their way through the tower (and facilitated me setting up and tearing down the keep).
Because the map of the tower is a cutaway, it was difficult to determine what parts of the floor are supposed to be weak, as described in the text. The map indicates the floor being weak on the western side of the attic, but it was unclear how much of that floor. At the table I just made a judgement call based on where the PCs were and if the floor collapsing at that point would add drama.
